
Partager la publication "Mounting Sram 22 derailleurs"
The Sram 22, Red, Force or Rival mechanical derailleurs are certainly the easiest to set up and adjust. Let’s see how to do…
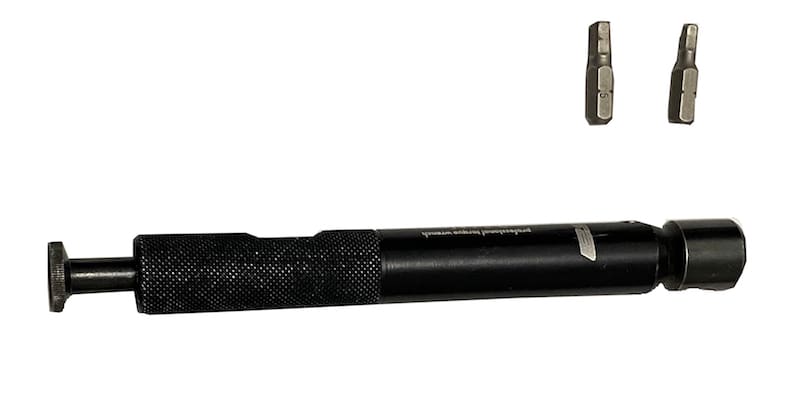
The tools
To mount and adjust the Sram 22 derailleurs, you will need 2.5, 4 and 5 mm allen wrenches, a Phillips screwdriver, grease and a torque wrench to finish the torque. Depending on the type of front and rear derailleurs hanger, don’t forget to add the appropriate keys.
Pictures © Frédéric Iehl


Time and difficulty
The installation and adjustment of the Sram 22 derailleurs are very easy operations since the front derailleur has adjustment targets that guarantee precise positioning the first time or almost. There is no real way to make a mistake…
Stage 1

You must start by checking the tightening and alignment of the hanger. This is essential before starting to set up the Sram 22 derailleur.
Stage 2
We will grease the derailleur hanger before fixing the rear derailleur.

Stage 3

The rear derailleur is then fixed with a 5 mm key.
Be careful not to crush this part above the blue screw on the derailleur leg.


Once this is done, we make sure that the rear derailleur is movable. There is no recall spring.
Stage 4
We will temporarily tighten the derailleur collar.

Stage 5

The front derailleur is then fixed to its collar by tightening it tightly.
Stage 6
Then tighten the derailleur screw closest to the seat tube to bring the fork above the large chainring.

Stage 7

Under the blue arrow, there is a (used) mark that serves as an adjustment target. We must place the target above the top of the teeth of the large chainring. We are then at the right height.
Stage 8
For the alignment of the derailleur, there are also targets. This one, a blue arrow, is located on the front of the derailleur.


On the back of the front derailleur, there is one too. We must align the two targets with the teeth of the large chainring. You move the derailleur, or its collar, until you get the right alignment.
Don’t forget to loosen the screw that was used to keep the chainring in the right place.

Stage 9

We tighten the collar or the front derailleur on his paw.
The collar is then blocked, to ensure a « stable » fixation.

Stage 10

The rear derailleur has three adjustment screws that can be handled with a cruciform turn. Screw A is for the internal stop, Screw B for the external stop. The C screw is used to move the pebble train away from the sprockets.

Stage 11
We then look at where the derailleur pulleys passes in relation to the large sprockets when the chain is on it. There must never be more or less than 6 mm of distance.

Stage 12

The C screw is then acted to move the pulleys away, in the direction of the green arrow. Or to bring them closer together, in the direction of the orange arrow.
This adjustment is essential, because it allows free and silent gears. If the pulleys train is too far away, the winding of the chain will be insufficient and the passage from one sprocket to another will be less fluid. If the pulleys train is too close, the teeth of the pulley can interfere with those of the sprocket. At best it will be noisy, at worst there will be breakage.
Stage 13
As long as we are on a small chainring-large sprocket, we act on the A screw so that the derailleur is positioned perfectly. By tightening (green arrow), it is moved away from the rays. By loosening (orange arrow) he is allowed to climb on the last sprocket. The adjustment is done at the cruciform.

Stage 14

We go to the large chainring and the small sprocket. We now act on the B screw to best place the pulleys train. In the green direction we move it away from the frame, in the orange direction we bring it closer to it.

Stage 15

Screw A is the internal stop, the B is the external. It is a logical arrangement.
Stage 16
We will place the chain on the large sprocket and the small chainring.


We then look in the derailleur before how the chain passes.
We then act on the A screw to clear (orange arrow) the fork. If we want to bring it closer, we squeeze in the direction of the green arrow. The pedaling must be silent. The chain must close to the fork.

Stage 17

We then place the chain on big chainring/small sprocket.
First, we make sure that the chain can go up. And especially that once she is on the big chainring, she stays there and without noise!

We are now acting on the B screw to prevent the chain from going too far. Tightening in the green direction. If the chain makes noise or does not go up, we loosen, in an orange direction.
Now all that remains is to adjust the indexation, the adjustment of the Sram 22 derailleurs is done.