Partager la publication "Repair a broken Boa Li2"
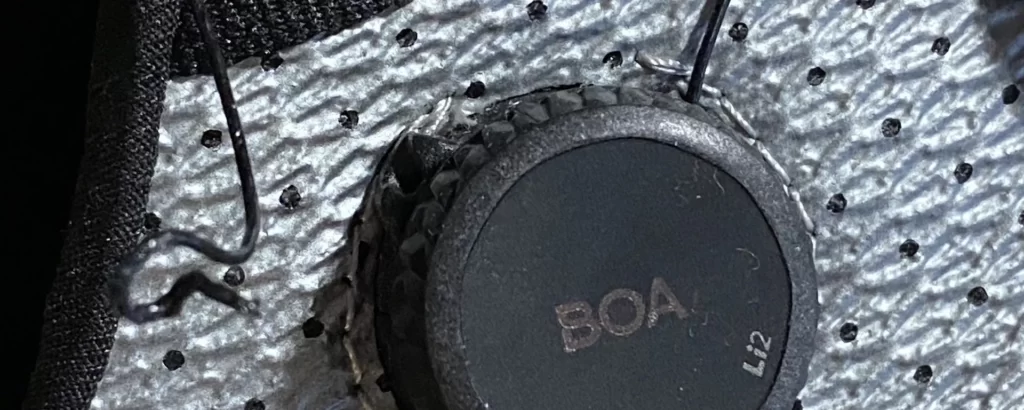
Shoes are increasingly using rotating tightening to fit perfectly to the foot. The best known is the Boa, which exists in various versions. If the concept is solid, it does not prevent it from sometimes knowing the breakage…
We have been using shoes with Boa tightening since 2004. We only had breakage on two models, one dating from 2008 (disk backing) and lately it’s a Boa Li2 that broke (cable), here’s how to fix it. On our fi’zi:k Vento Stabilata Carbon shoes we had some problems with one of the Boa Li2 tightenings. By wanting to remove the shoe, the cable did not dex. We shot and he came to one side. Not cut, he just untied… It is almost impossible to really break the cable, but it can get rid of the support and therefore free itself. The other breaks generally relate to the notching of the disk that is flattening, or to the disc itself. What you need to know before embarking on disassembly is that you can play the guarantee of your shoes by getting closer to your point of sale. Then Boa also guarantees its products and can get them for free in this context. Or sell it to you if the breakage is related to a fall or any event that does not fall within the warranty. Now if you really need to help yourself very quickly, here’s how to deal with the means on board. To know what’s left of the cable… Shipments from Boa are fast but sometimes this is not enough. Changing the cable completely is even easier, but you need to have a cable. We will use the original cable since it is the only one we have on hand to repair our Boa Li2…
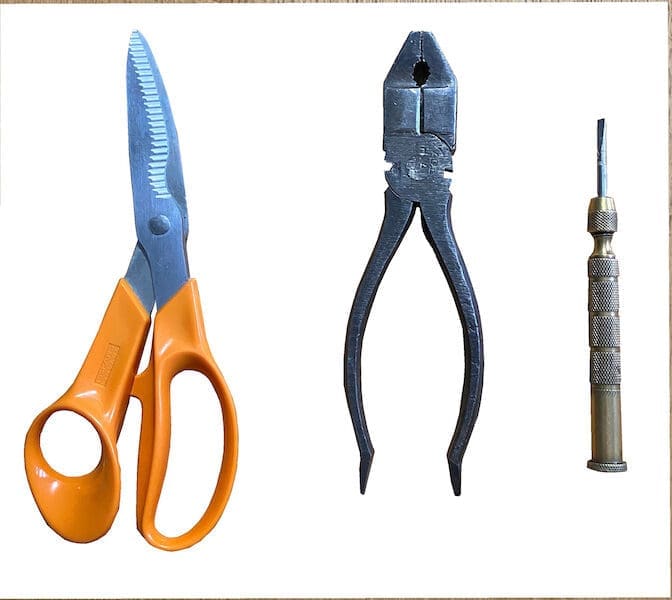
The tools
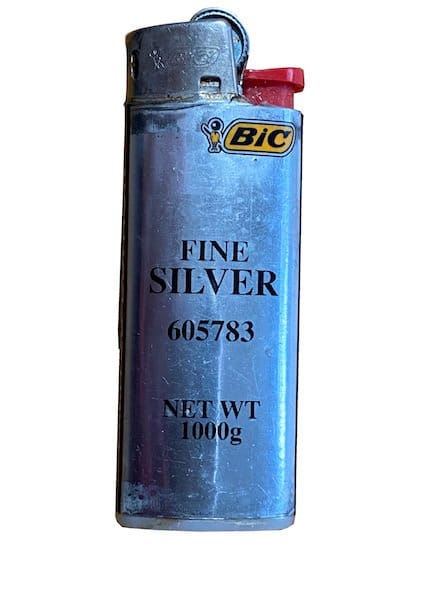
You will need a pair of scissors or cutting pliers, a small flat screwdriver and a lighter to repair your broken Boa Li2. If you order spare parts, you will also have a small tool more suitable for this handling.
Pictures © Frédéric Iehl
Temps et difficulté
You will spend between 10 and 20 minutes to do this repair. You will just have to show dexterity with your hands and patience. Because here we are going to work with a piece of cable. You will then be able to repair your Boa Li2 that was broken. For the assembly of a factory part you will have a very long and therefore adjustable cable and the way of doing it is really different, perfectly detailed on the brand’s website and even easier and faster. You just have to identify which model and version of Boa we have!
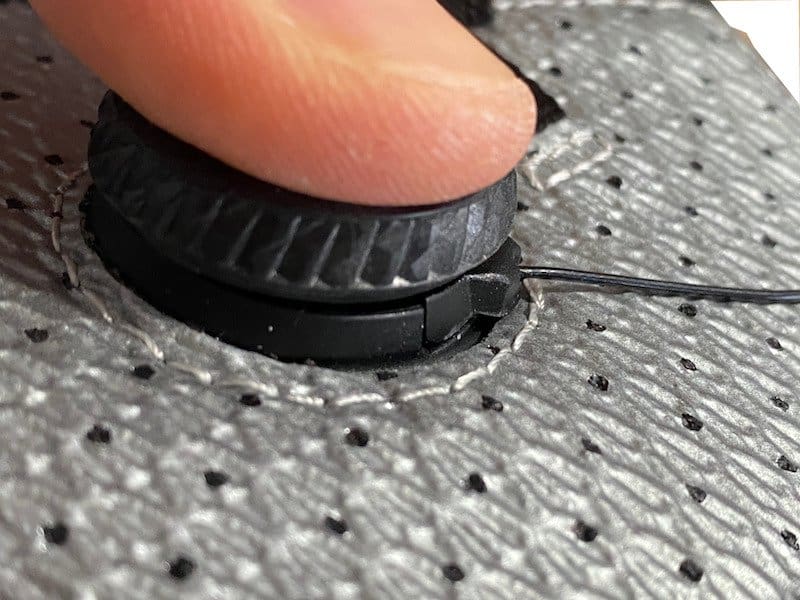
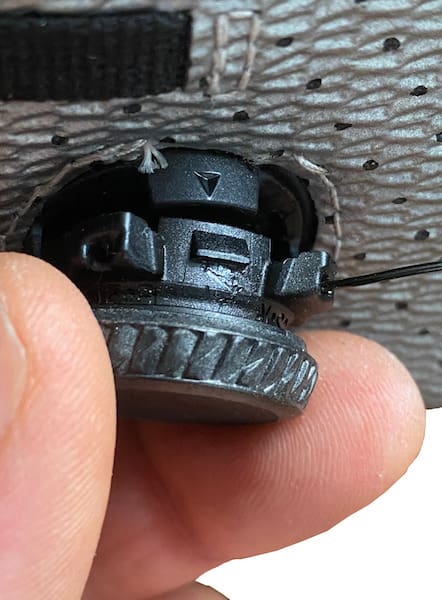
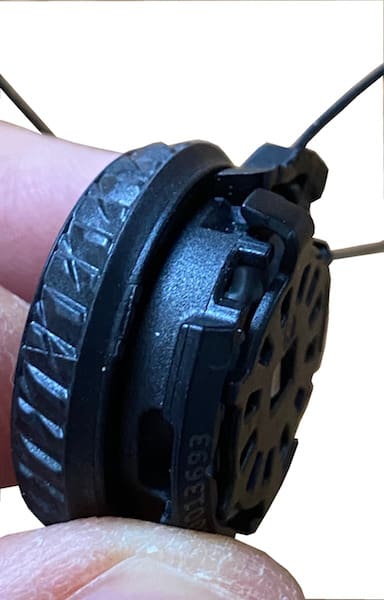
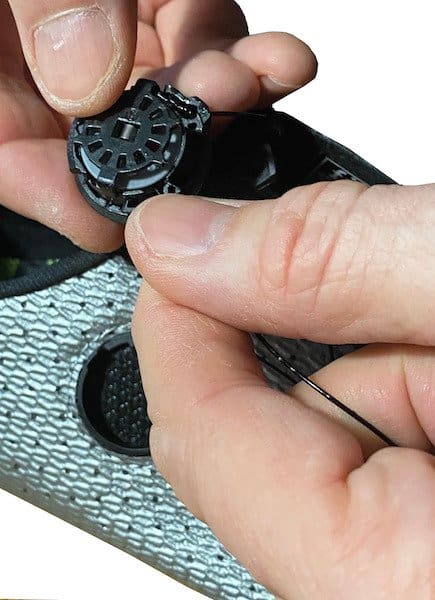
Stage 1
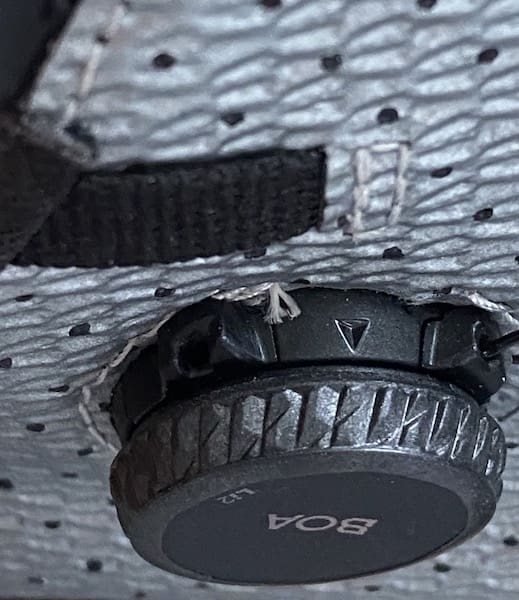
We will look for the arrow that is present on the Boa Li2.
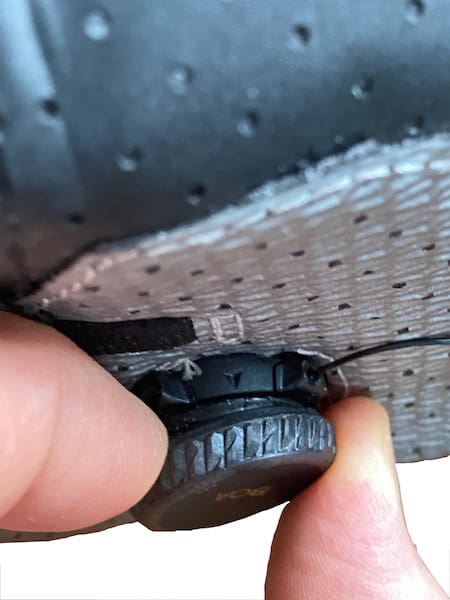
Stage 2
We will then pull the upper part of the clamp as if to unlock it.
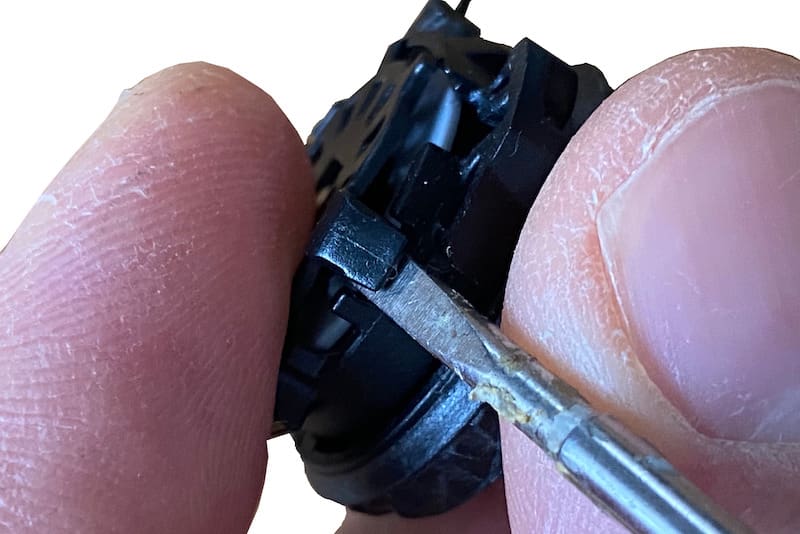
Stage 3
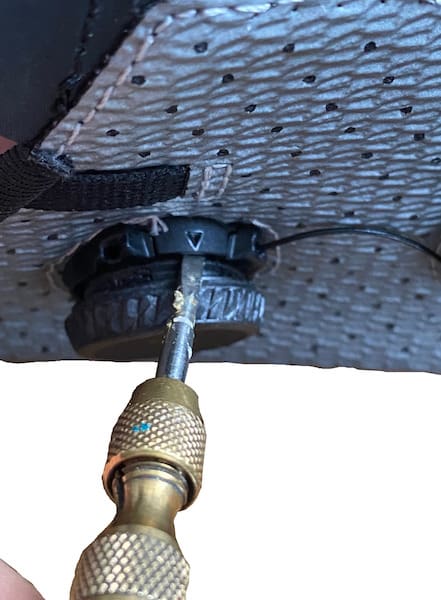
The screwdriver must be inserted in this place and leverage.
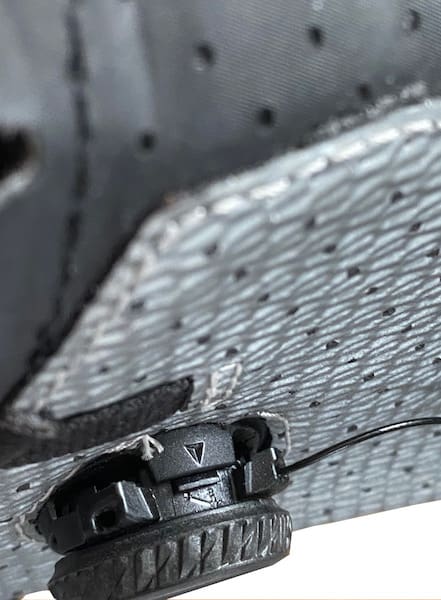
Stage 4
At this point we stop with the screwdriver!
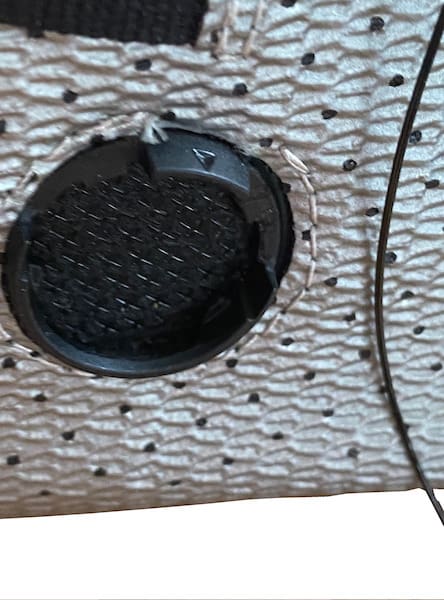
Stage 5
When it is clear, the Boa Li2 clamp is removed by hand to continue to repair it.
Stage 6
We clear the tightening, but above all we do not pull to leave the cable in the passers-by!
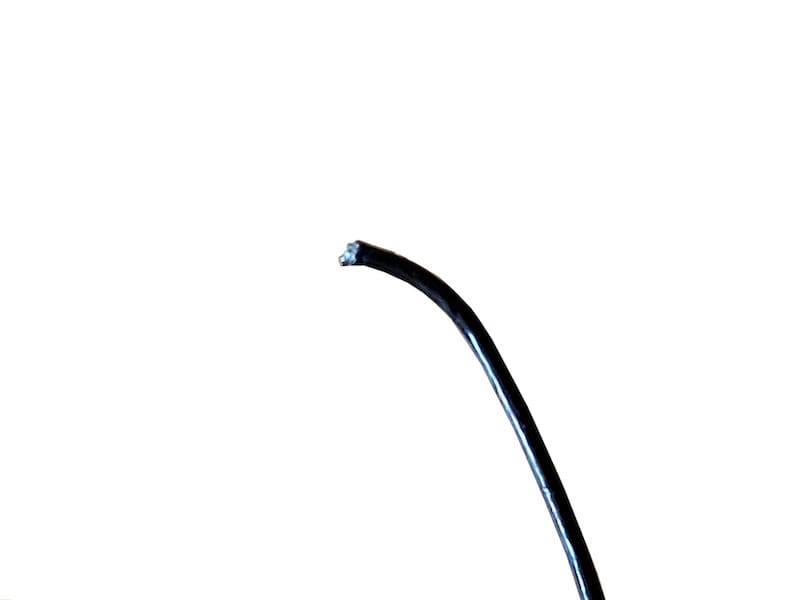
Stage 7
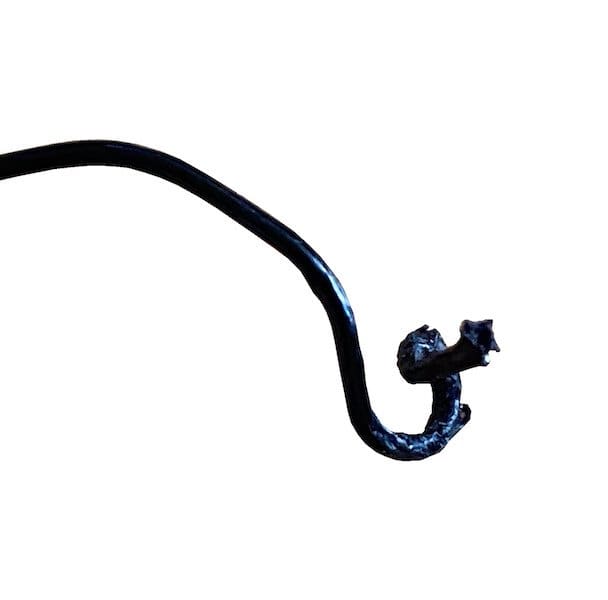
The cable to this head… It is more bent and will be less « convenient » than a new cable.
Stage 8
So we will cut it, with good scissors or cutting pliers.
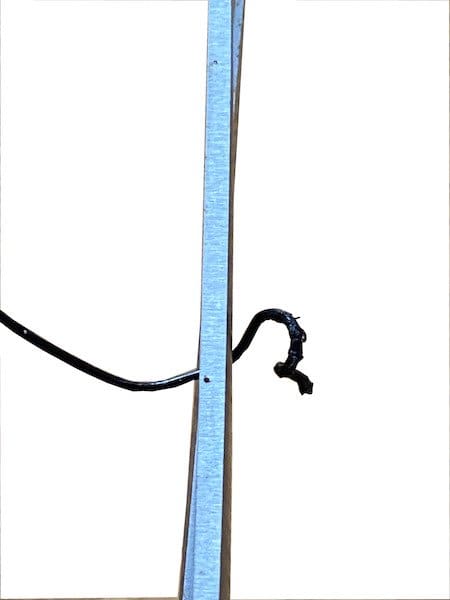
Stage 9
The cut is quite frank, but no miracle the cable remains bent. And therefore difficult to introduce into Boa Li2…
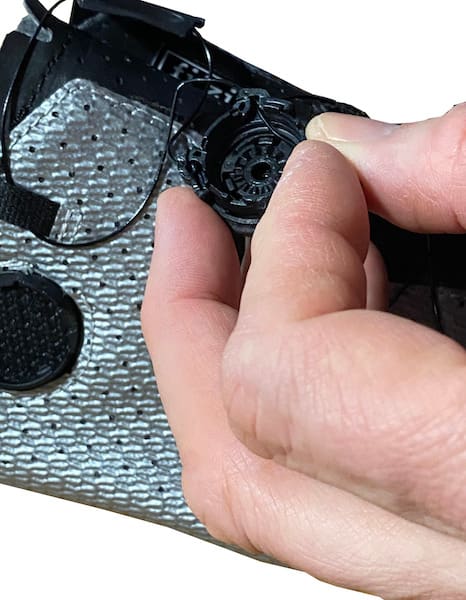
Stage 10
We will disassemble the Boa Li2 to pass the « bowed » cable. The mechanism is held by a plate with 2 claws placed symmetrically on the tightening.
Stage 11
We lift with the screwdriver, and the locking starts easily.
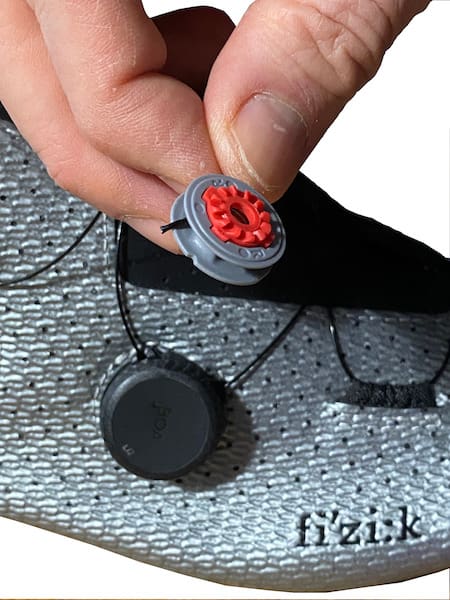
Stage 12
We then see the cabestan appear. The cable detached from the cabestan but not from its fixed anchor point. We’re going to take out the cabestan, just tap for it to go out.

Stage 13
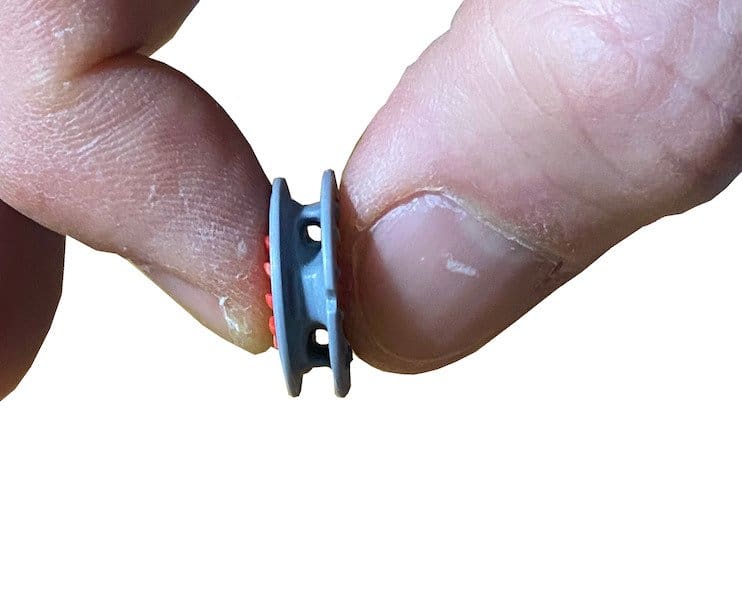
Even if there is a notch on the cabestan, it is symmetrical. So no problem with the direction of assembly.
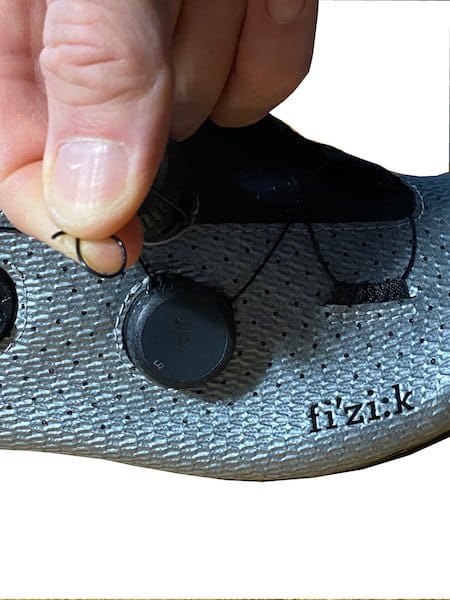
Stage 14
We insert the cable into the body of the Boa Li2, we avoid crossing it. And we also don’t forget to pass it through the passer.
Stage 15
We then enter the cable into the cabestan. With a new cable, there is no need to disassemble the cabestan… Unless the remaining piece of cable is stuck in it!
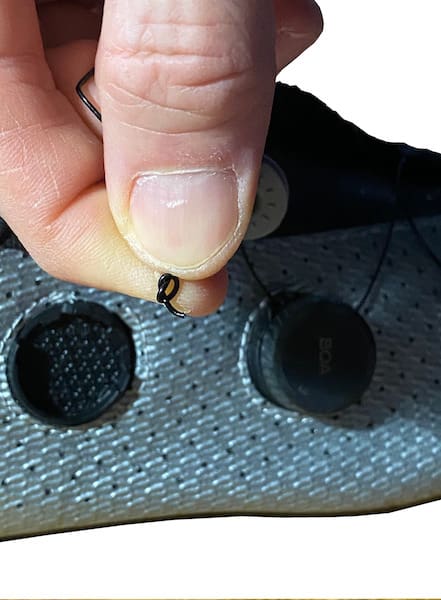
Stage 16
We make a loop at the very end. We just shortened the cable so we work as close as possible to the cut…
Stage 17
We will then pull the end of the cable with the clamp to stretch the knot as much as possible.
Stage 18
We turn on the cable with the lighter…
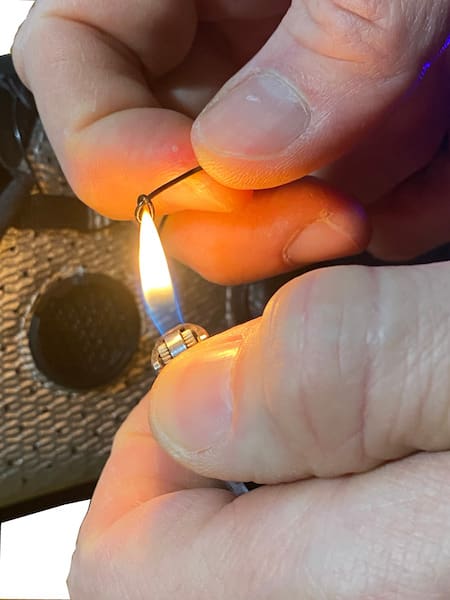
Stage 19
And we let it melt a little… Just breathe to stop the fire!
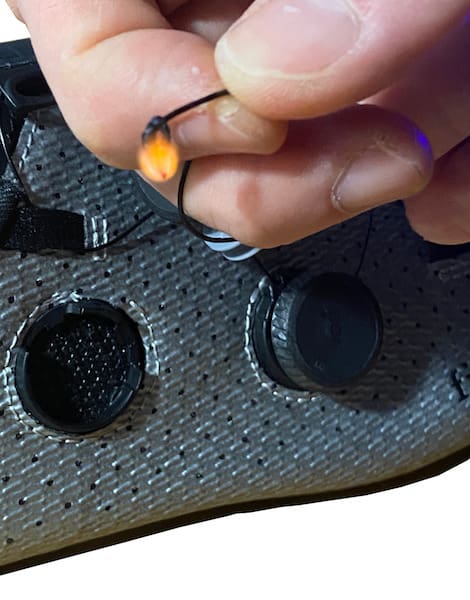
Stage 20
We now pull the cable into the cabestan.
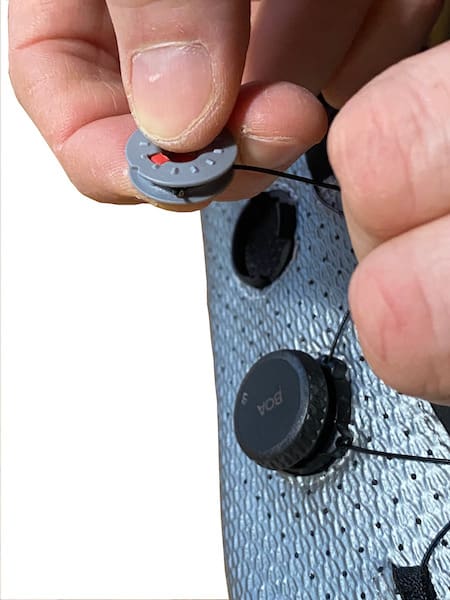
Stage 21
The cable is then pulled so that the knot fits perfectly in the cabestan.
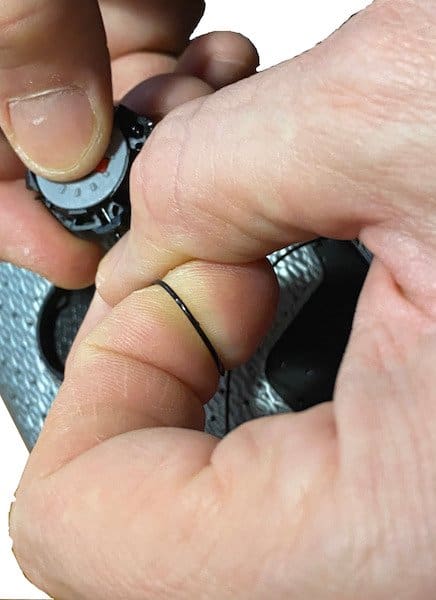
Stage 22
We put the cabestan back in the Boa Li 2 and we still pull to stall everything. And make sure that the knot also holds…
Stage 23
The mechanism support plate is then replaced. We can’t be wrong.
Stage 24
We clip the Boa Li2 into its housing on the shoe. And above all, we’re going to ride!