Partager la publication "How to easily place your handlebar tape?"
Simple decoration, element of comfort or safety? The handlebar tape is all this and requires to be placed with care!
Pictures © Frédéric Iehl
The tools
With a roll of adhesive tape used in electricity and a good pair of scissors you will be ready for this operation!
Time and difficulty
If we go in the right direction, there is nothing difficult in this operation. In terms of time, it can range from 5 to 15 minutes. No more… However, it is not a speed competition, it is important that it is done well so that the outfit is sustainable.
Stage 1
To put the handlebar tape we start from the bottom, for a simple reason, the spires of the ribbon will « stack » on each other like tiles and when your hands « descend » on the handlebar, they will not make the ribbon squeak! They will behave like the tiles of a roof. We also choose to wrap the tape from the outside to the inside because this type of wrapping will tend to tighten when you scream on the hanger. The hold in time will only be better.
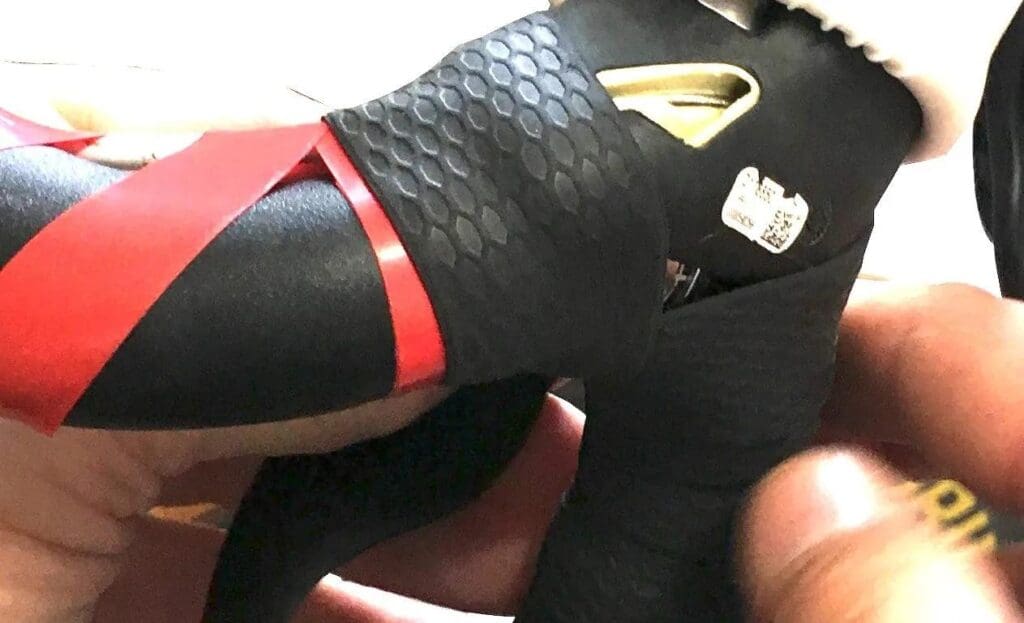
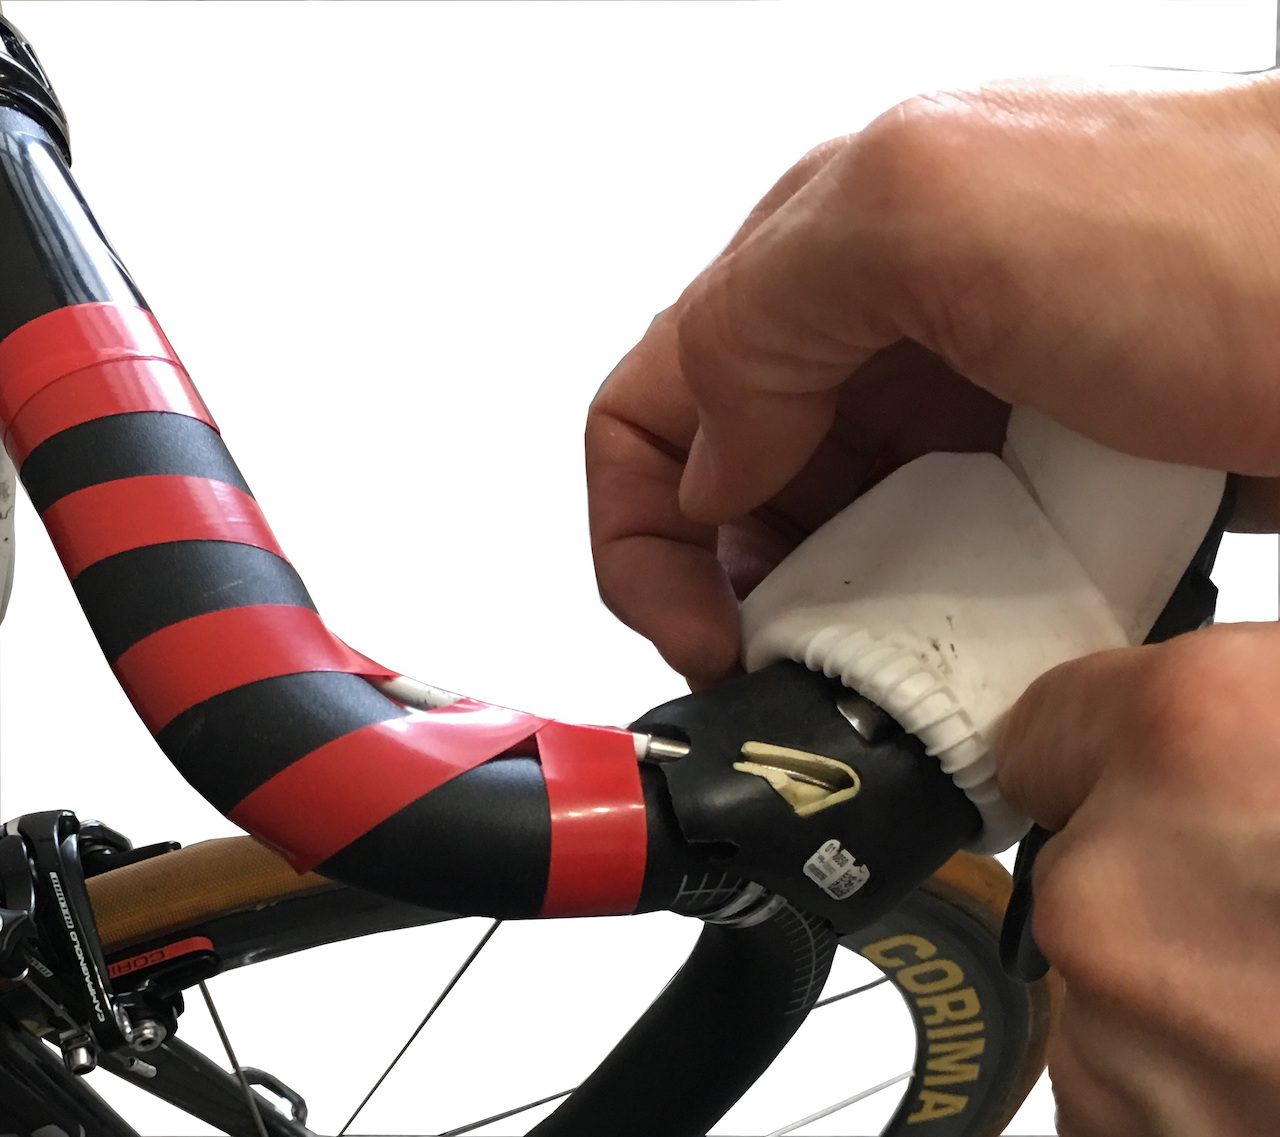
We start by belting the housing with the adhesive tape. We start quite close to the levers.
No need to ride, you can space the spires of the ribbon. However, we will insist on the areas of tension.
We will finish 10 cm from the stem.
If this has not already been done, we return the carp covers as much as possible.
Stage 2
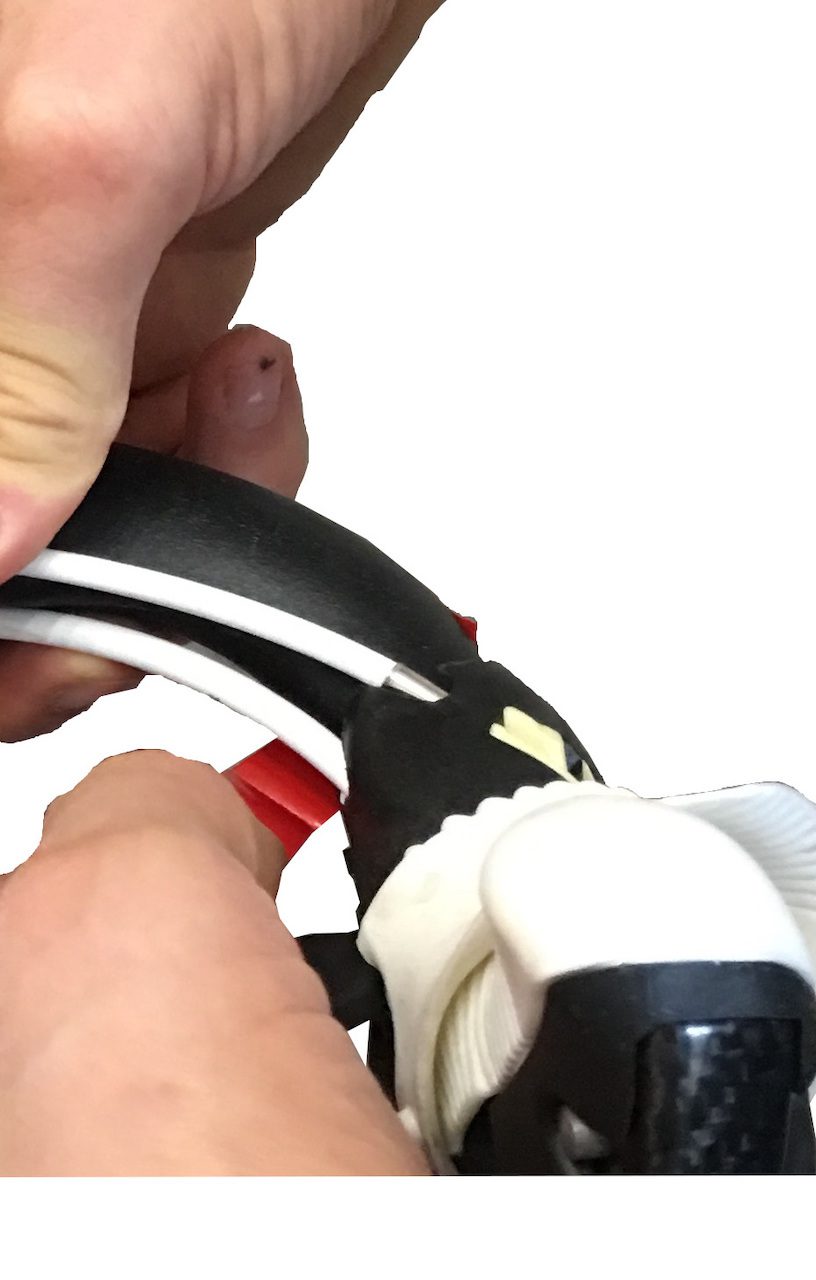
The ribbon is placed on the end of the hanger. Half on the handlebar, half in the void and we start rolling it inwards.
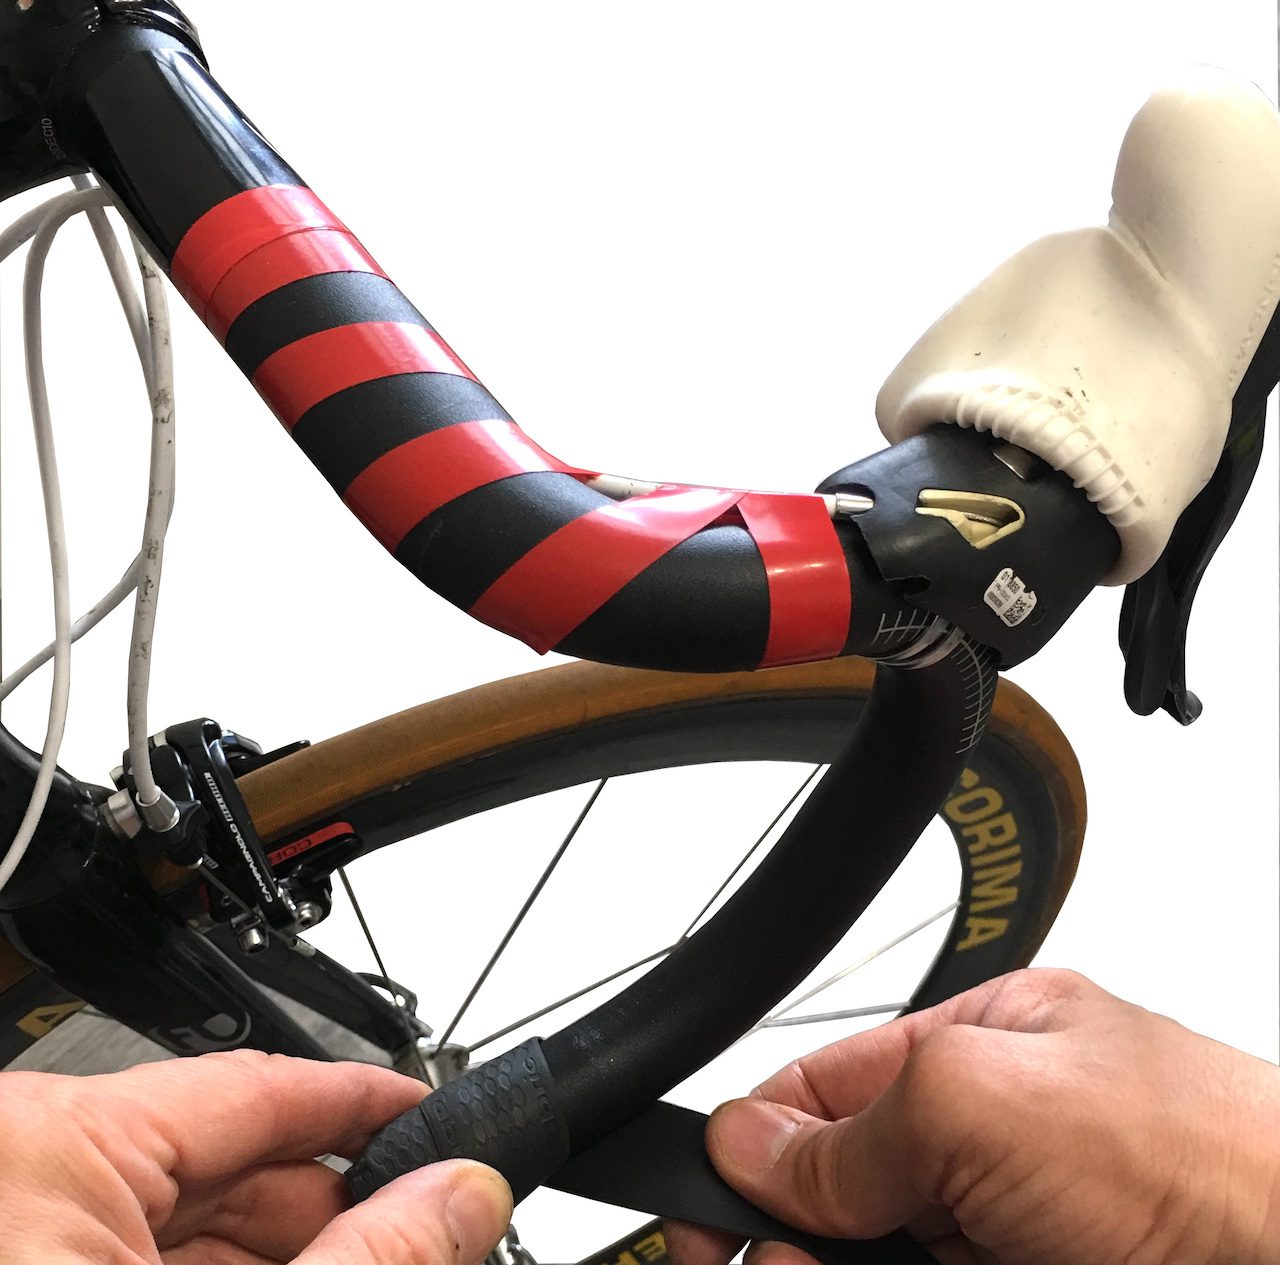
We stretch out the ribbon and arrange to cover the bottom spire with a third of the ribbon we apply.
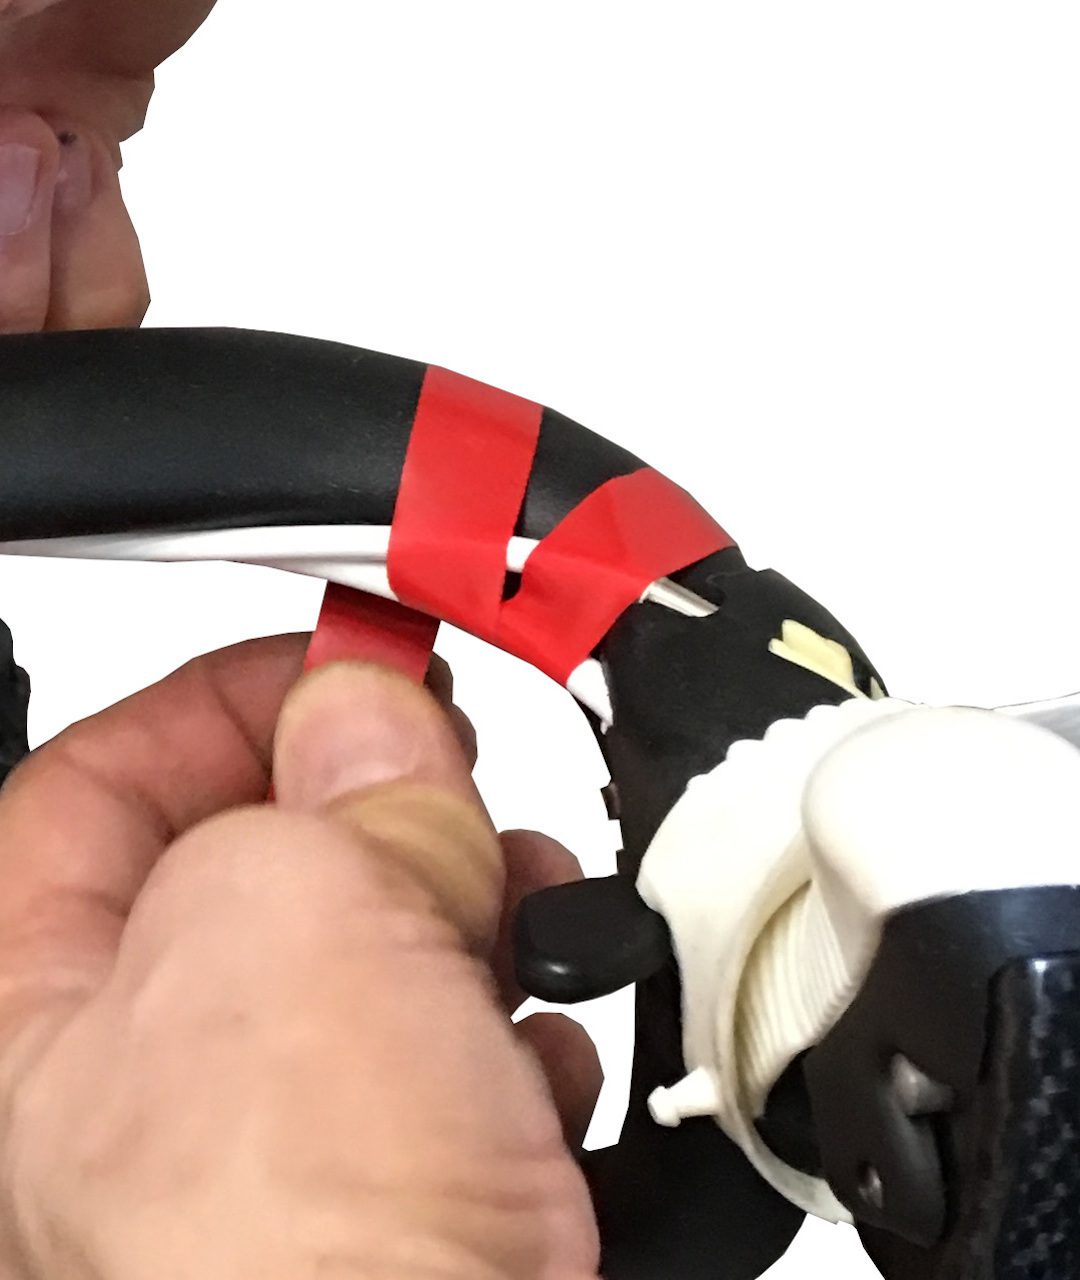
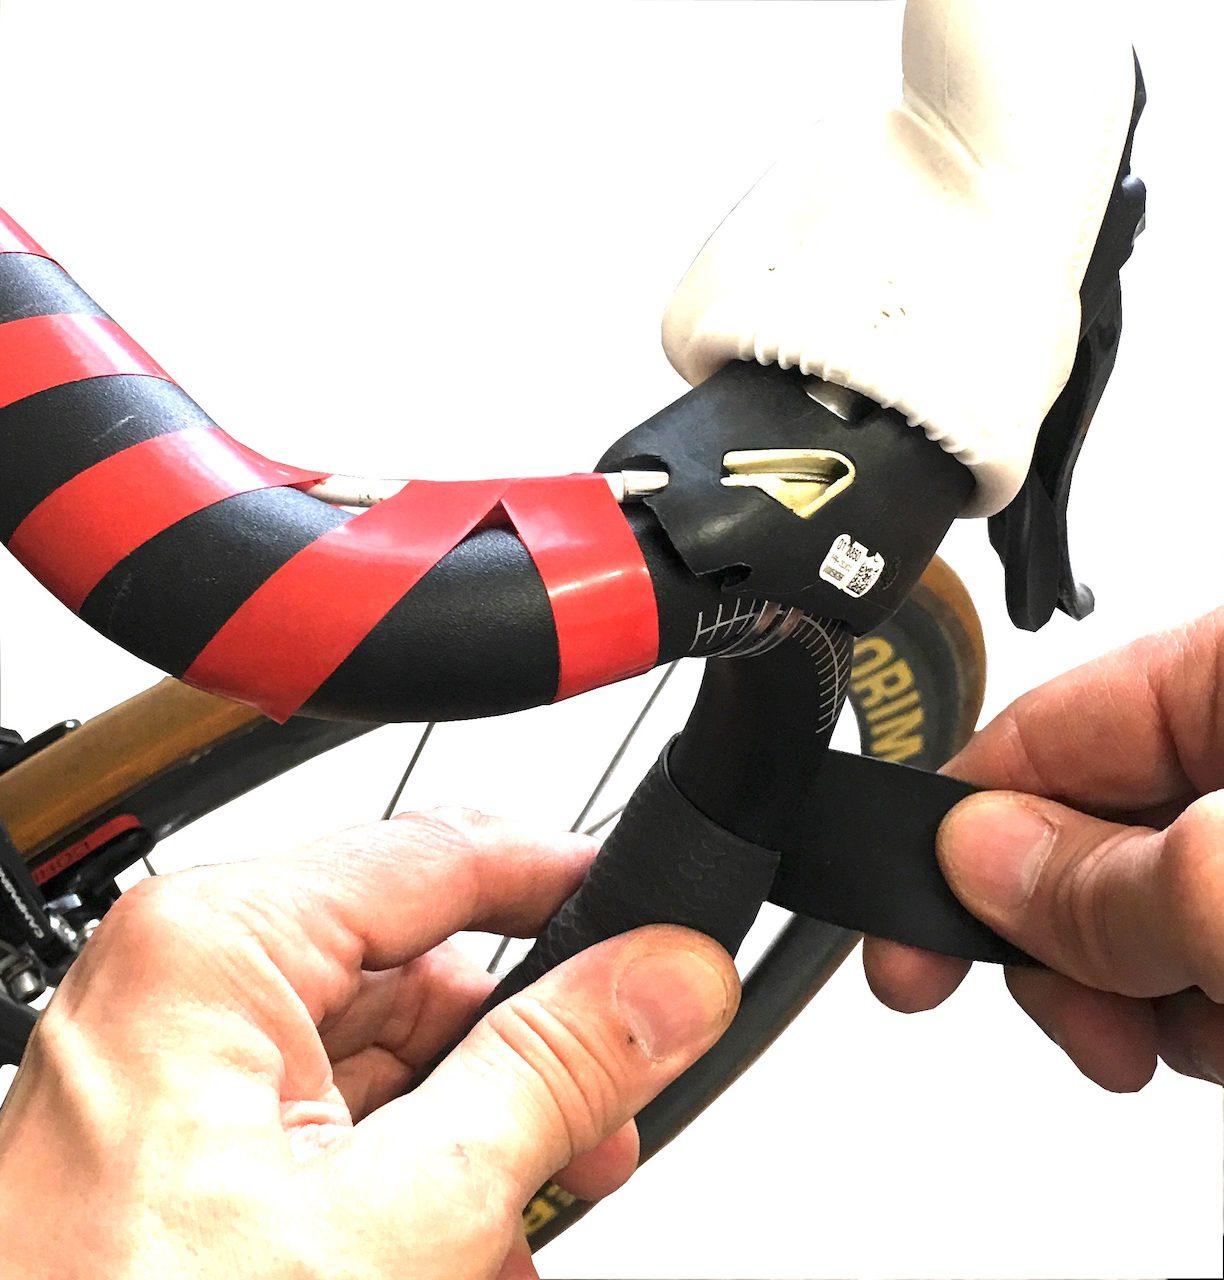
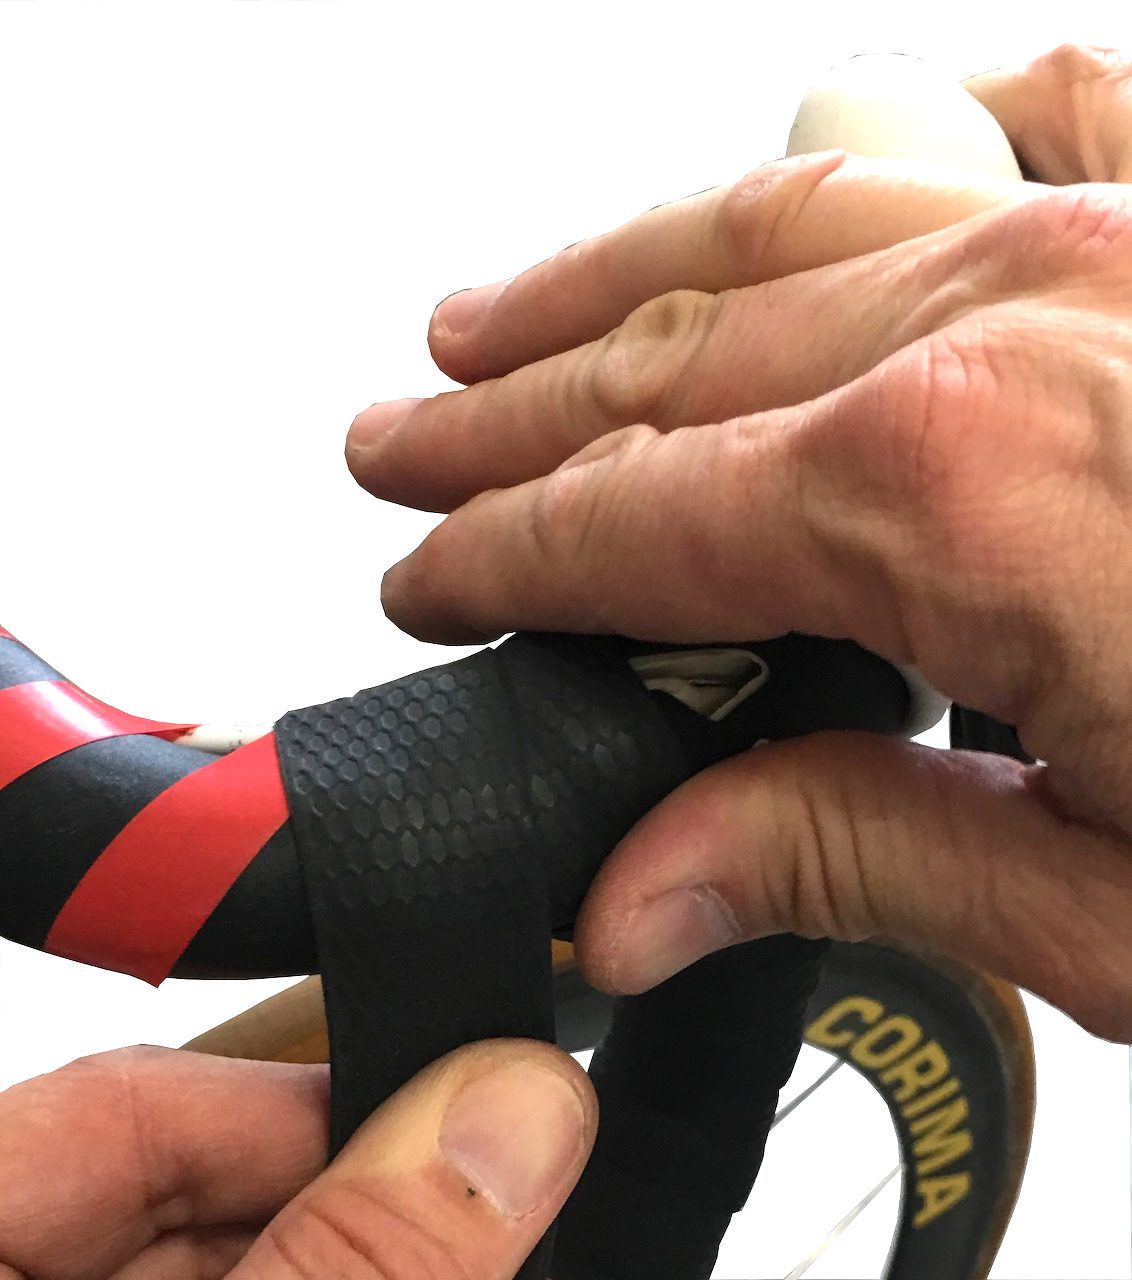
When we get close to the lever, we try to place the ribbon as close as possible to it.
The ribbon is then passed over the lever.
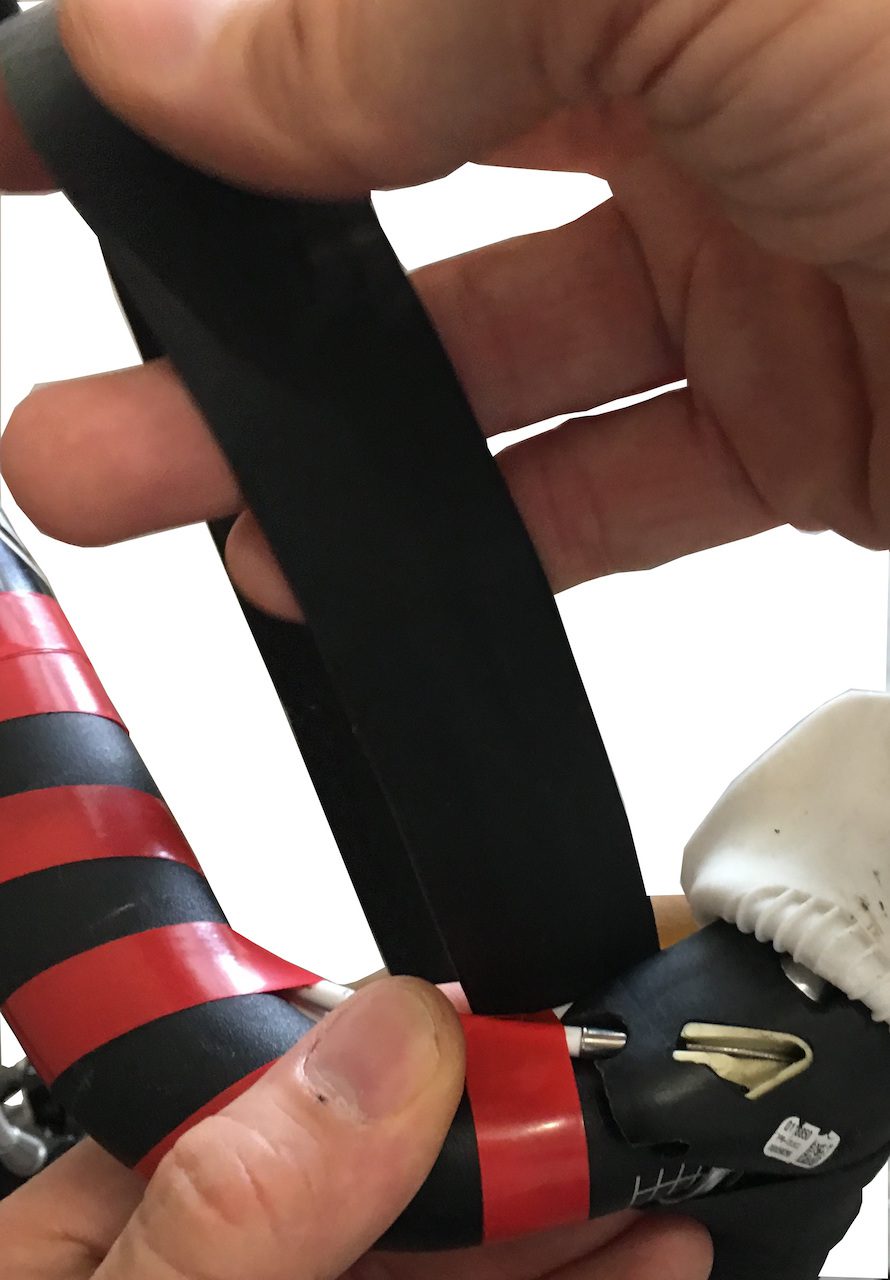
We wrap the ribbon around the handlebar to iron under the lever…

We go back through the front of the hanger and continue on the trajectory to go up
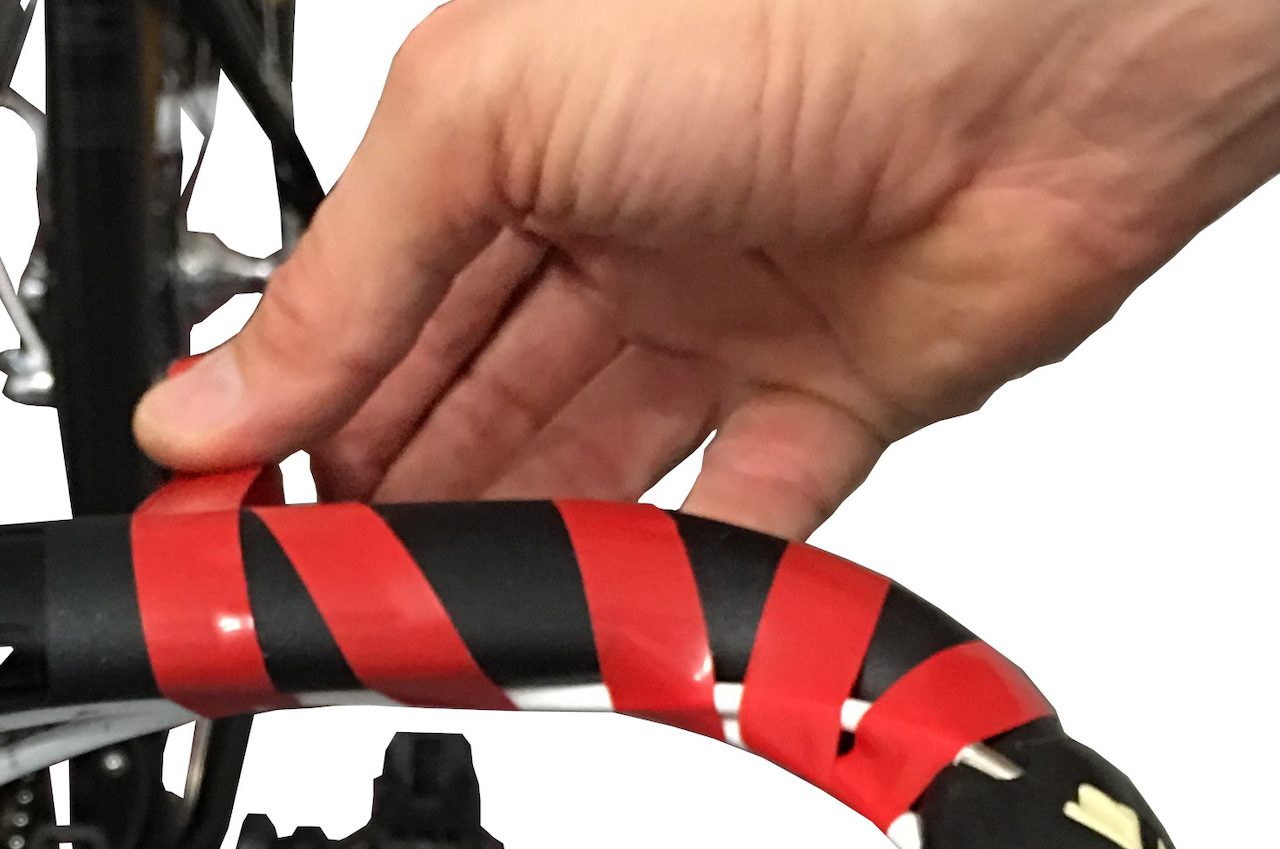
The ribbon is then wound up to the end.
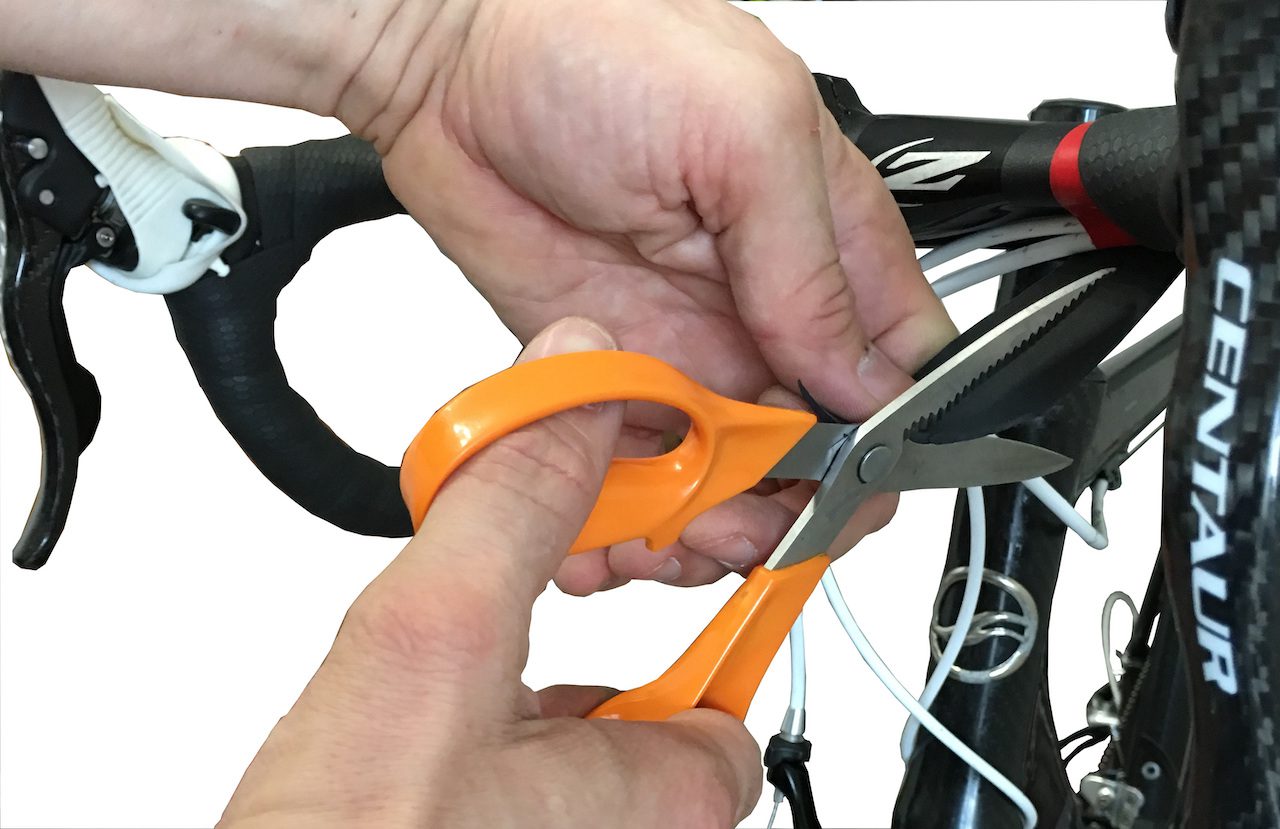
When you reach the end, you have to cut the ribbon into a bevel.
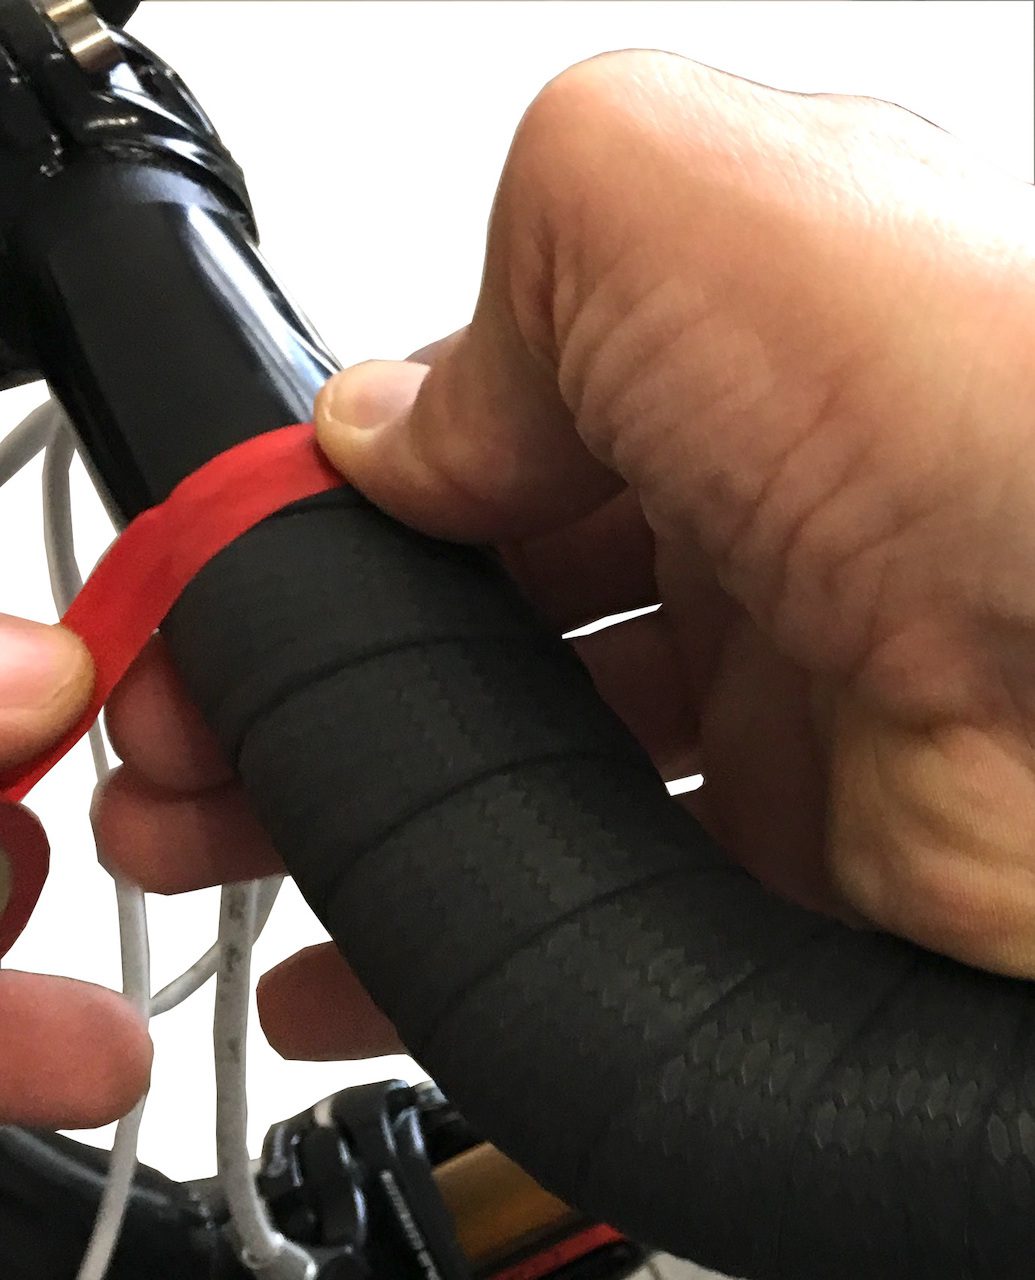
All that remains is to put the terminal adhesive tape. It is mainly wrapped in the same direction as the handlebar tape. We do several staggered laps.
Stage 3
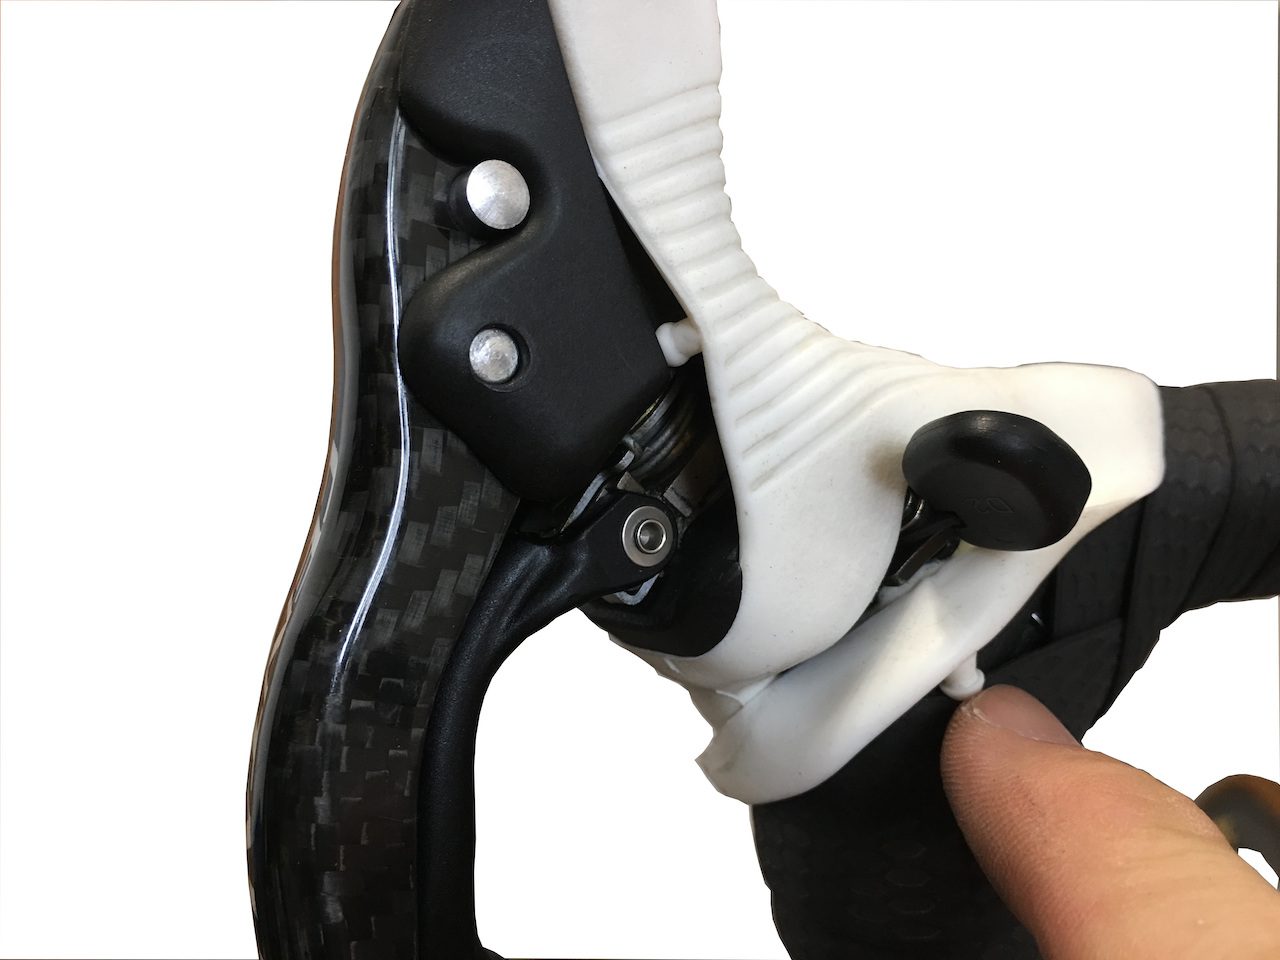
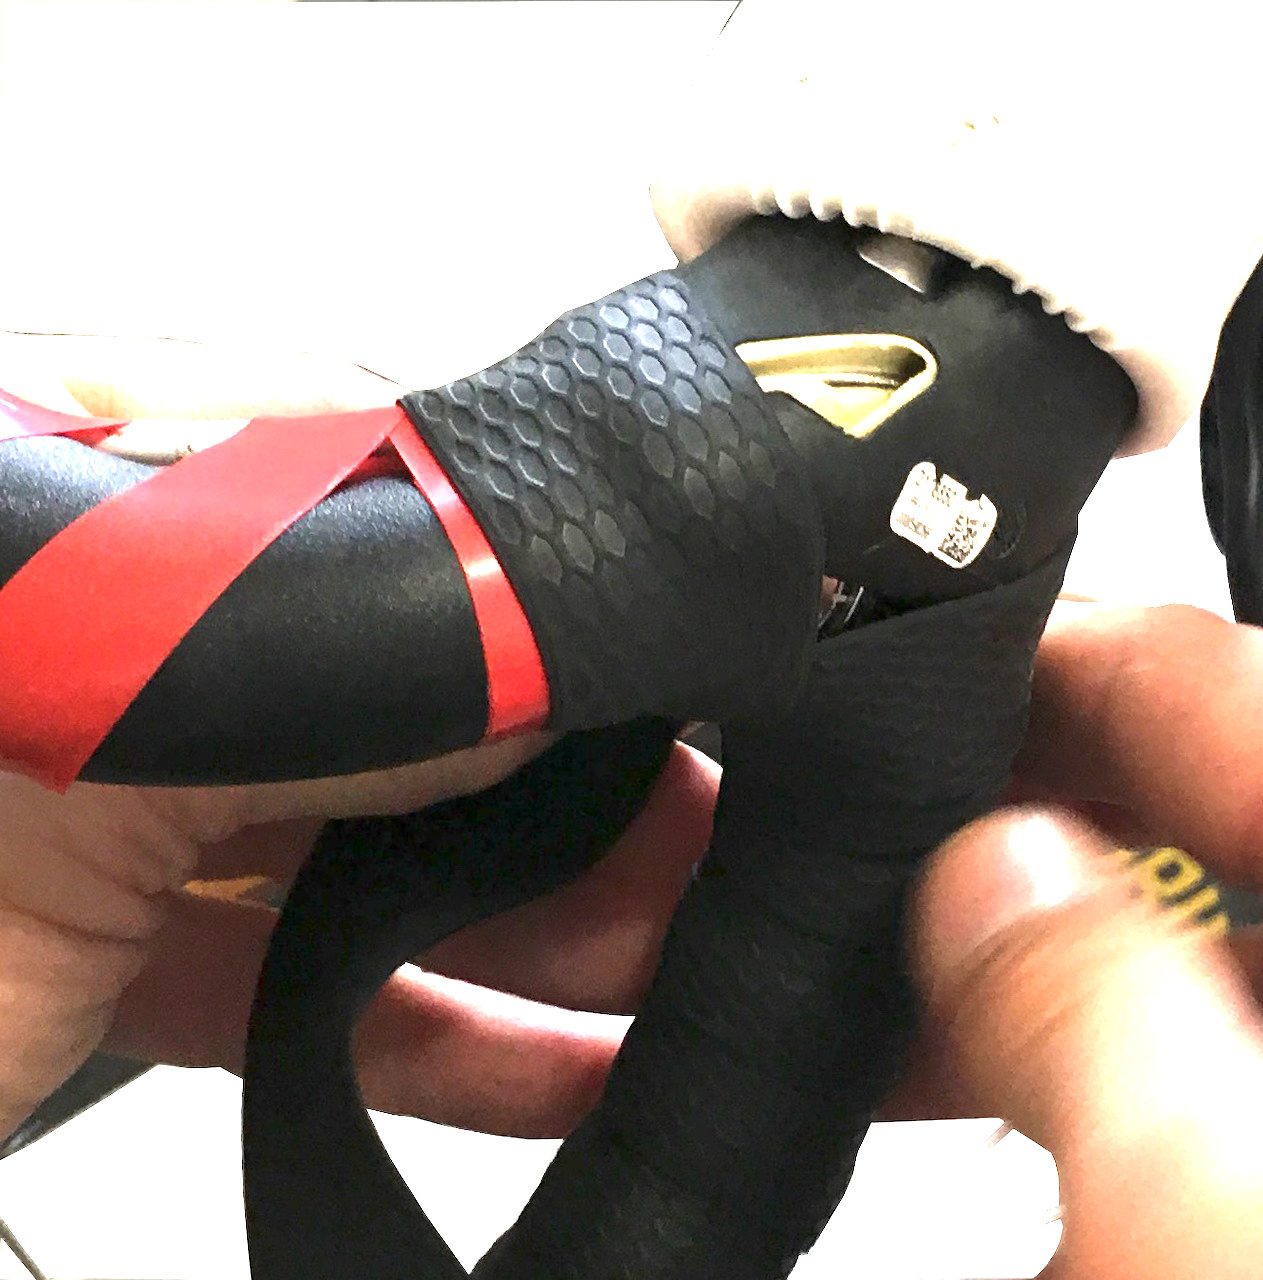
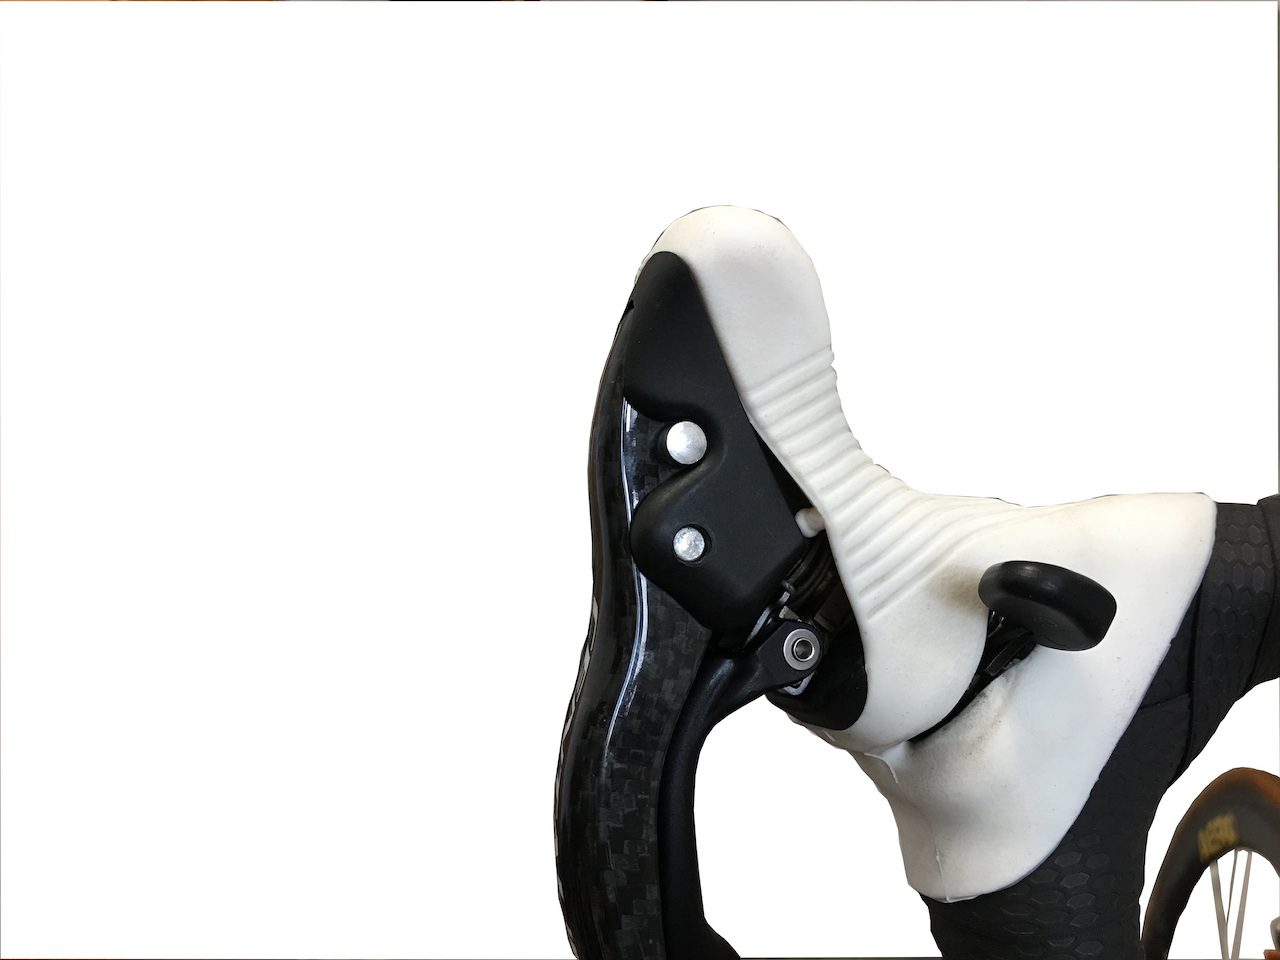
The cover is then replaced. There are sometimes pimples, do not forget to put it back in their homes as on this Ergopower Campagnolo.
Once put back in place, the cover perfectly masks the parts of the handlebar that are not wrapped.
Stage 4
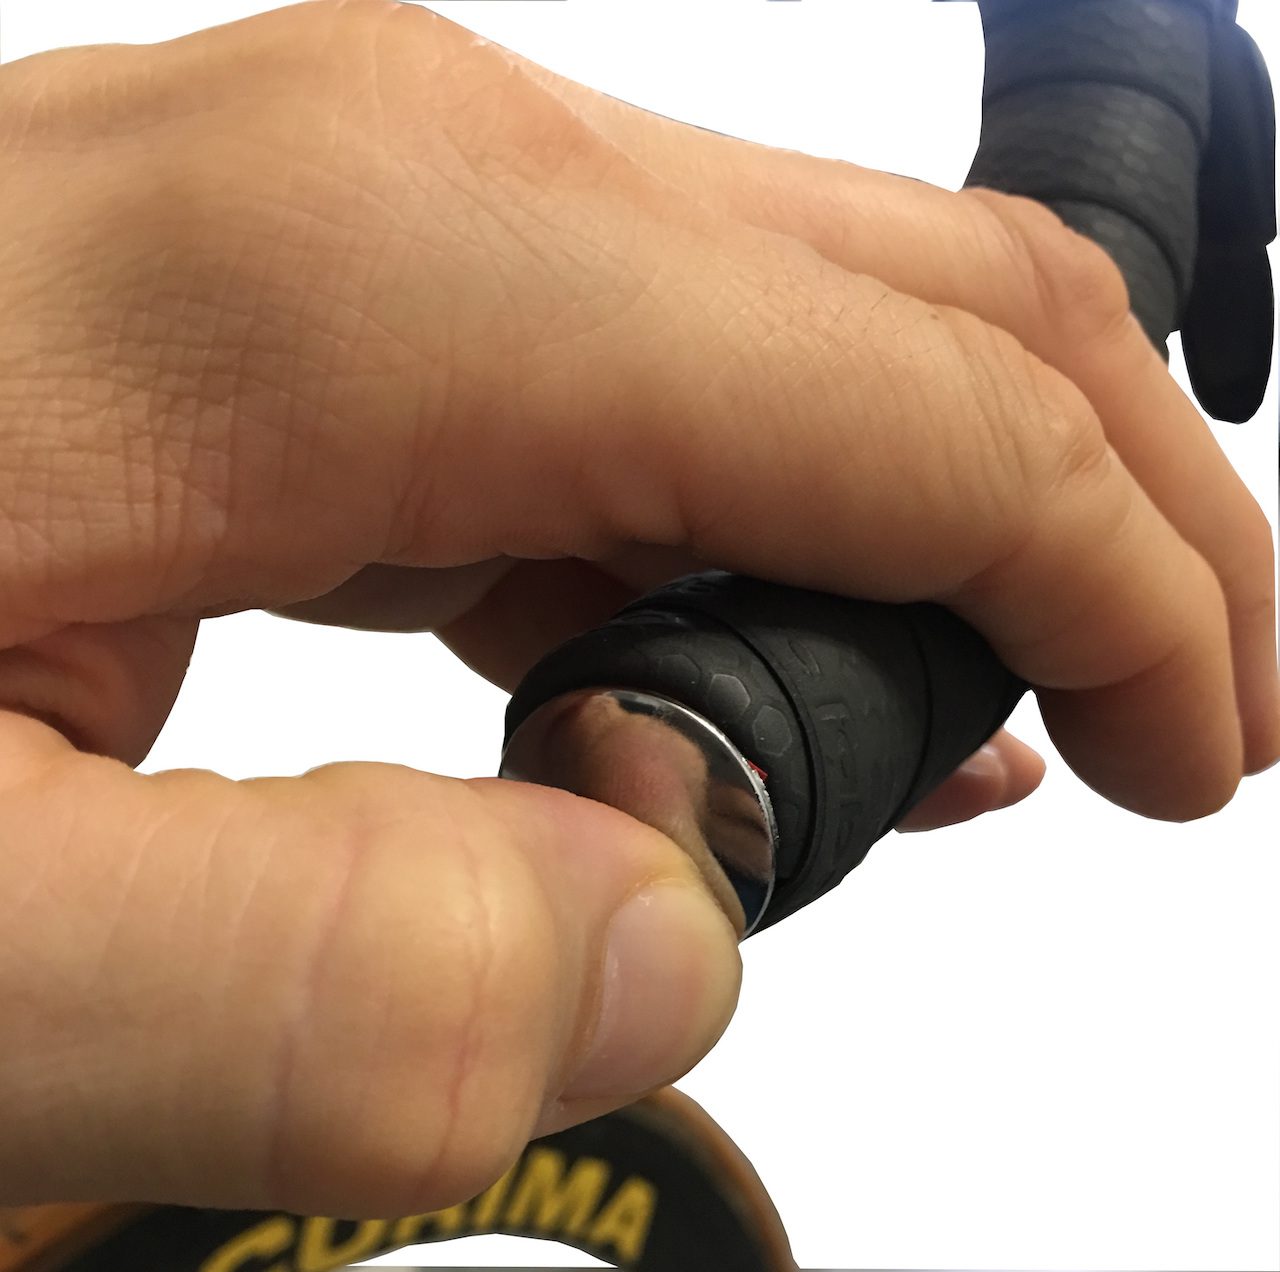
We push the piece of tape back into the handlebar and place the cap that must come in by force to hold.