
Partager la publication "Assembly an aluminum handlebar"
Changing the stem or mounting a new handlebar is not a complicated operation. But there are some precautions to take to make your life easier and drive safely.
The tools
To mount its aluminum handlebar, it will require grease to lubricate the handlebar-power links, Allen keys (4 or 5 mm) or Torx keys (T25 or T 30) to tighten the various screws and a torque wrench to lock the whole as necessary. Here for practical reasons, we have replaced the Torx screws with an Allen screws on this Zipp handlebars…
Pictures © Frédéric Iehl

Time and difficulty
In about ten minutes it should be done, there is nothing complicated. On the other hand, you must be meticulous and not be « pressed » to ensure a good tightening, safe and reliable. So take your time.
Stage 1

The carbon pivot is covered with grippy paste. Above all, we don’t put grease. If you mount aluminum on aluminum, put grease on the other hand.
Stage 2
If the pivot is too long, it doesn’t matter. On the contrary.

Stage 3

Simply place a 5 mm spacer above it, this will allow you to modulate the height of its handlebars a little afterwards.
The important thing is that there are at least 3 mm between the top of the expander and that of the spacer so that compression is possible.

Stage4

Then place the steering hood.
Then the compression screw.

Étape 5

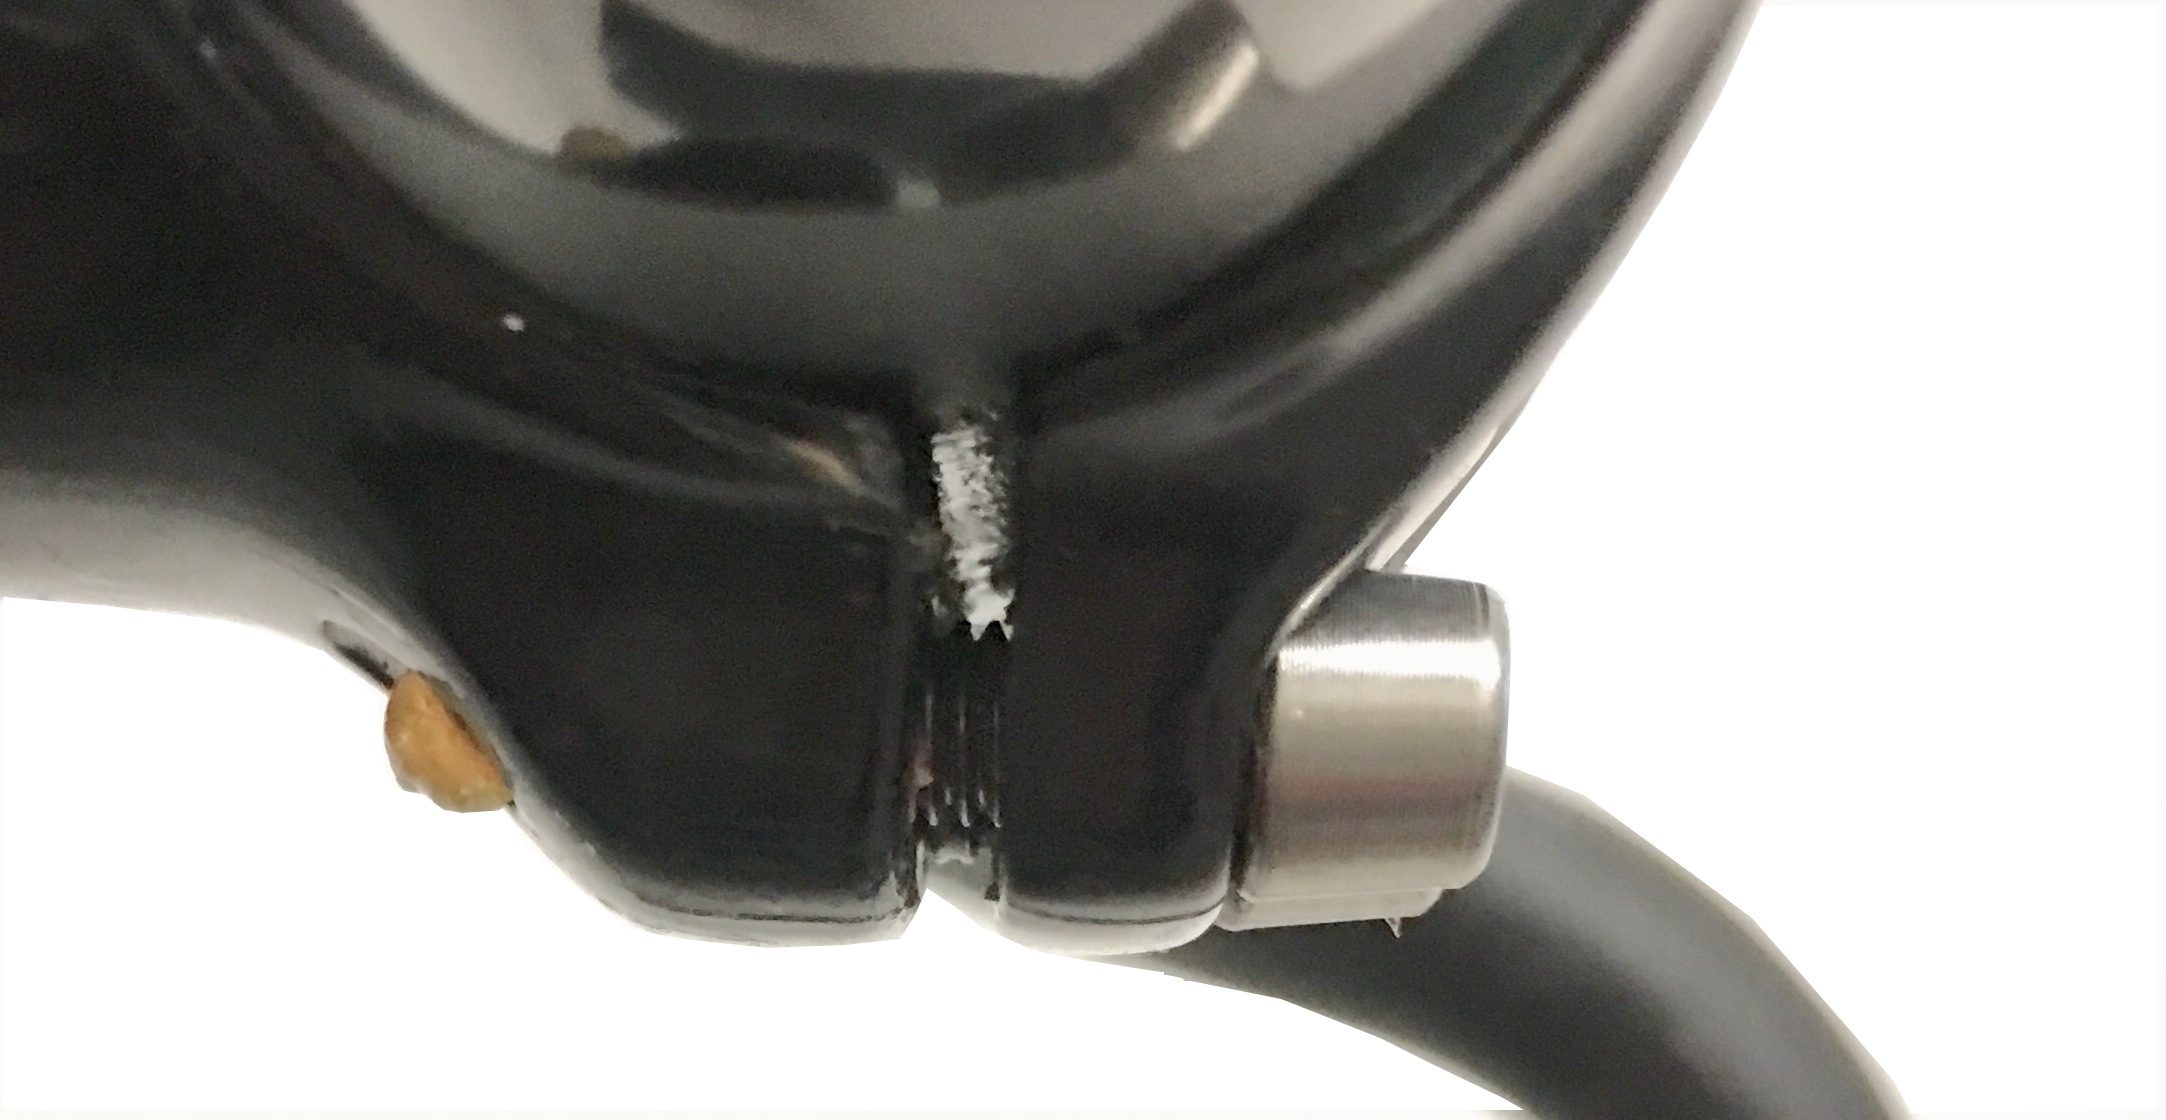
Now we move on to the assembly of the hanger. It is made of aluminum, like the stem, so we grease the contact parts abundantly, but also the threads.
Don’t forget to grease the hood. Possible cracking noises are related to the absence of lubricant.

Stage 6

It’s the most critical moment, we put down the hanger and put the hood with one hand… The excess grease will be removed when everything is over.
Stage 7
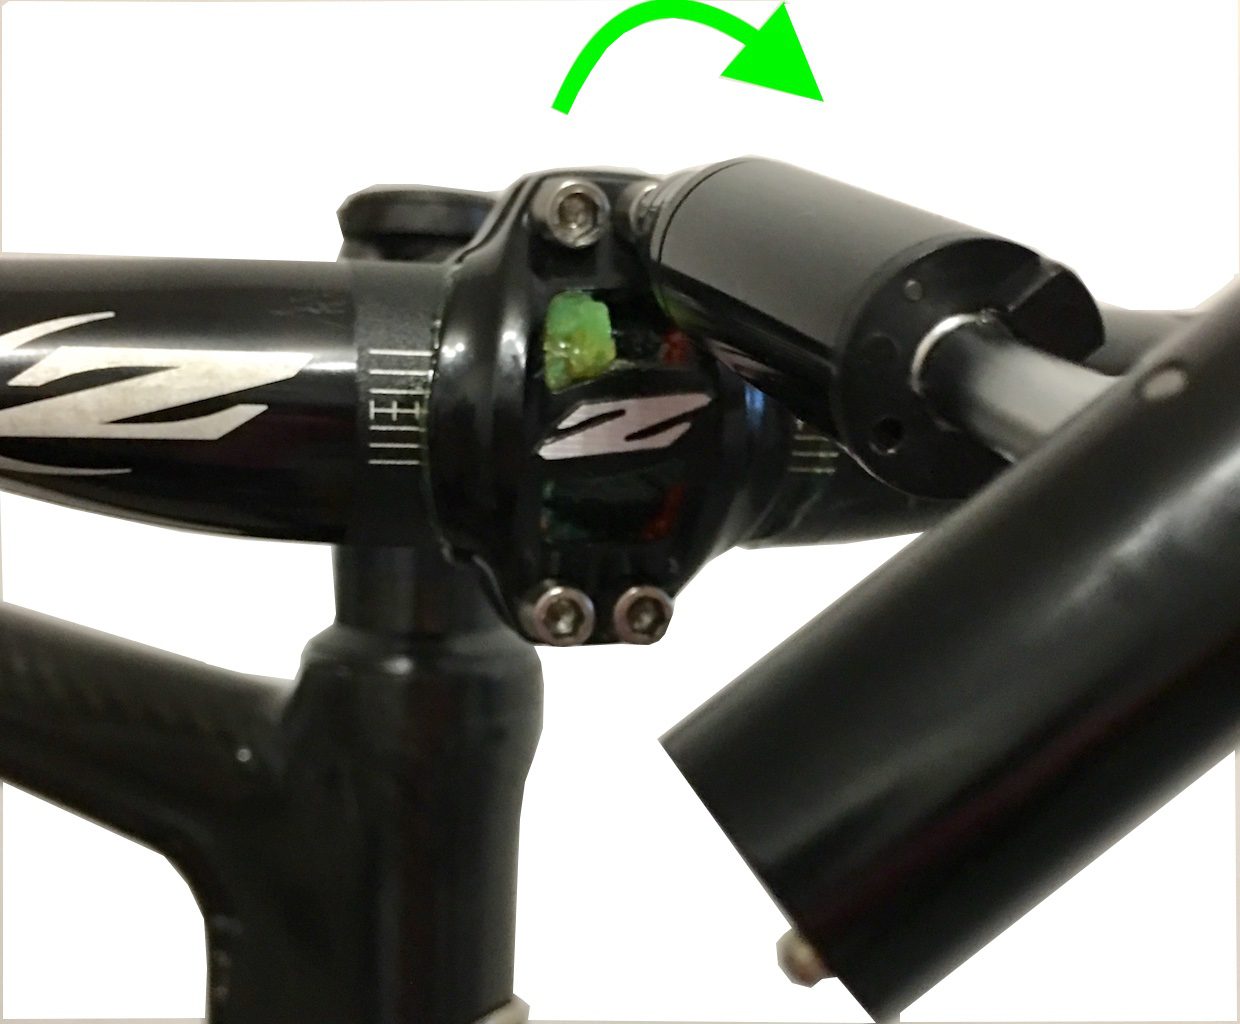
We place the first screws to maintain everything.


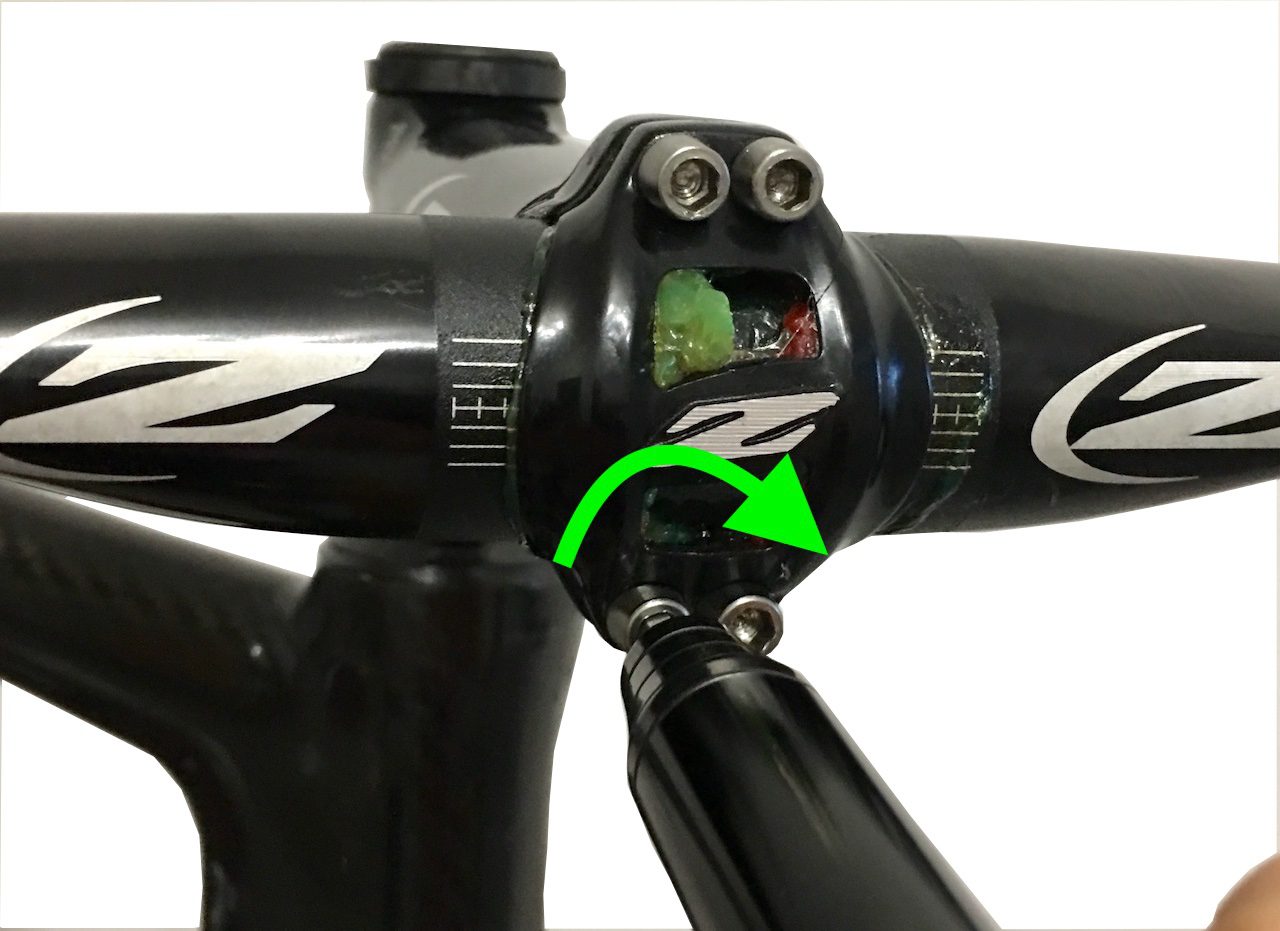
We take the opportunity to center the hanger by means of the markers. Here you have to push it to the left.
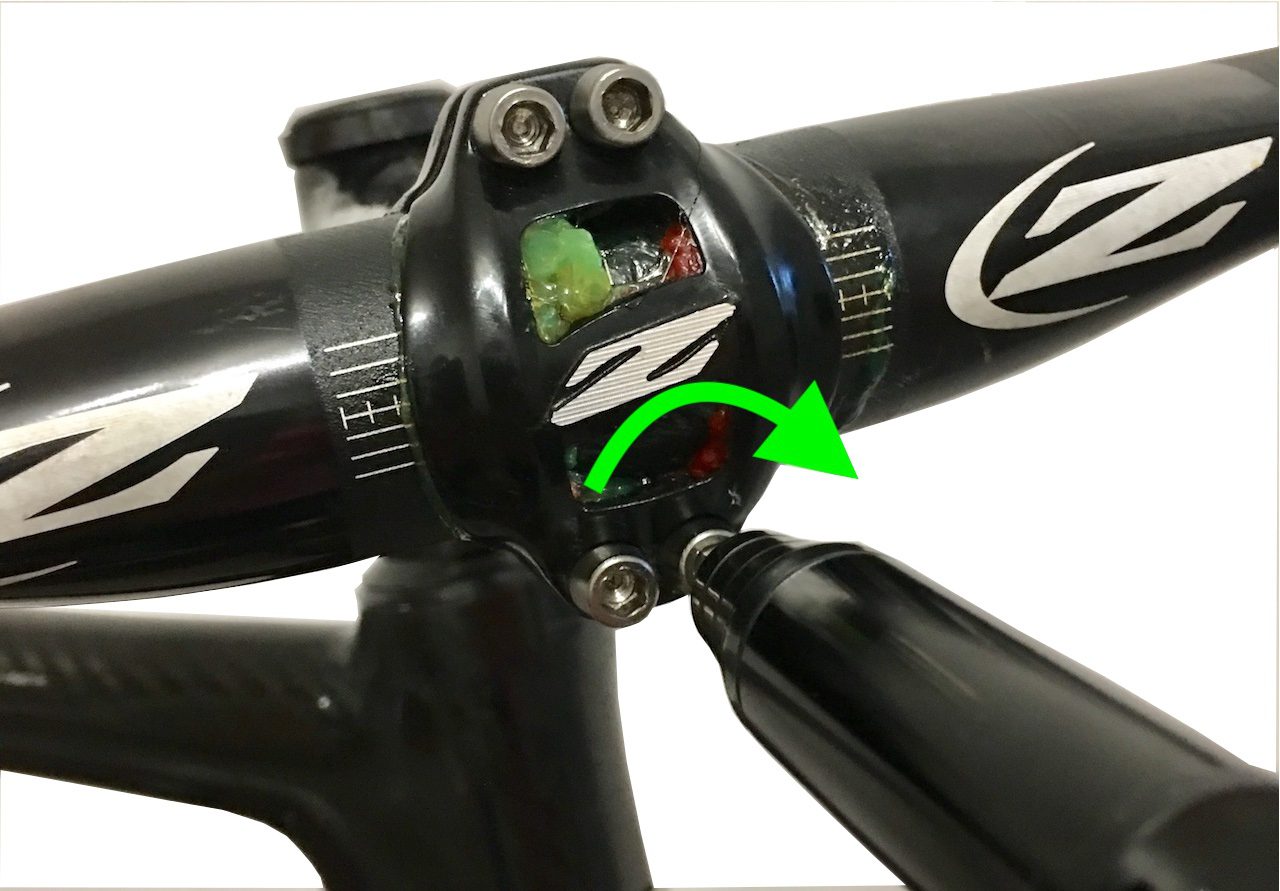
Stage 8
The 4 screws are now in place, they will have to be tightened cross-s, following the order shown in the photo.

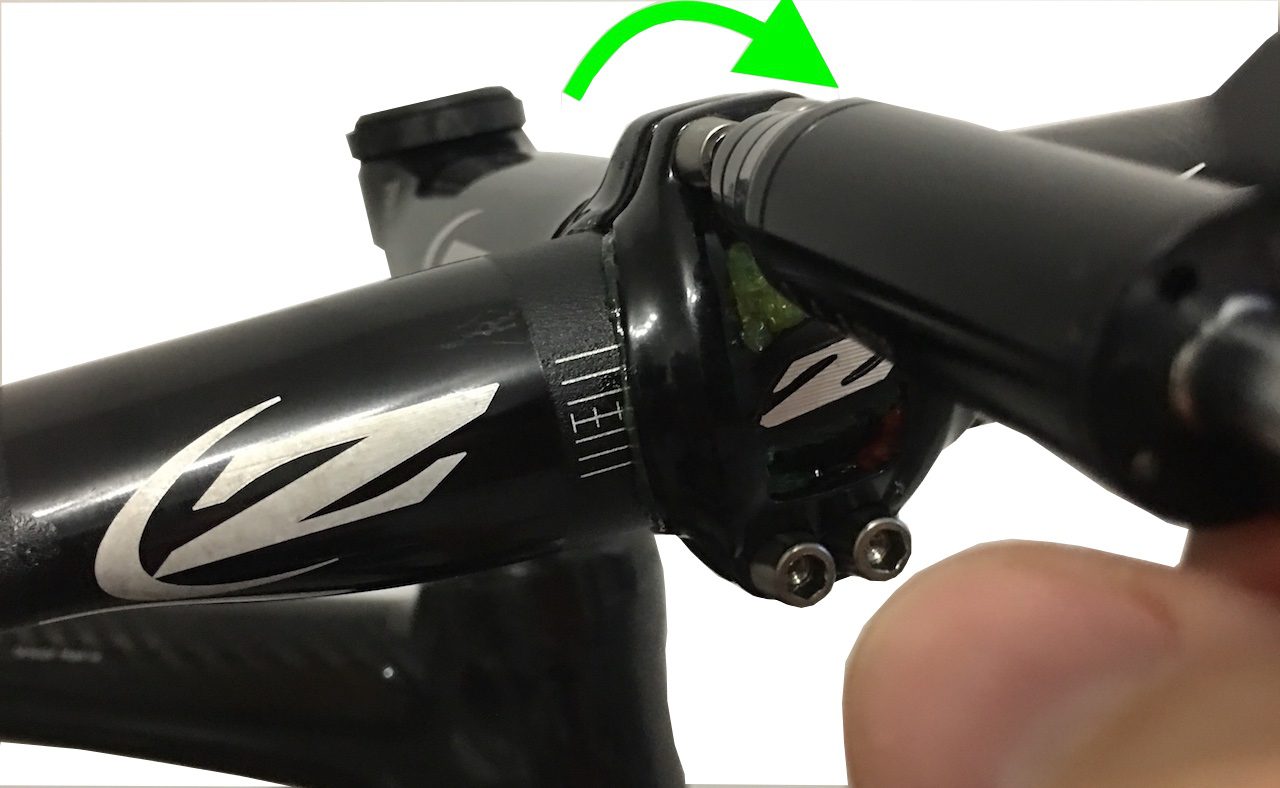
Stage 9

But this is not enough, the tightening must also be balanced and the gaps between the hood and the stem must be the same below and above.
Stage 10
So we start tightening with the torque wrench. When the 4 screws are blocked, a complete tightening turn is redone. Normally we are good at that time.
Stage 11

The steering cover is then compressed to reduce the play.
Stage 12
The stem is also tightened starting with the bottom screw.


We then move on to the top one. Then, we recheck the bottom tightening, then the upper one. We will finish with the torque wrench.
Stage 13
Clamping torques are usually engraved on the aluminum handlebar components, or on the frame.


We see if we reach the couple. The lines are very close, you need good eyes. And attention…
There are various types of torque wrenches. This one is without a ratchet. We must therefore be attentive. When the couple is reached, we check once and it’s good!

In our case, all that remains is to mount the sequence of the components. The tightening of the stem and hanger is therefore not definitive on your aluminum handlebars. As well as the resumption of the game in the direction. There are still many operations to be done – ergonomic adjustments, assembly of components – before you are ready to ride. If you have just changed the stem, you will have to align it with the front wheel, then adjust the steering set. Before tightening everything to the couple, of course.