Partager la publication "Remove or mount your Shimano brake pads"
You must remove your brake pads to replace them, clean them if necessary, or bleed them. The operation is very simple!
The Tools
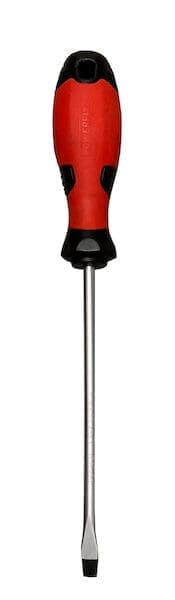
To mount and dismount Shimano disc brake pads, all you need is a flathead screwdriver and that’s it. The rest is done by hand. Now if you bleed, you will need to add a piston wedge. It’s not because it’s convenient, but because it’s necessary. So don’t forget it!

Pictures © Frédéric Iehl
Time and difficulty
You will have 10 minutes to disassemble and reassemble the brake pads, if you do not bleed on this occasion. It’s very easy to do as you will see. The key is to stand above ground where there is no risk of losing the small parts… This is the biggest risk.
Stage 1
We start of course by removing the wheels of the bike and we place ourselves in a « comfortable » way to work. Never handle pads with greasy or oily hands. We are very careful not to contaminate them with a greasy substance either. It is almost impossible to degrease them afterwards…
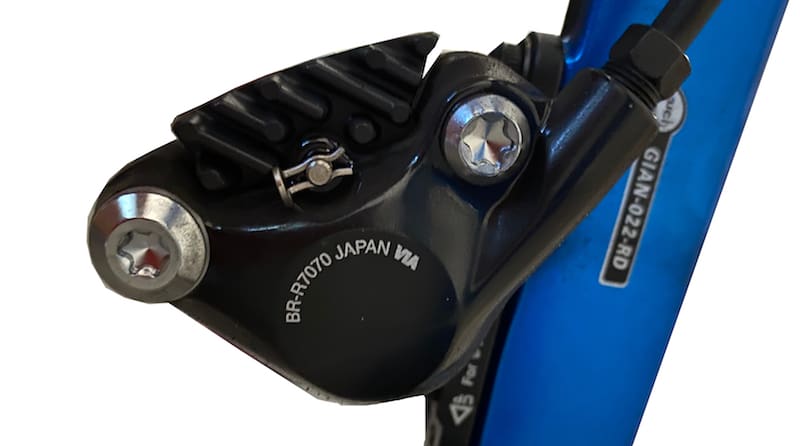
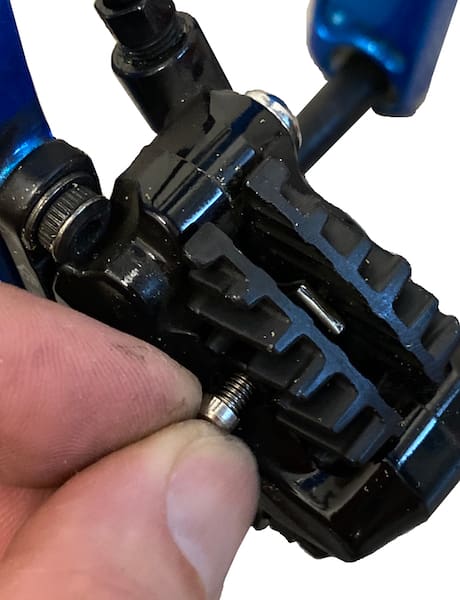
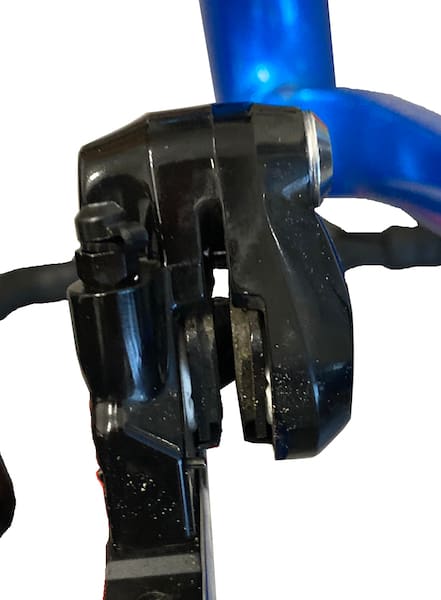
On the inside of the brake caliper, there is a pin on the pad locking screw. It prevents this screw from coming out, if it is loosened.
Stage 2
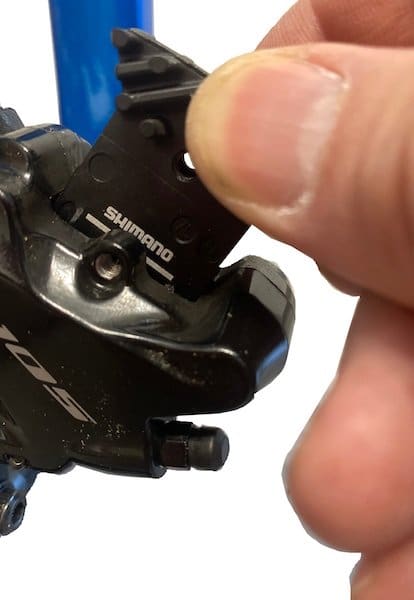
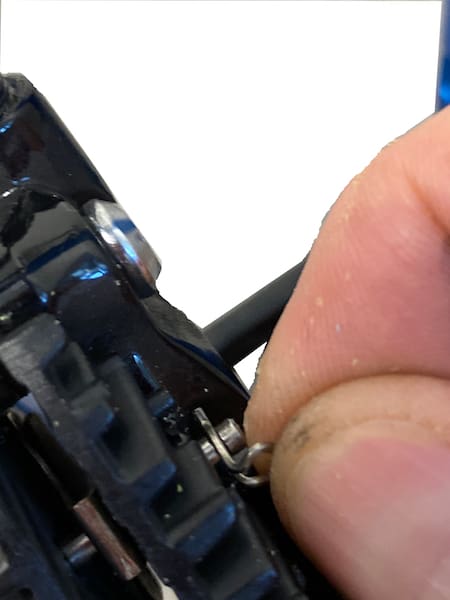
The pin is removed by pulling it with your finger. Be careful not to lose it or crush it.
Stage 3
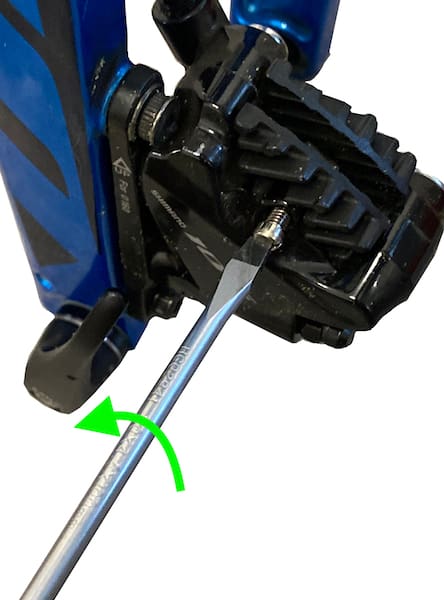
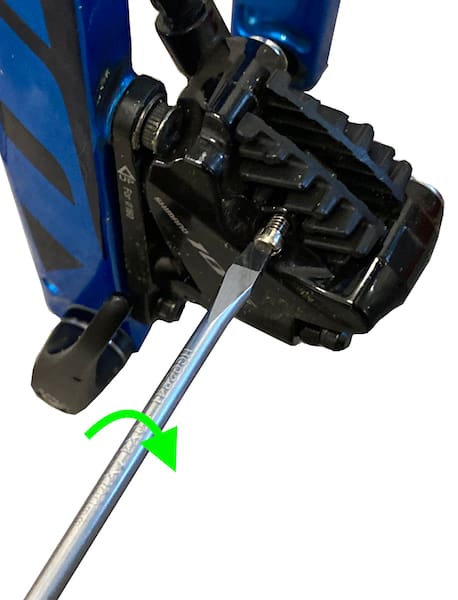
Then loosen the screw. There is normally no need to force.
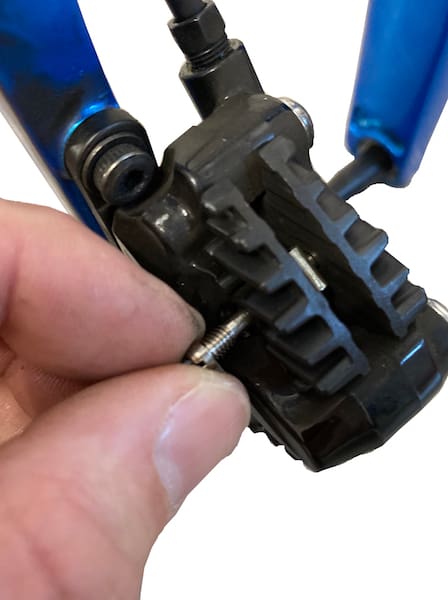
Stage 4
By removing the screw, we realize if it is twisted or not. Little risk…
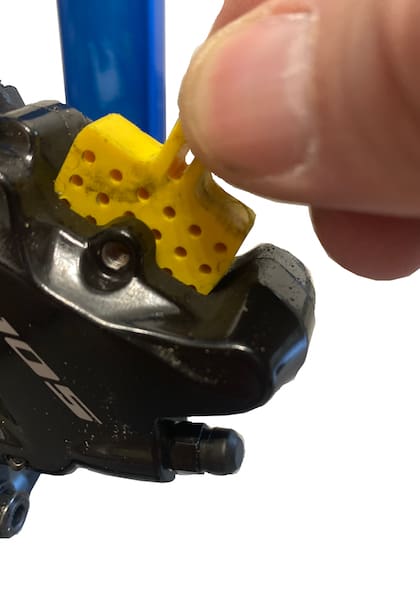
Stage 5
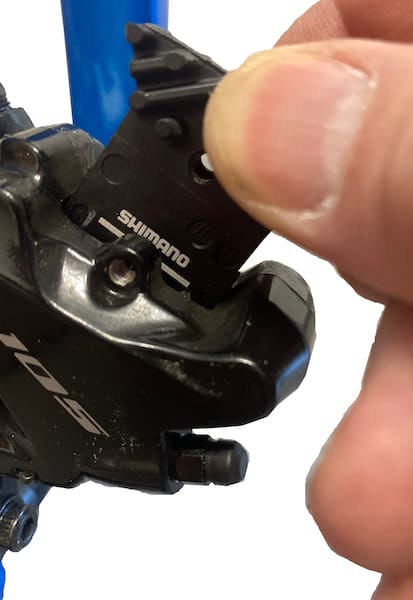
We then grab the pads from the top and remove them.
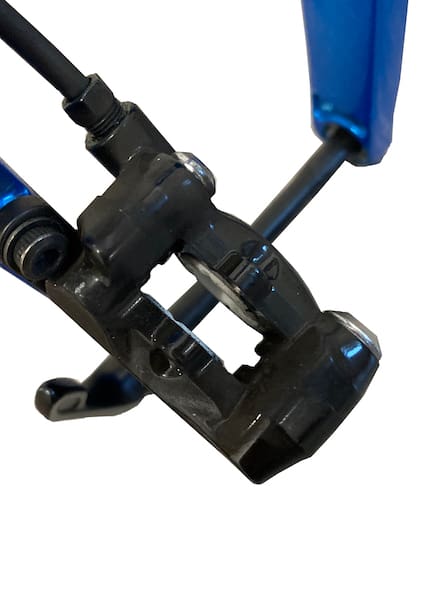
Stage 6
Make sure that the pistons are well inserted in their housings. We do not touch the brake levers from this moment on!
Stage 7
If we embark on a purge, we set up the piston wedge. We push it all the way, it won’t cross. The purge finished, we will pull it up to get it out.
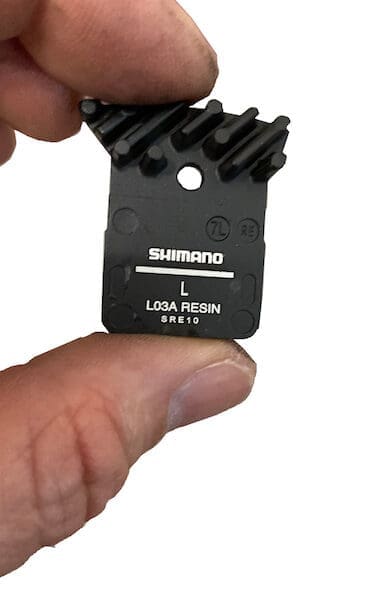
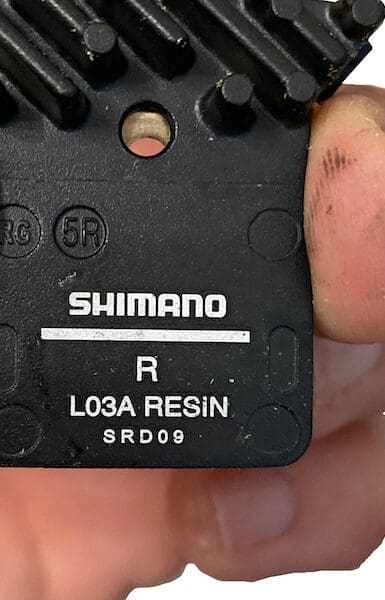
Stage 8
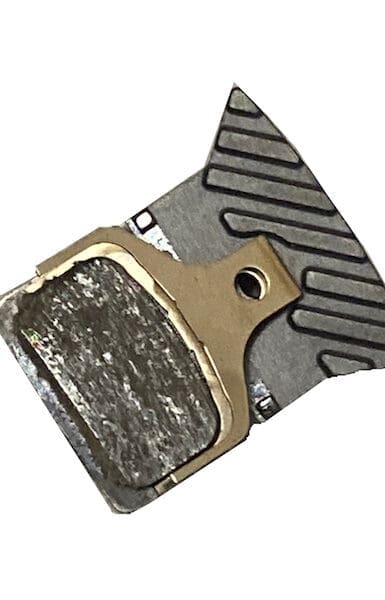
Here we have pads with a « radiator » which can provide information on the direction of assembly. Other pads do not have them, however there are always the R and L position indications as for the brake pads. Since the calipers are on the left side of the bike, the R pads are closest to the frame and the L ones are furthest away.
Stage 9

Both pads are inserted into the caliper at the same time.
Stage 10
The screw is introduced from the outside towards the inside of the frame. If the screw does not go in easily, the inserts must be pushed down.
Stage 11
Tighten the screw to the stop. No need to force.
Stage 12
Don’t forget to put the pin back. It’s a security, but it has its uses…
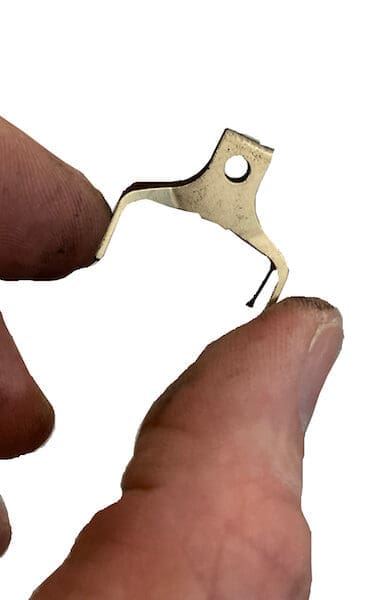
Stage 13
It is then ensured that the pads are not stuck. Which would mean that the spring moved or squeezed…
So there is nothing difficult or insurmountable to mount or dismount Shimano or other brake pads. Beware of small parts not to lose…