
Partager la publication "Repair a tubeless tire…"
Despite the preventive liquid, you are exhausted. You have returned home and need to be repaired. How to do this? Put back cash? Use a repair bomb? Or put a room?
The tools
You punctured during your ride and for various reasons the preventive liquid did not work. How to repair your tubeless? Once at home, you have time, equipment, so why not put a patch in the tire? It will cost you less on the one hand and on the other hand it will save you time. Because if you go to the bomb or put back liquid, you will have to go roll asking if the solution will clot quickly or not. Imposing you to re-inflate or go back on the rim… To set up the repair part, you will simply need tire removers, an absorbent cloth, a grater or sandpaper, glue and repair parts. No self-adhesive, it’s better!
Pictures © Frédéric Iehl
Time and difficulty
In total, it will take you a good hour. No working time, but waiting. For the rest, the operation is very easy. As if to repair an inner tube. All that remains is to put the tubeless back in place and of course recharge it with preventive liquid.


Stage 1

You will store your valve wheel at the top for about 5 minutes and purge what is left of air.
Stage 2
You will « press » the sides of the tire to unclip them from the rim. Without moving the wheel…

Stage 3

Using the tire removers you will remove a bead from the tubeless. Always without moving the wheel…
Stage 4
Because even if it did not work, there is still preventive liquid at the bottom of the tubeless. Be careful, when it lands on a textile it attaches itself to it permanently…

Stage 5

If you feel it, remove the tubeless from the wheel and wipe the rest of the liquid with your cloth. You can also do it with a bead in the rim. But we will still have to remove the tubeless for the future… Once the tubeless is clean, let it dry for about 30 minutes.
Stage 6
The rim also contains its preventive liquid residue. Don’t leave it! He will fall to the ground..

Stage 7

A little cloth is enough.
Stage 8
The tire must be perfectly dry, do not hesitate to pass again another cloth or a paper towel if you still feel a trace of moisture.

Stage 9

If we have not marked the leakage area (just inflate the tubeless at home), we will look for the cuts on the side of the screed and possibly remove the foreign bodies.
Stage 10
On the internal side, you need good eyes to see the small hole. It’s the dark black dot in the center of the circle! Big as a pin…

Stage 11

We will now scratch the internal coating a little. To make it cleaner and more adherent.
Stage 12
Glue is now applied to a large surface. We wait 5 minutes

Stage 13

We put the patch down and keep it in good time for 1 or 2 minutes. Especially on the edges
Stage 14
The piece is in place and free of its protective paper, we make sure that the edges are well glued by pressing them. We wait another 5 minutes and we can mount our tubeless.

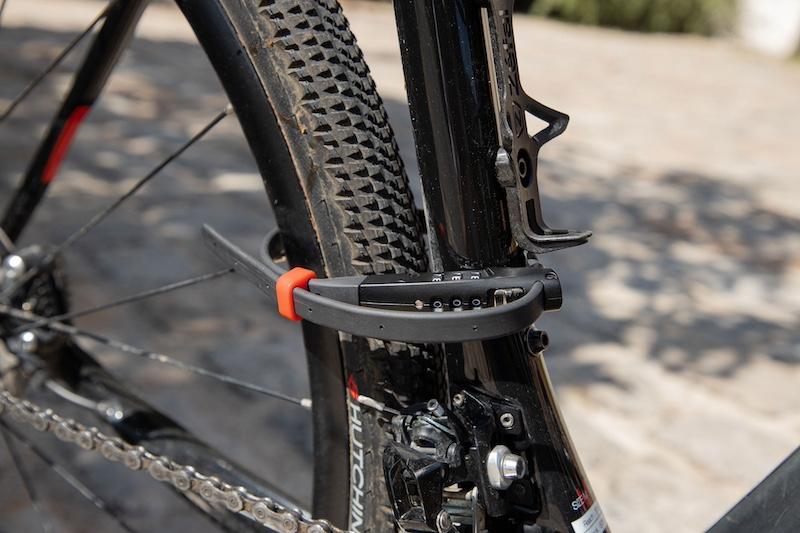
And the tire plugs ?
Like other tubeless, road and gravel tubeless can be repaired with wicks. But… Most punctures occur with cuts of 1 to 2 millimeters that already cut wires. To pass the tools necessary to place the wicks, drill to 3 or 4 mm by cutting at least double the wire. The carcass doesn’t like it too much over time… The installation of a patch may seem incongruous and yet a tubeless is an inner tube that will be repaired from the inside. We had tubeless that were worn to the rope with this type of repair with nearly 4 000 km. This does not exempt you from putting preventive liquid frequently. With each puncture of the liquid leaves, and it is missing for the next one!
Partager la publication "Repair a tubeless tire…"


+ There are no comments
Add yours