Assembly seatpost and saddle.

Partager la publication "Assembly seatpost and saddle."
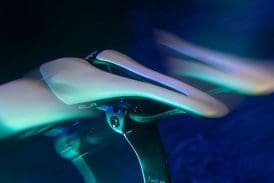
The proper attachment of the saddle contributes to the comfort and safety of the cyclist. Here’s how to place it sustainably.
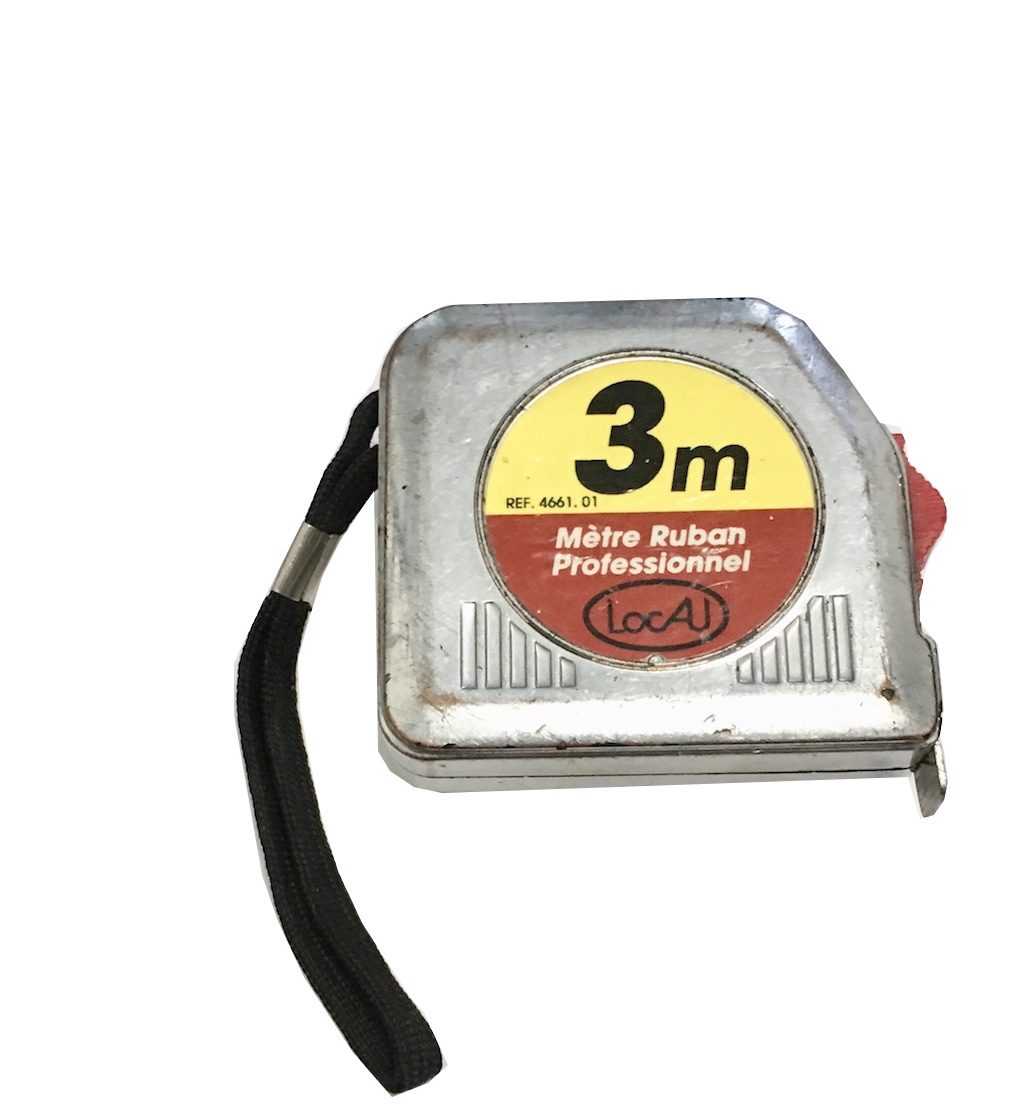
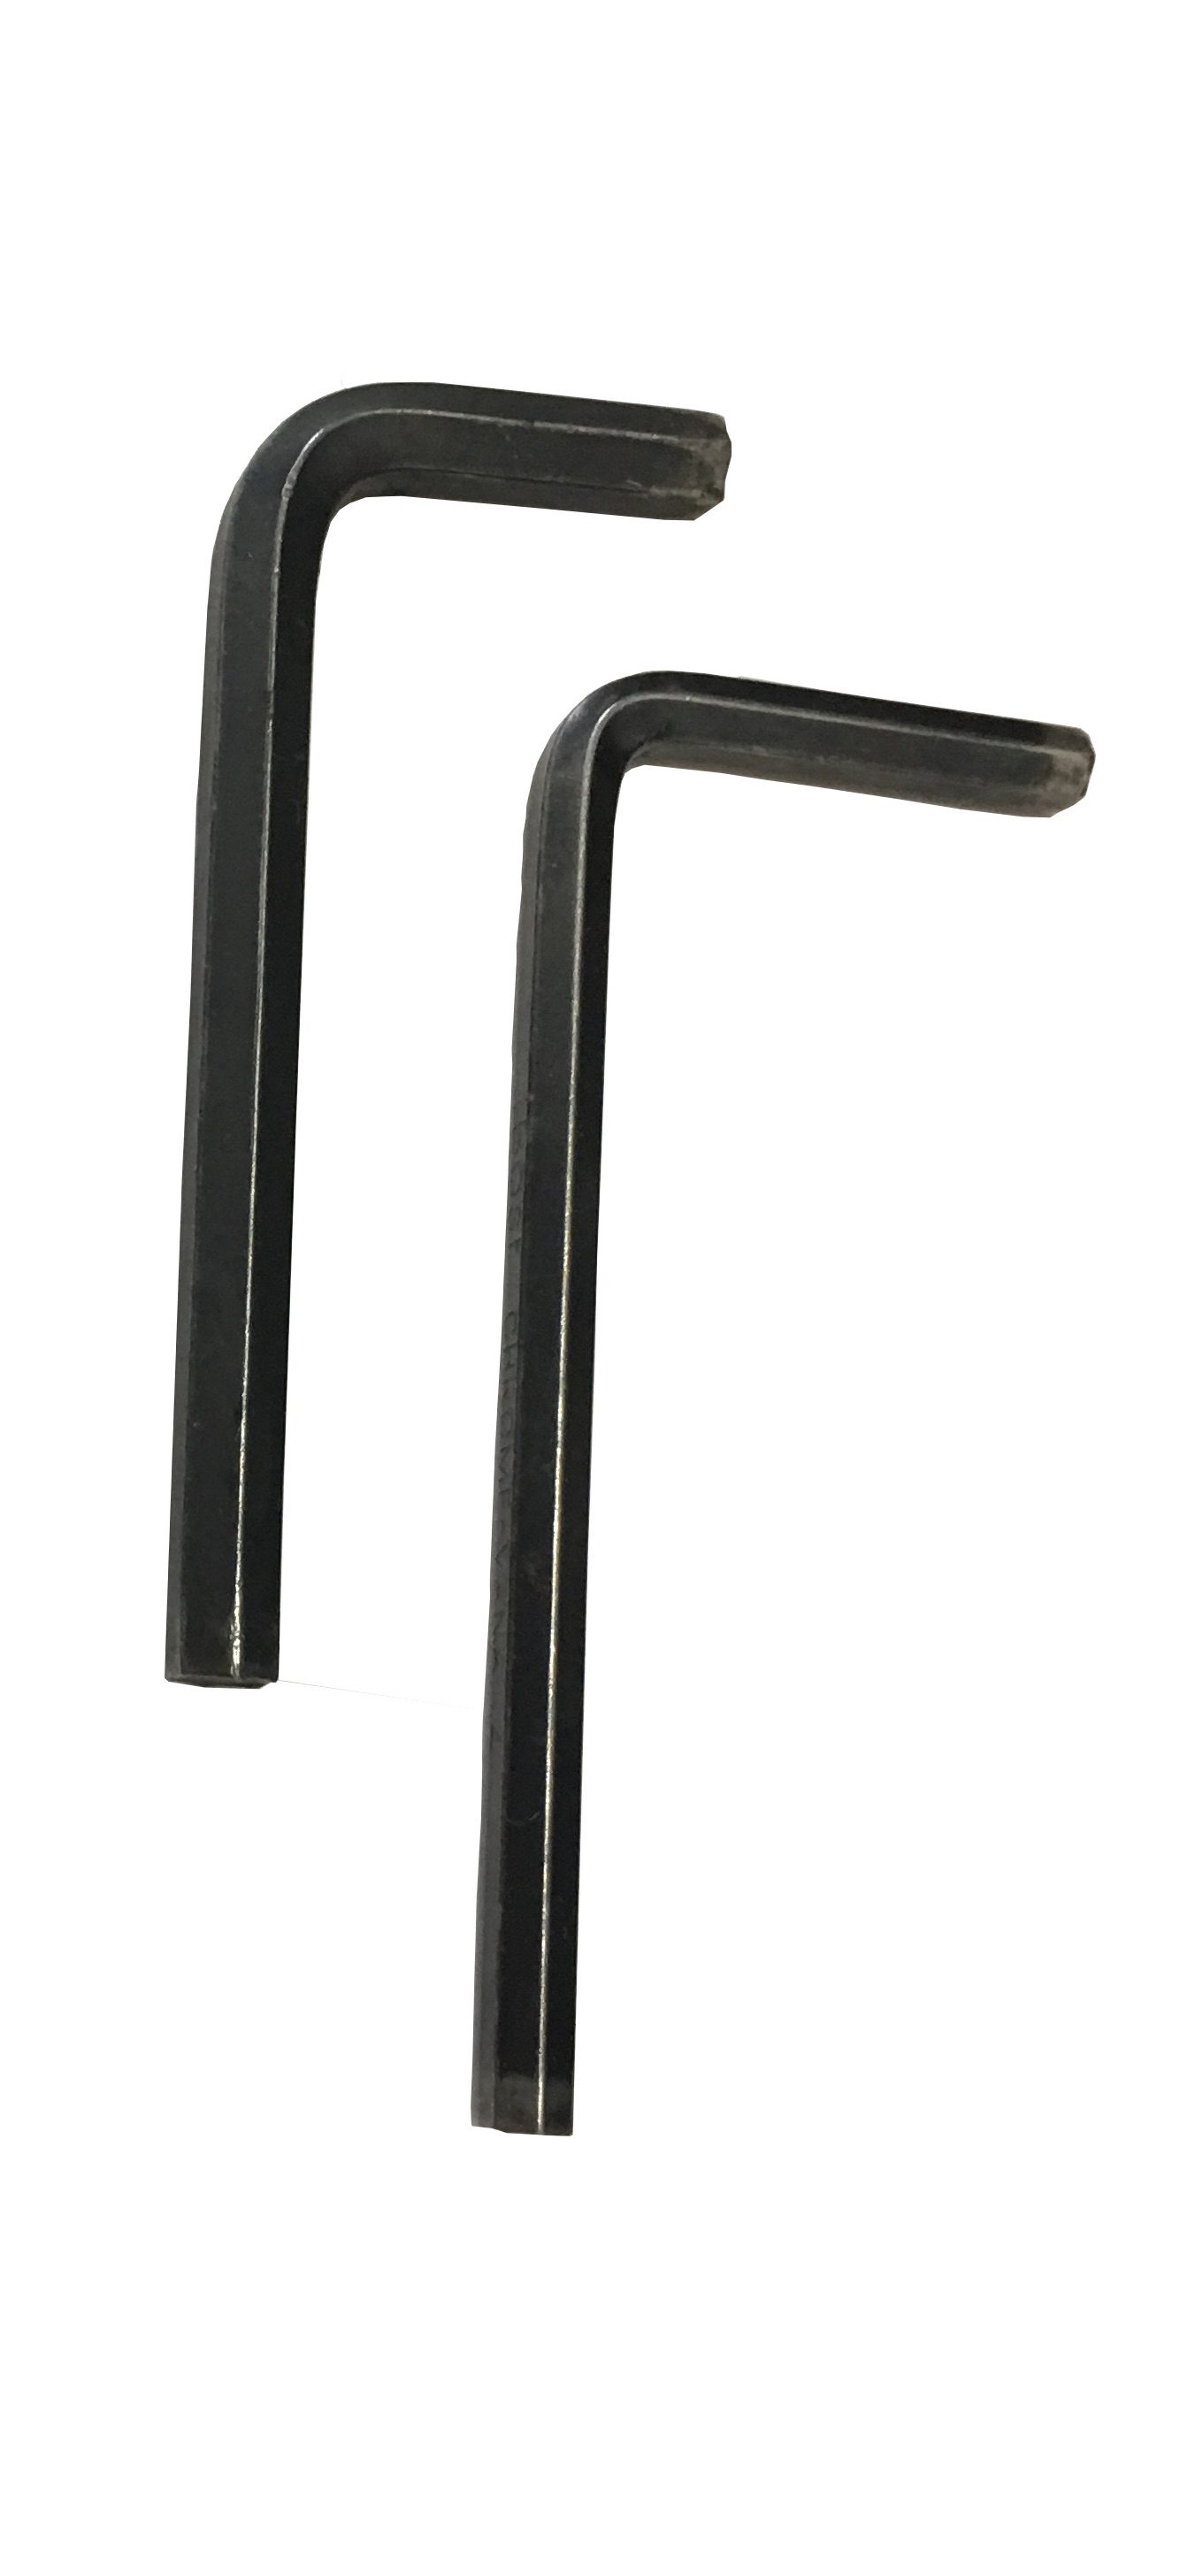
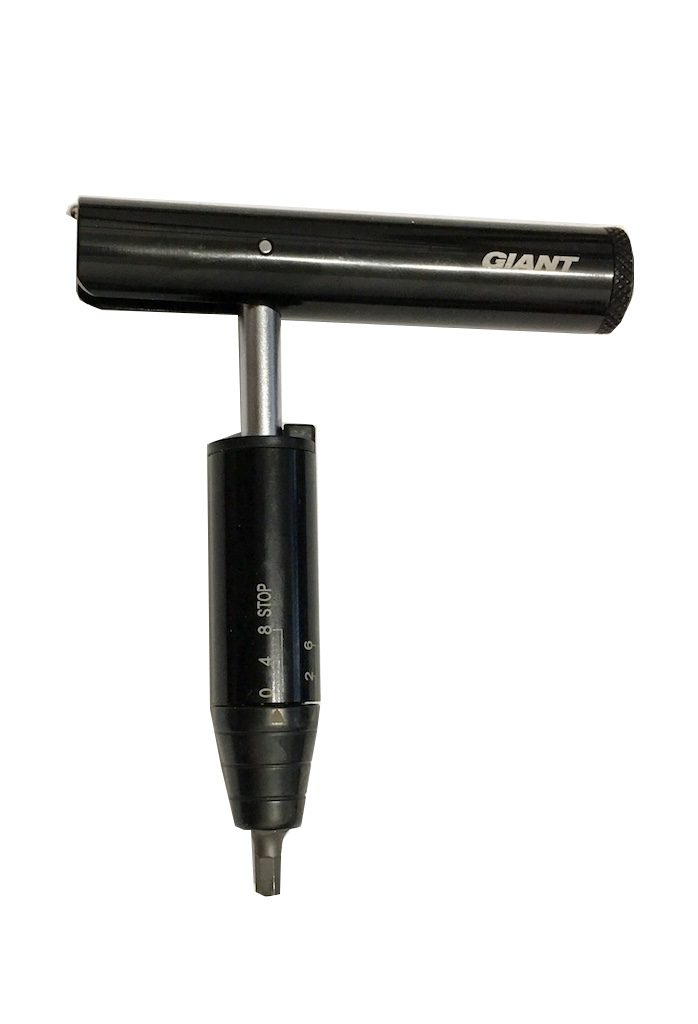
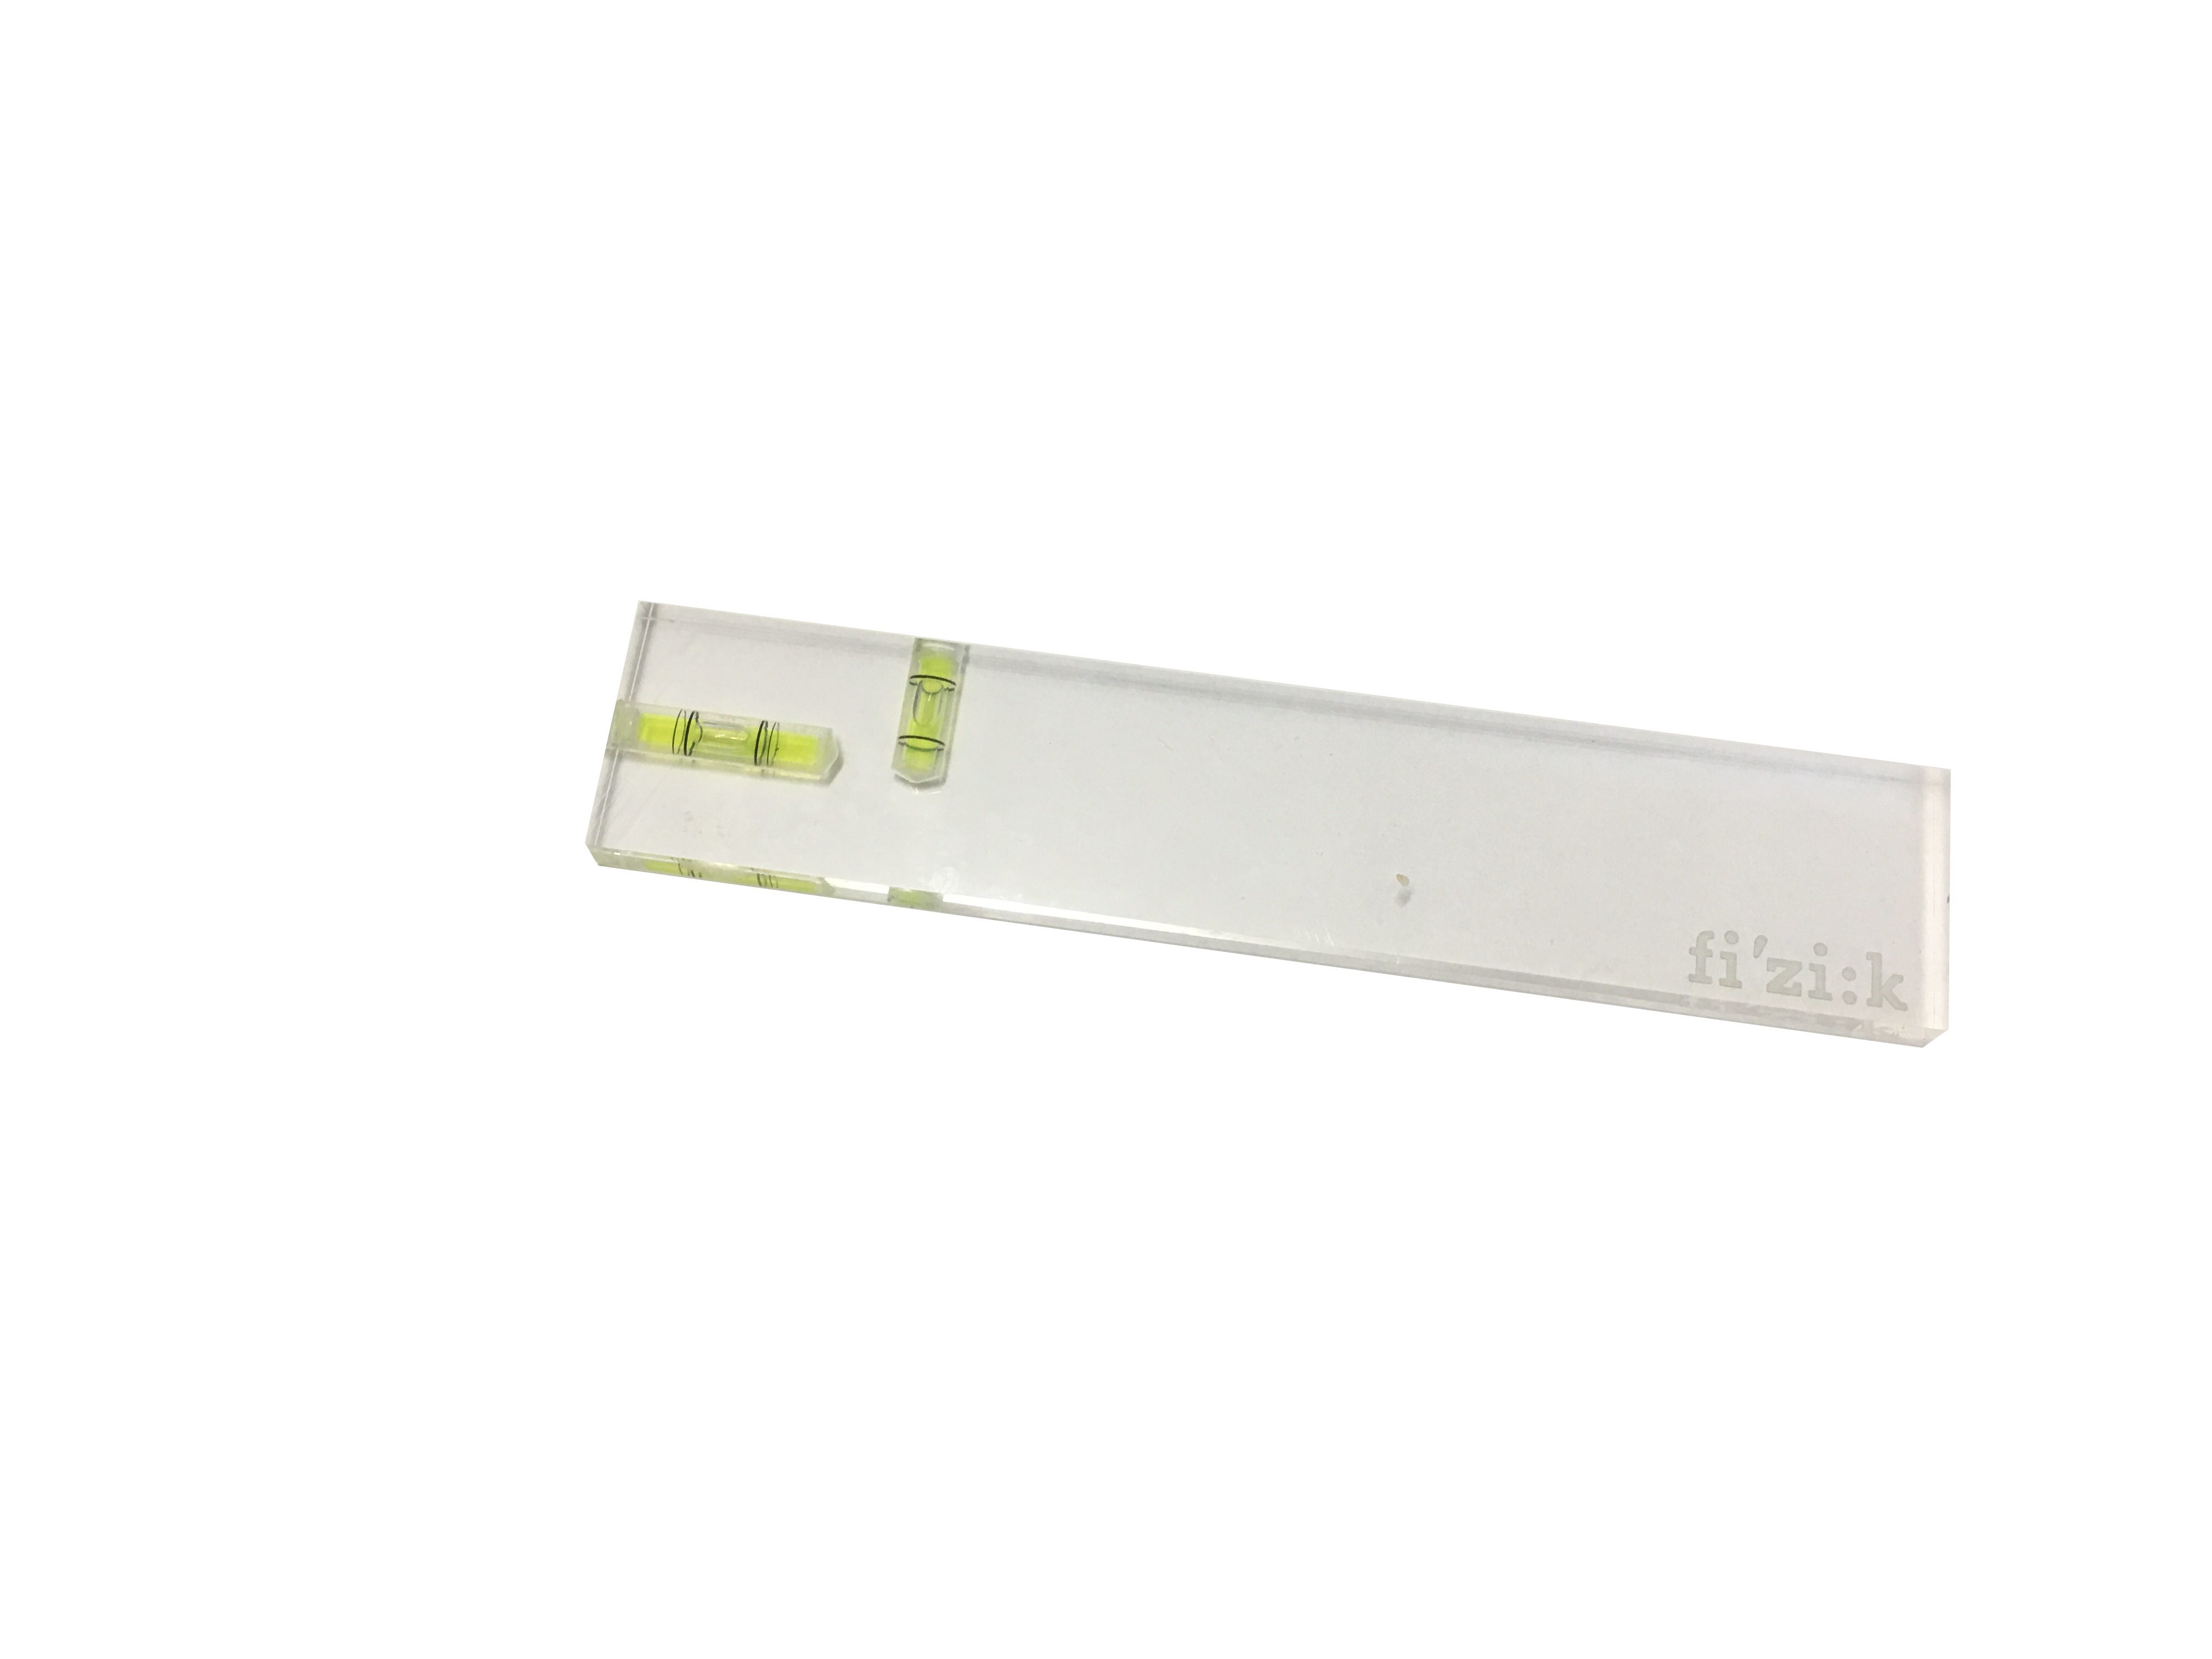
The tools
To set up the seatpost and saddle, you will need a little equipment. One meter of course, but also Allen keys of 4 or even 5 mm, or Torx T 25 or T 30 depending on the screws. We will add to this a torque wrench with its tips and a bubble level. Unmissable…
Pictures © Frédéric Iehl
Time and difficulty
You can spend a lot of time adjusting your saddle, it’s not that it’s difficult in itself, but sometimes you have to do a lot of tests to find the right plate and therefore start from scratch every time all the settings… So plan between 20 and 60 minutes!
Stage 1
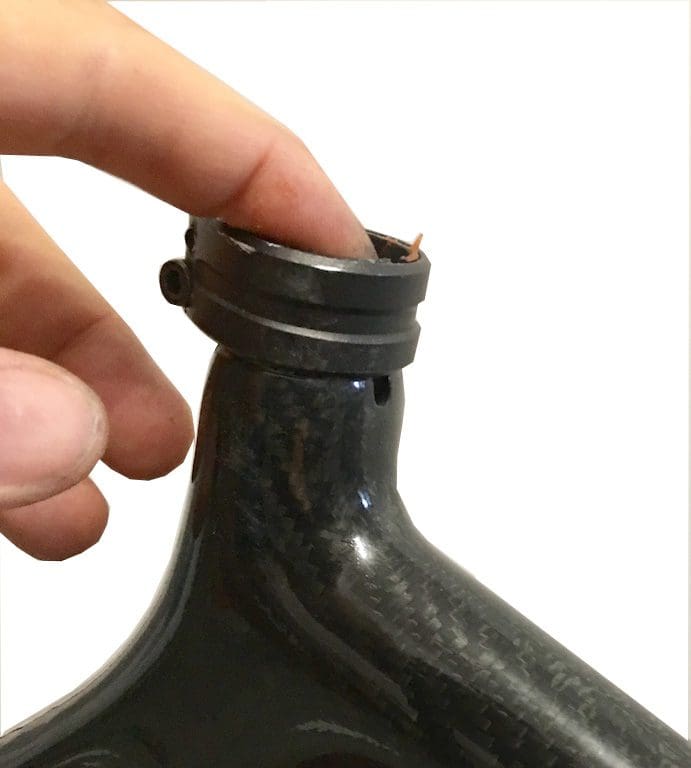
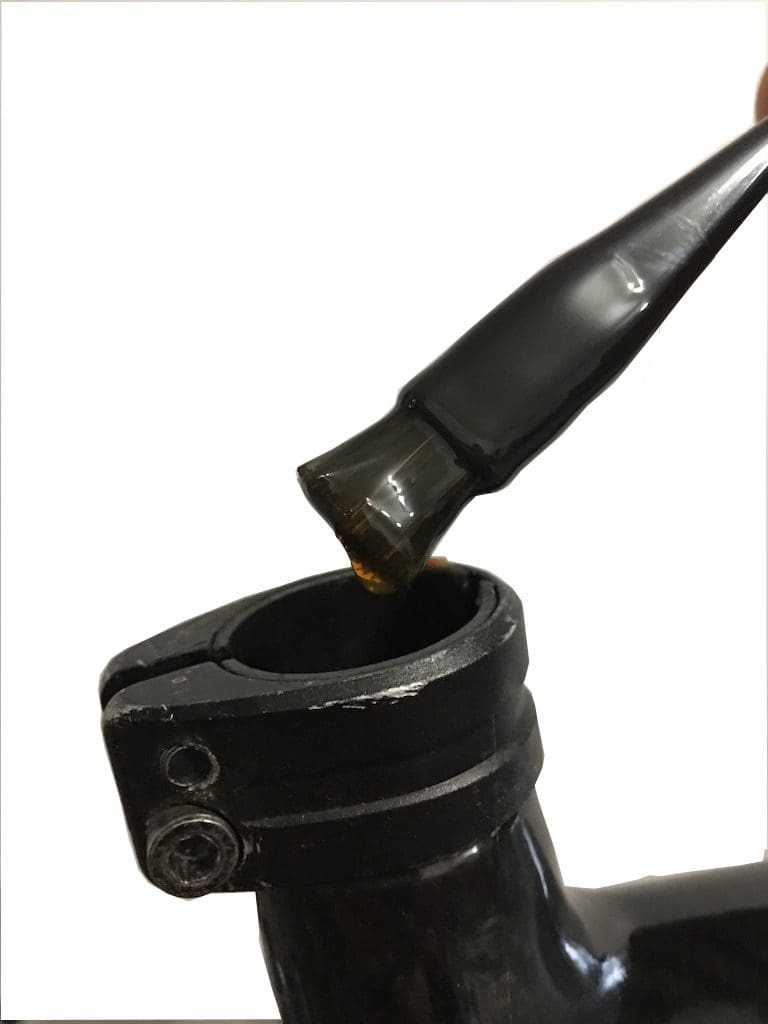
When preparing the frame, you degreased the tube and applied the gripping composite paste.
Or you coated the inside of the tube with tubular cement and waited 24 hours before making the assembly…
Stage 2
Here we have a double-fixed seatpost. We start by unscrewing the back bolt.
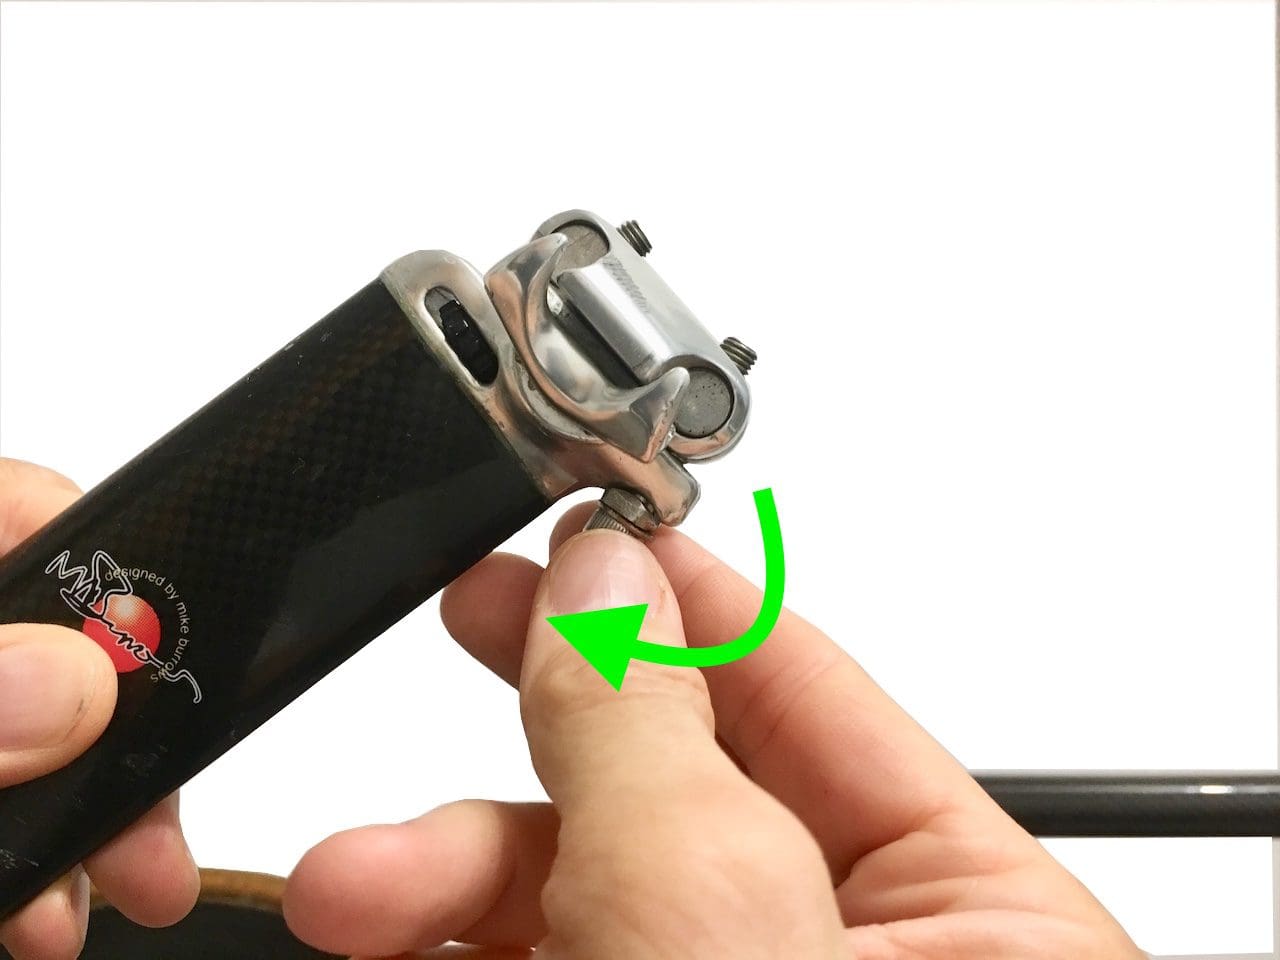
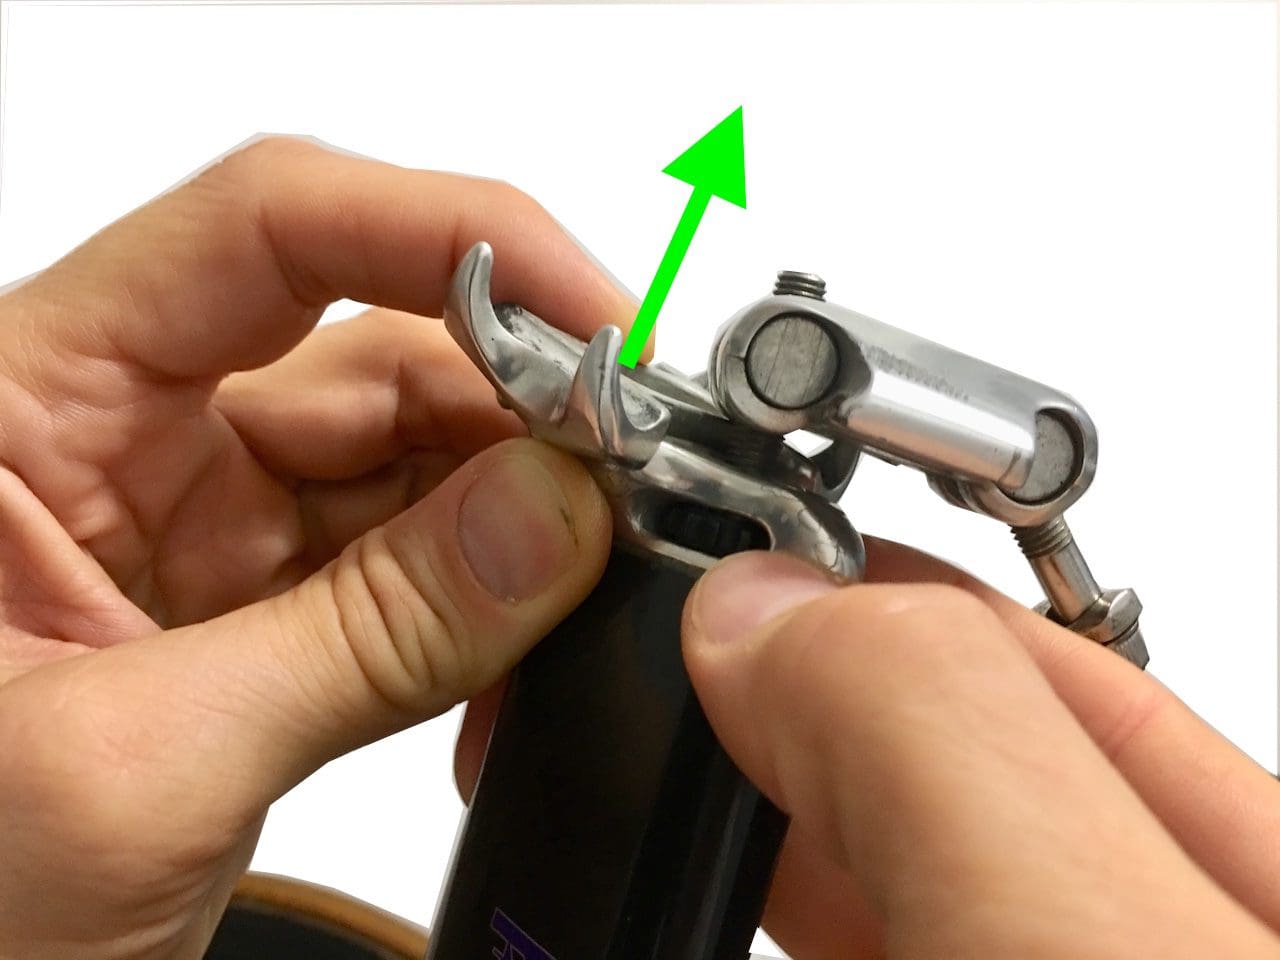
Stage 3
We remove the back bolt or rotate it as here to open the jaw.
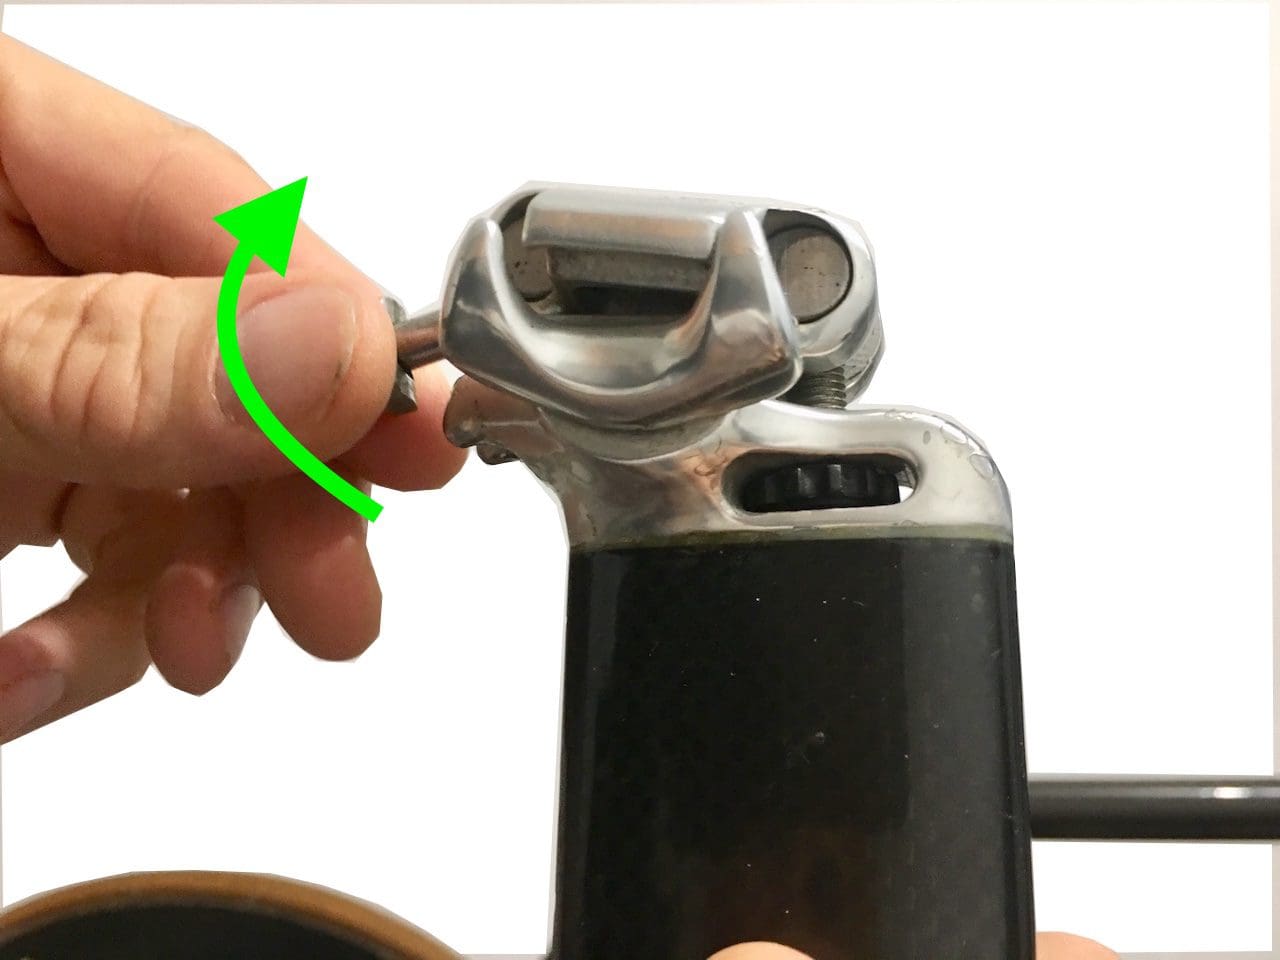
Stage 4
The lower part of the saddle cart is then removed and the other screw is unscrewed by hand with the wheel.
Stage 5
The easiest way is to put the saddle on a table. We bring in the upper part of the cart. It’s quite easy as it is detached from the seatpost on its back.
Stage 6
The lower part of the seatpost trolley is then placed and the seatpost is « rabbed » on it.
Stage 7
Then slightly screw the bolt by hand as here or with a key if it is inaccessible.
Stage 8
The rail is slided into the seatpost trolley. We are trying to center it.
Stage 9
The seatpost is then placed in the frame. It was easier to mount the new saddle with just the seatpost…
Stage 10
We tighten the seatpost a little just so that it stays in place during the adjustments that arrive.
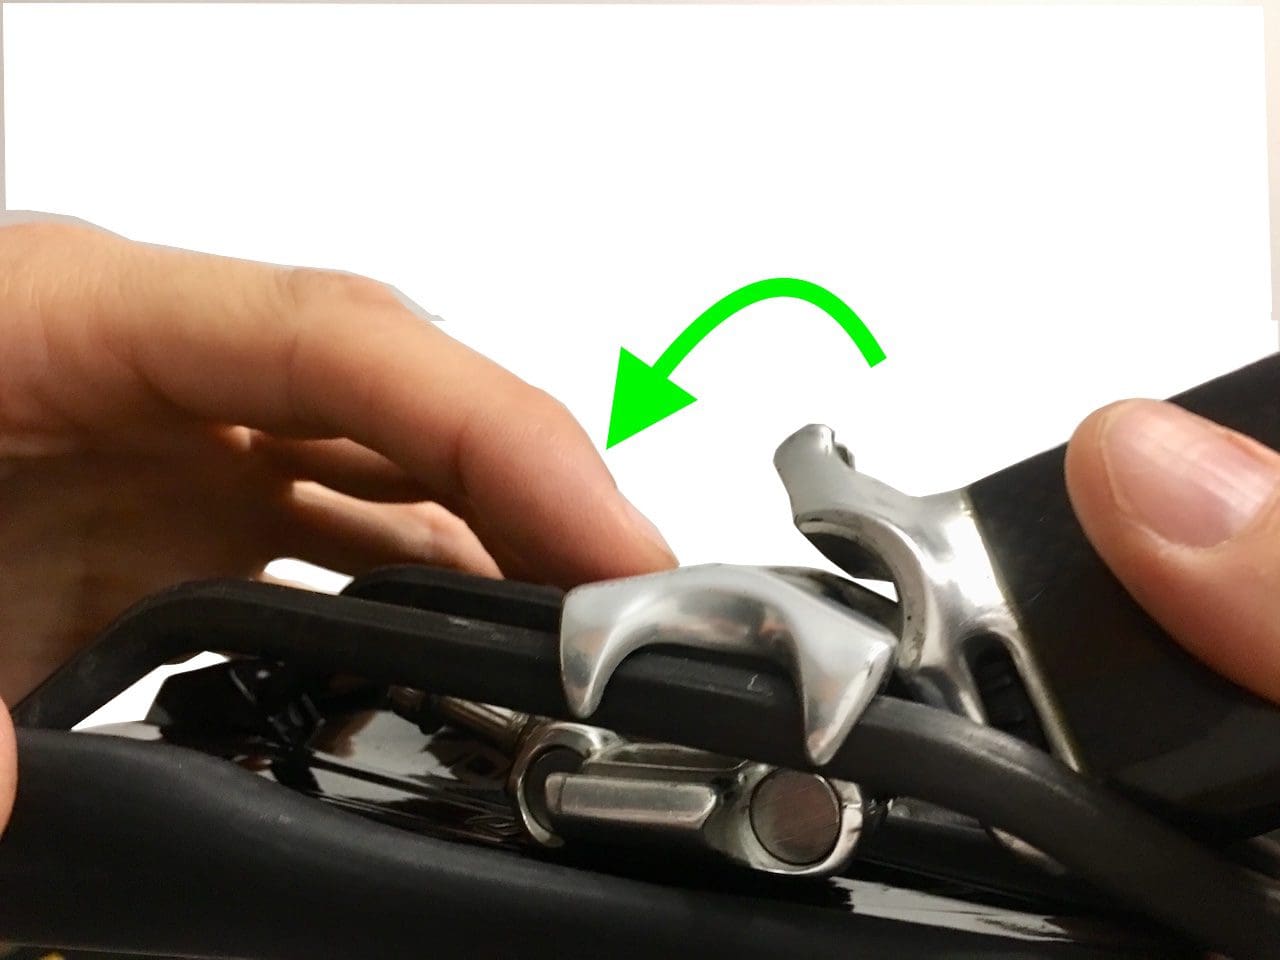
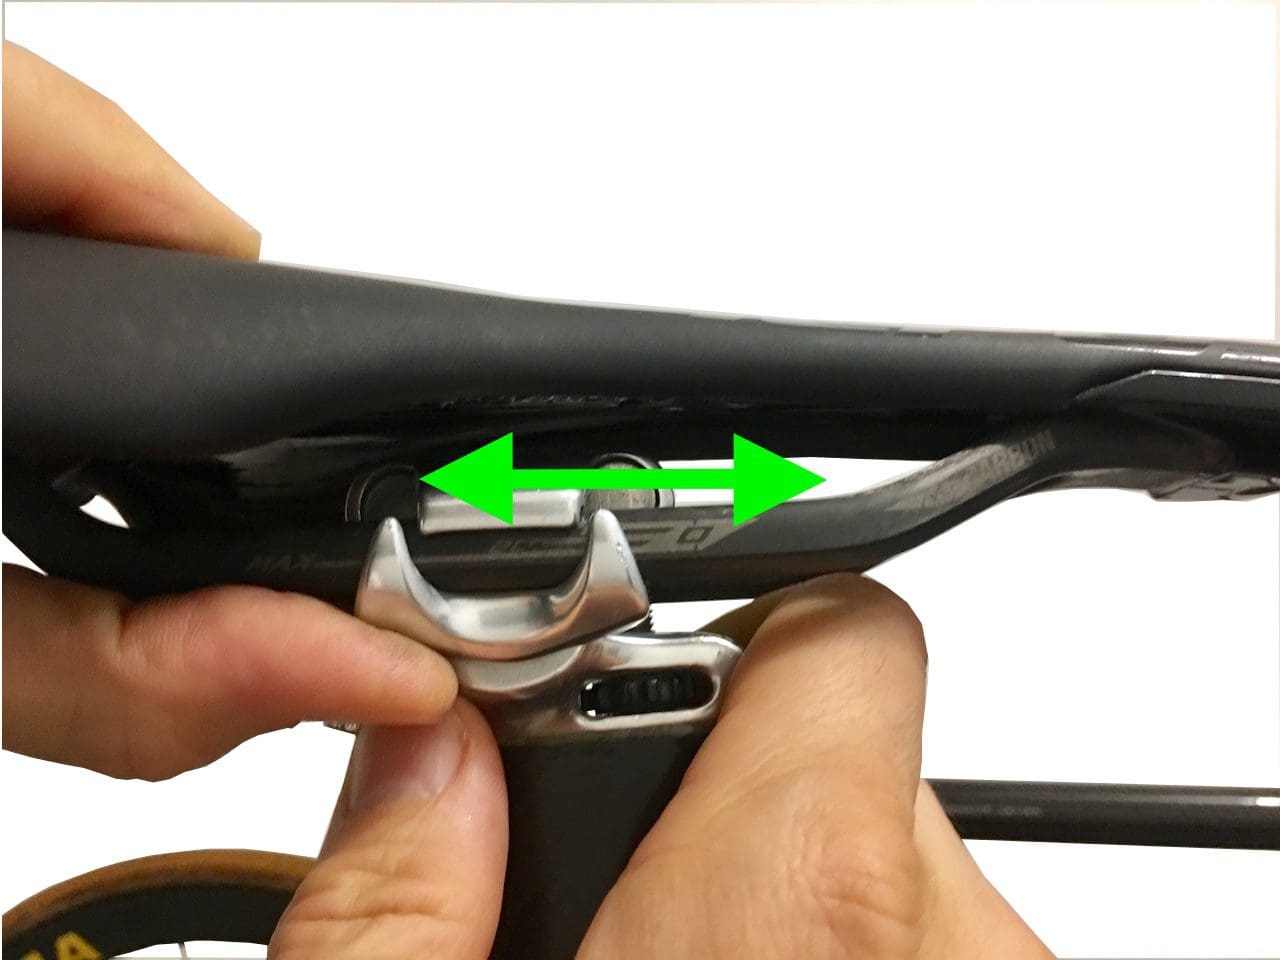
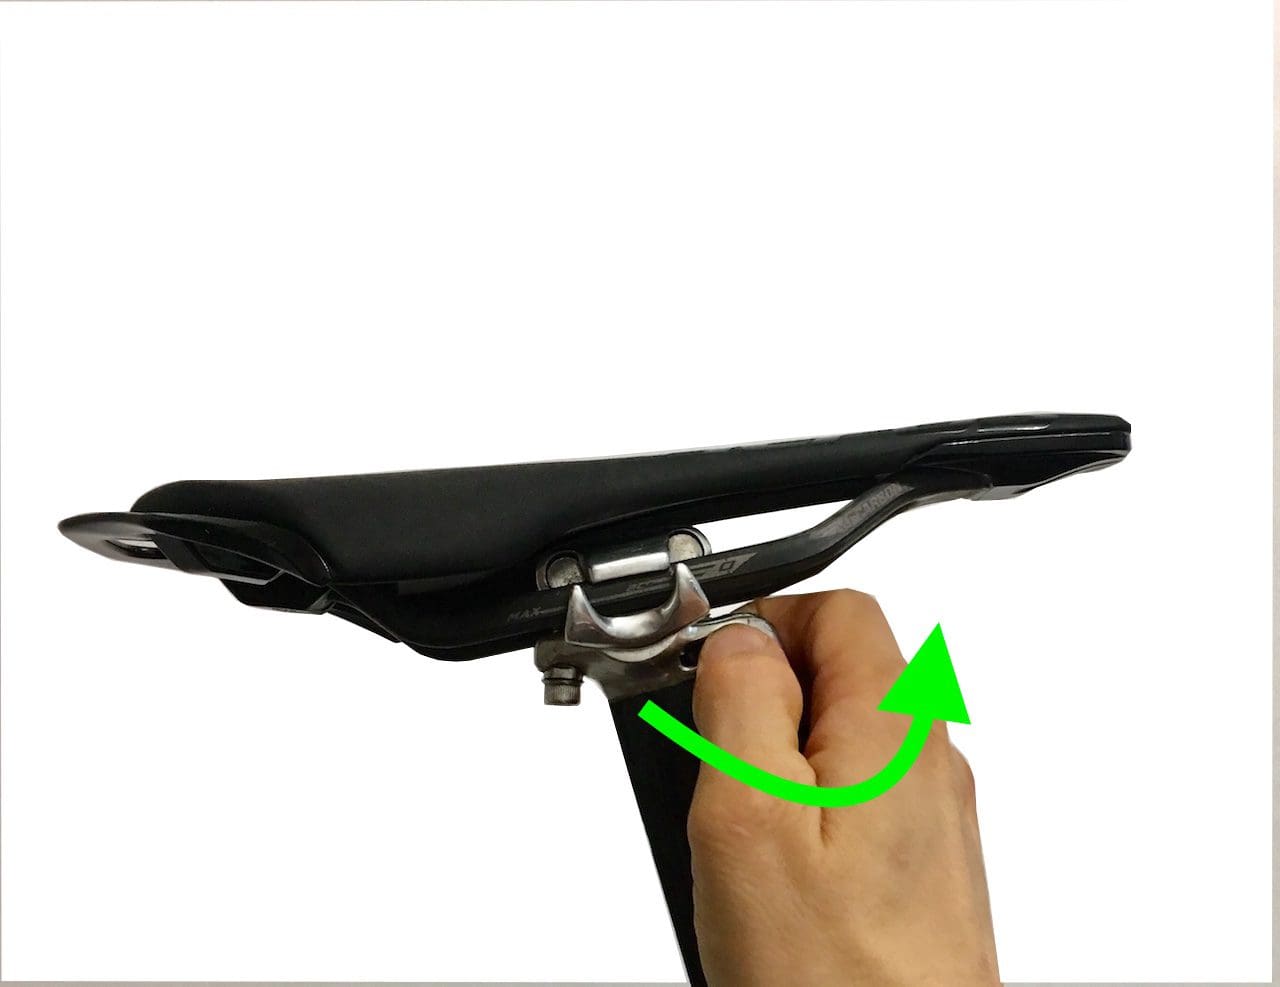
Stage 11
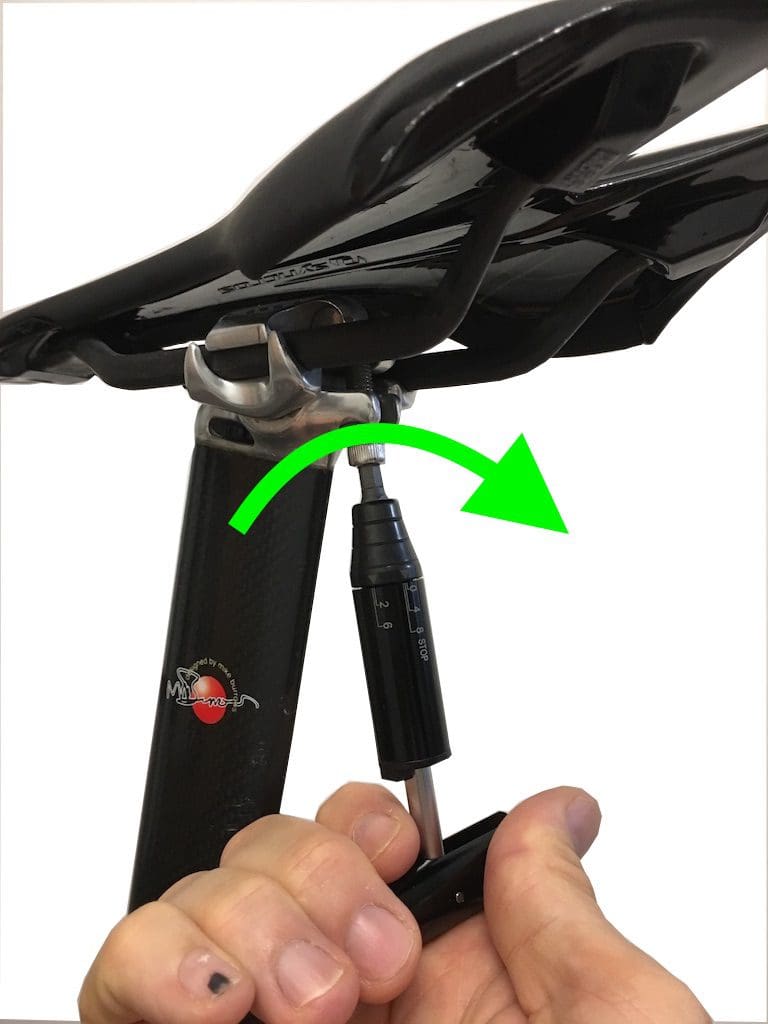
The saddle is not blocked, but it already gives us a trend for its plate. The beak raises and the back bolt is not yet constrained. We therefore act on the dial (blue arrow). To restore a good inclination to the saddle.
Stage 12
So we tighten the wheel. And if it’s not easy, we unscrew the back bolt a little to have a little softness.
Stage 13
Now the saddle stings from the nose. Nothing serious, on the contrary, we will restore the balance by blocking the back bolt… The front screw will then be « will » naturally.
Stage 14
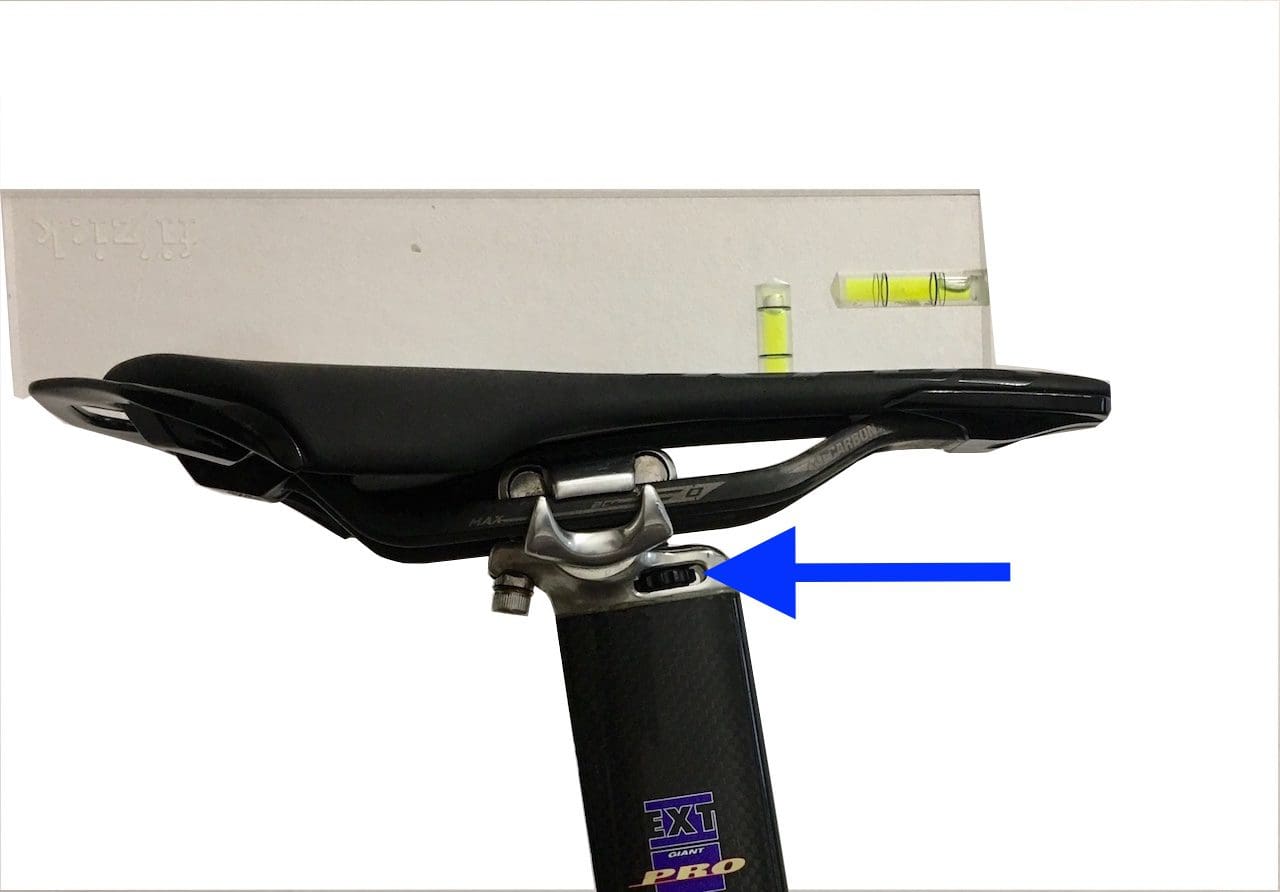
We tighten the key and see if the nose goes up enough or not. At this stage, nothing is blocked. The saddle has the right plate, horizontal or slightly inclined according to your desires.
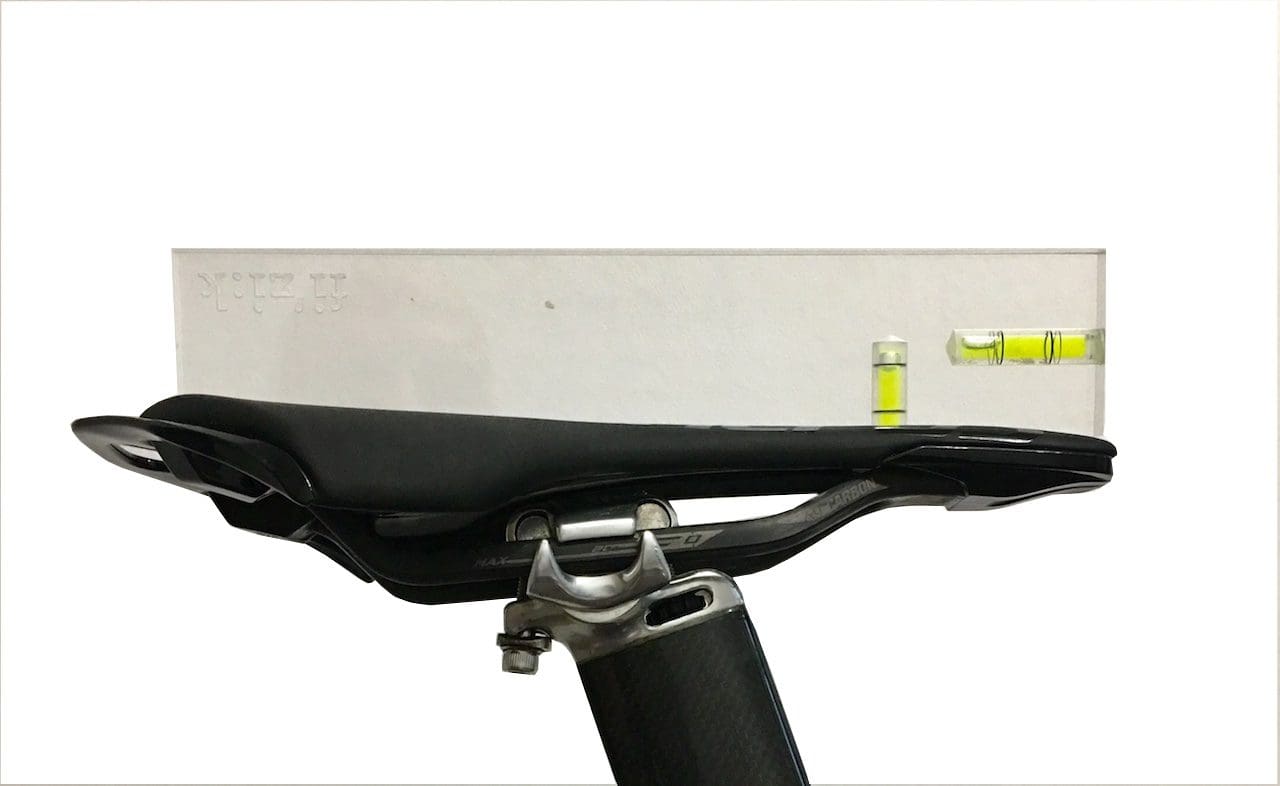
Stage 15
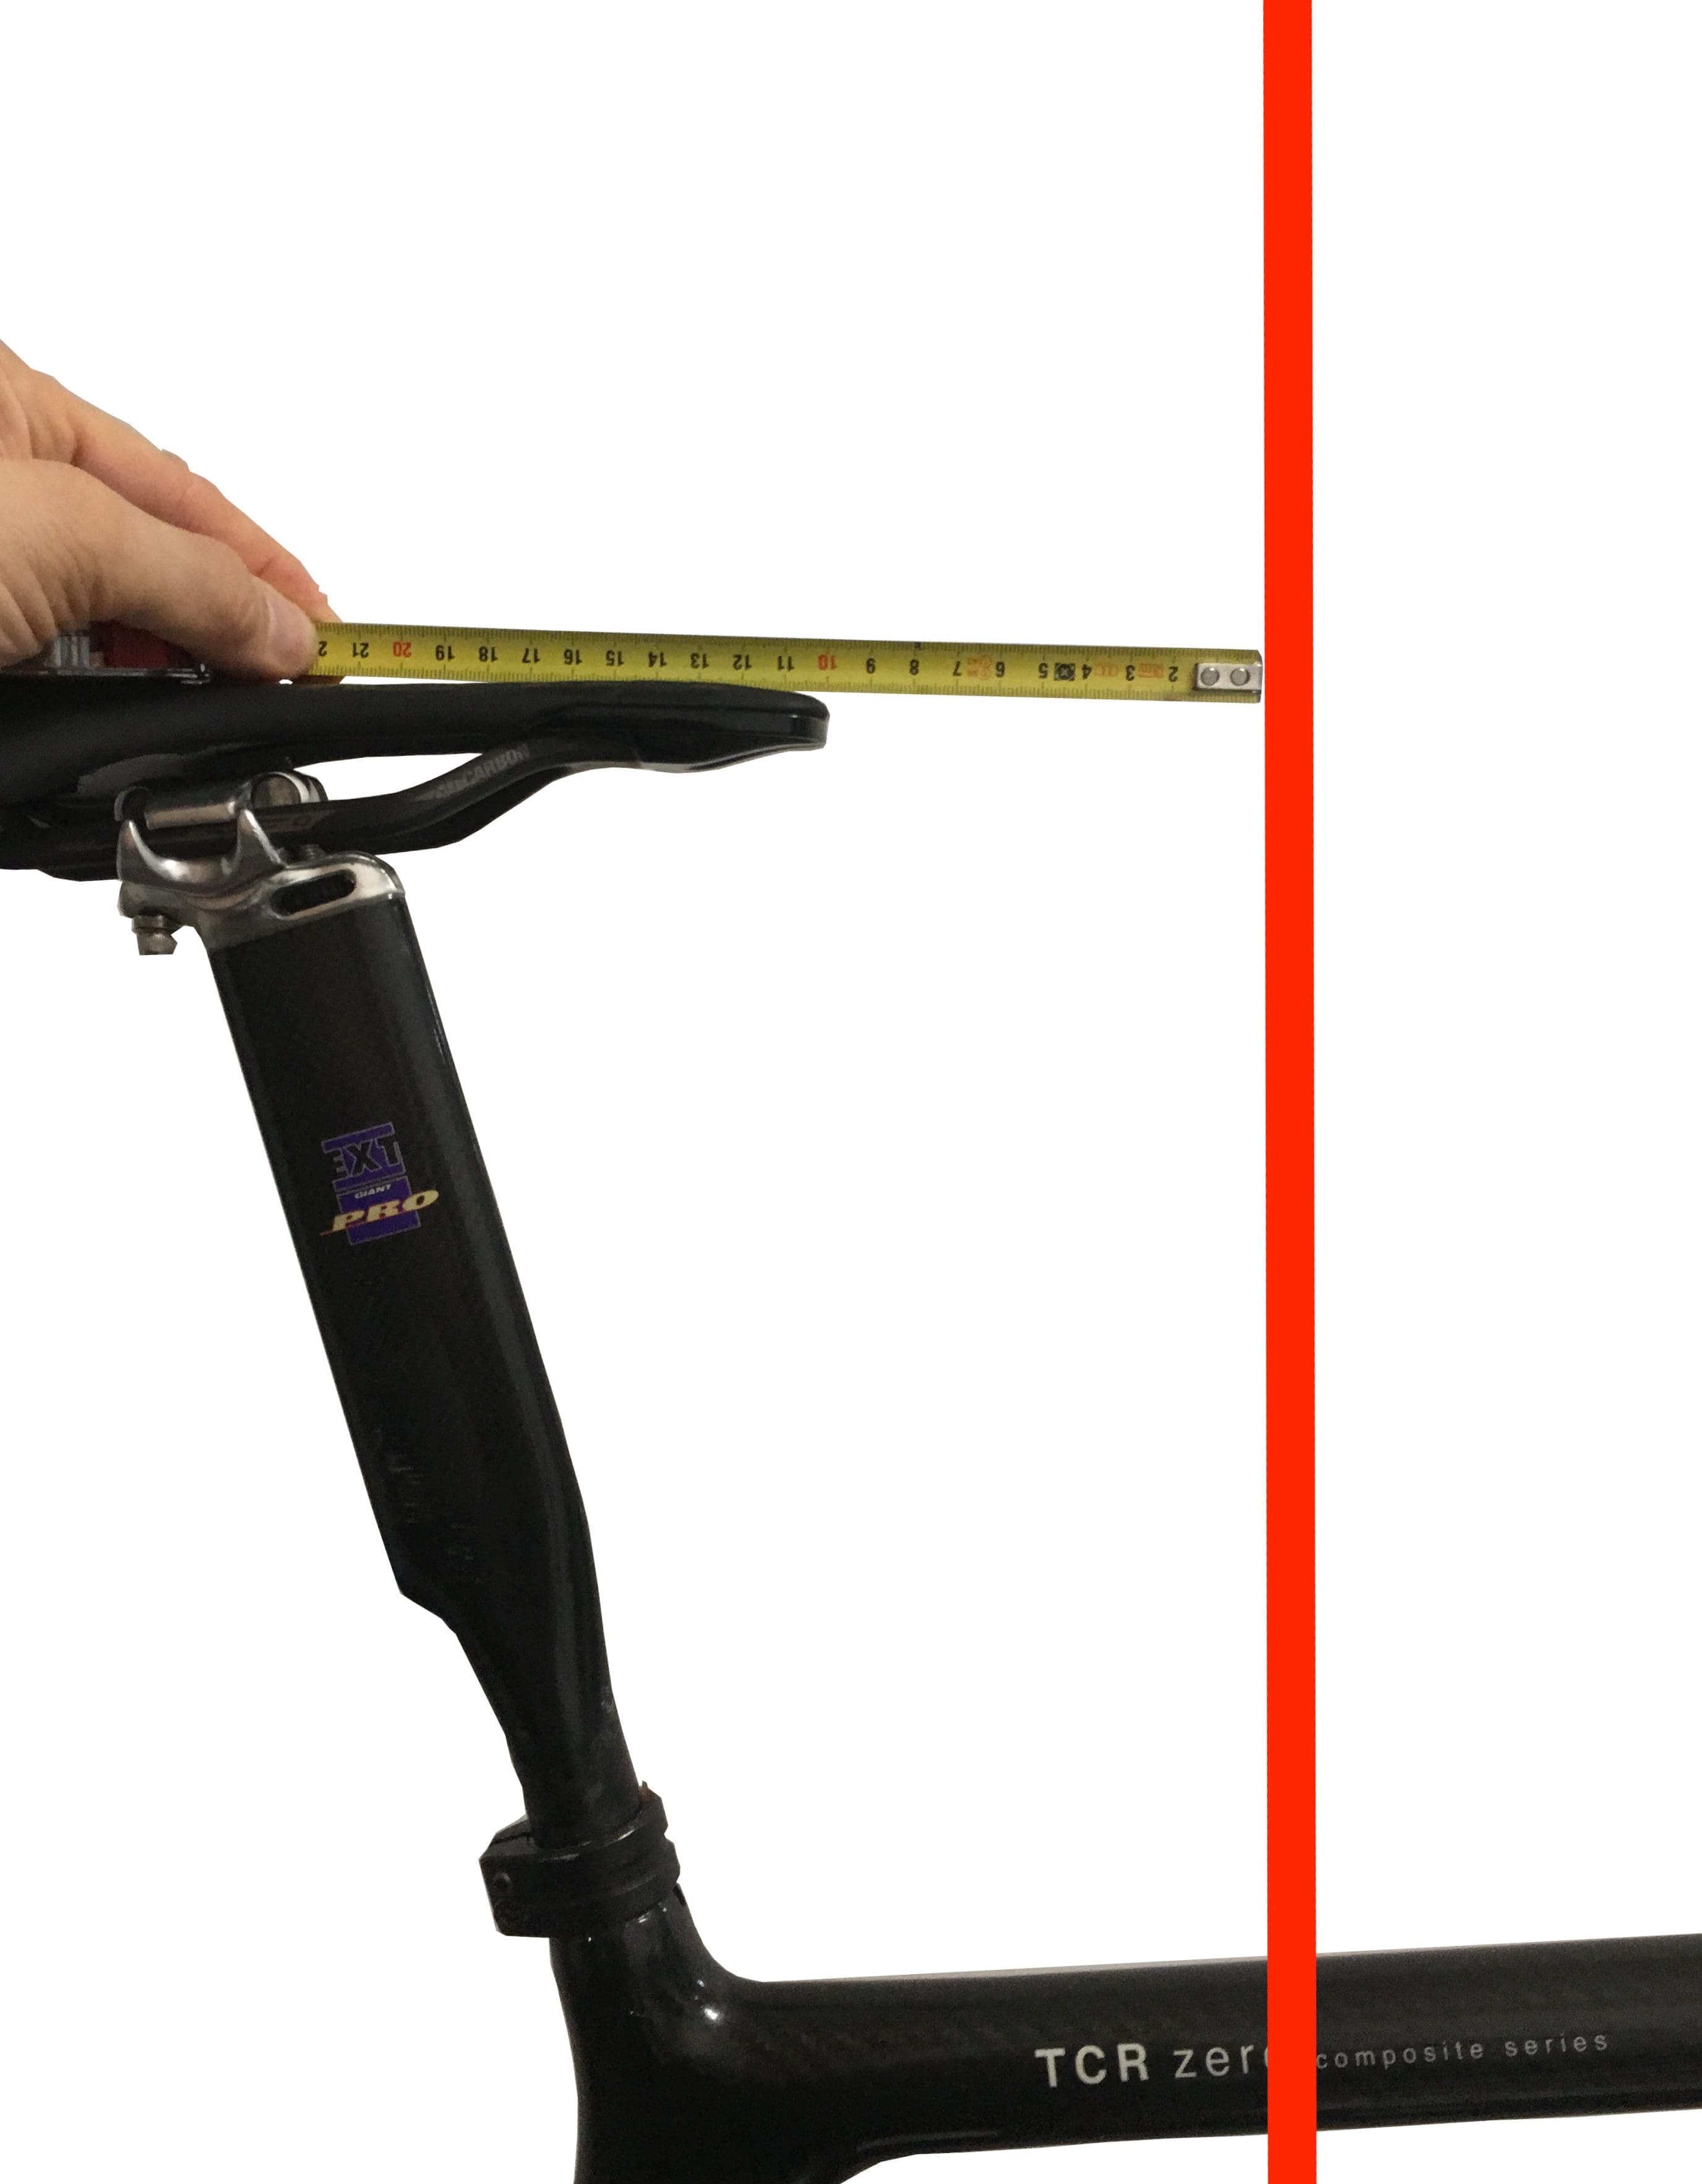
We will « mount » the saddle to its right height to make the other adjustments. The upper part of the saddle is taken as a top reference.
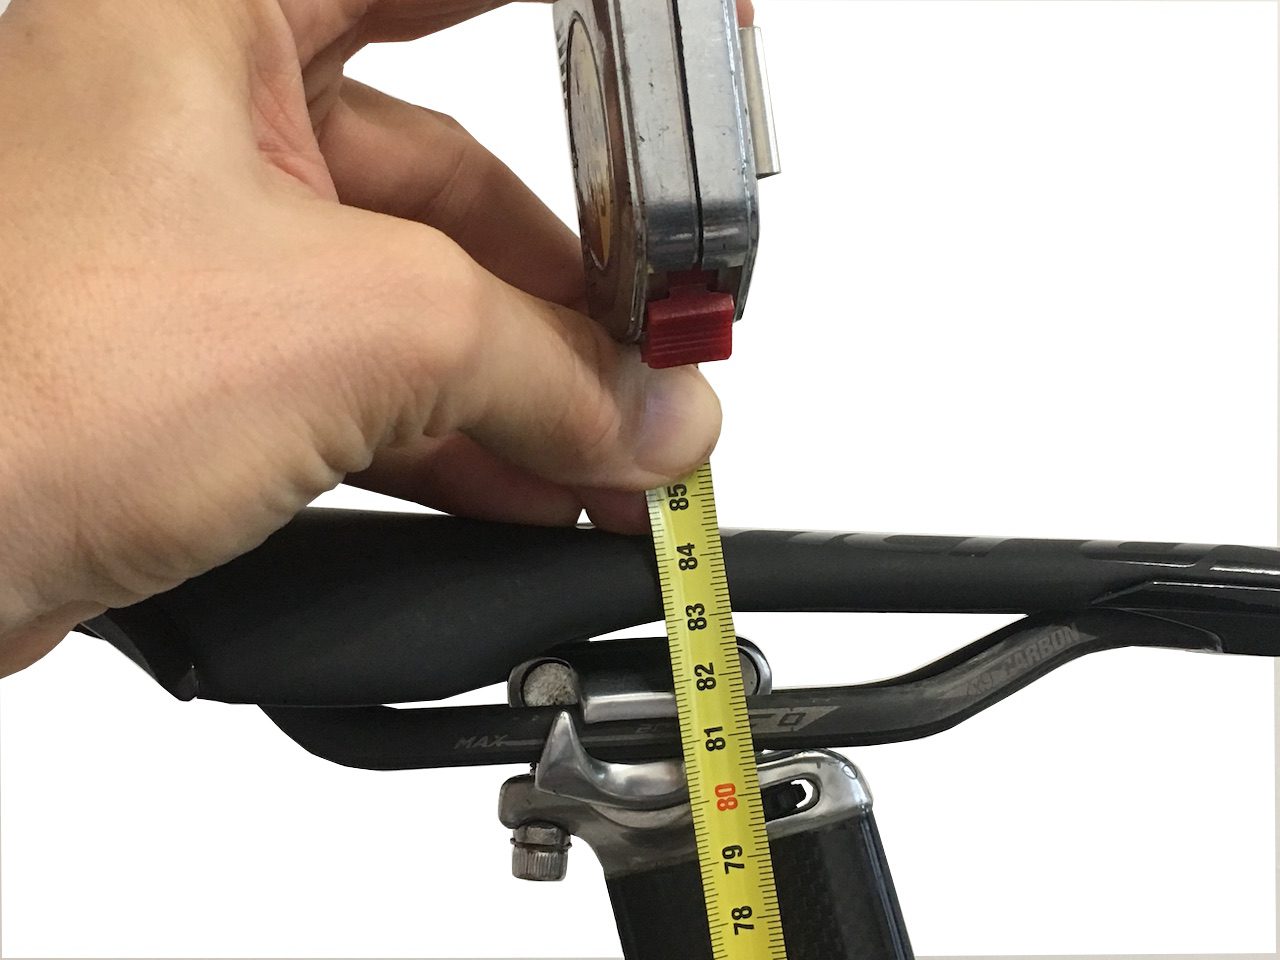
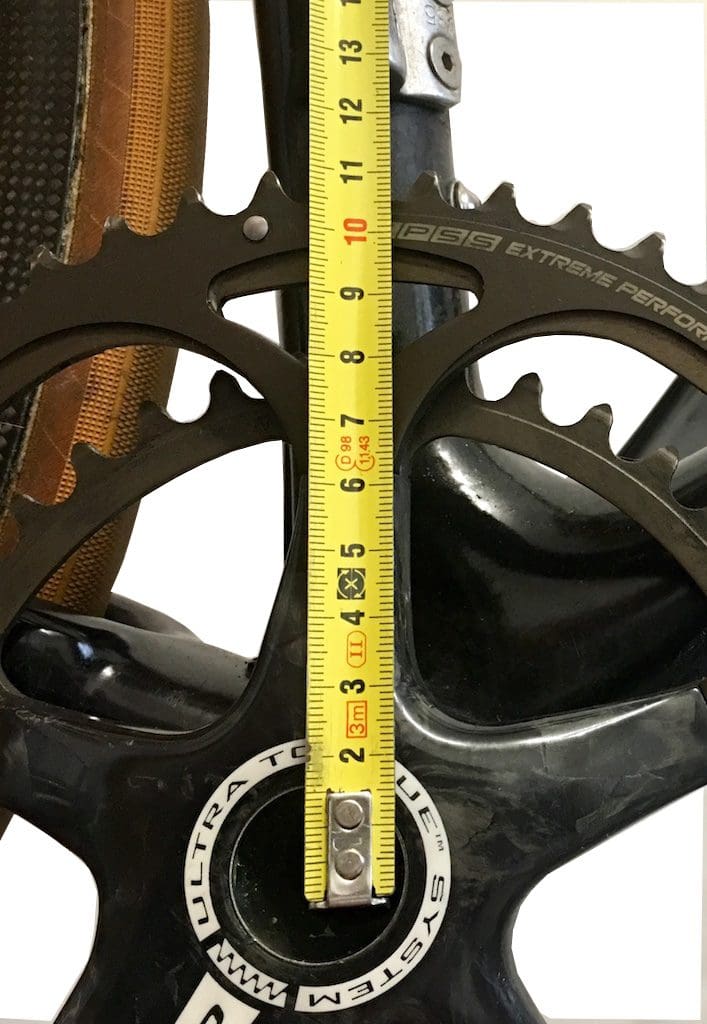
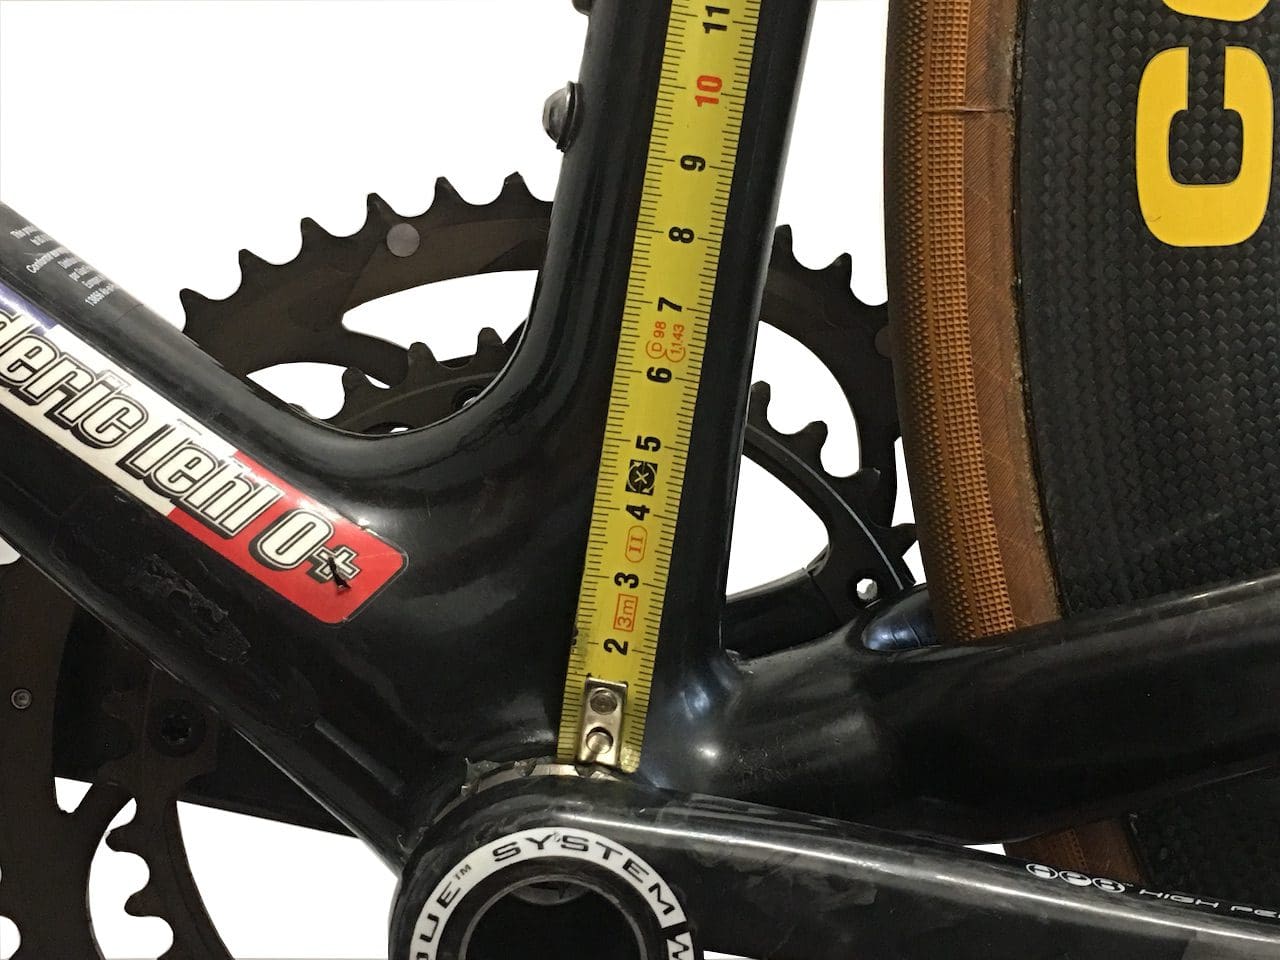
Now the origin of the measurement is usually the crankset axis. But as it often consists of a hollow axis, we are often in the approximately.
If we take the top of the bowl, screwed or integrated, we are much more precise. Just subtract 2 cm from the usual pedal axis measurements at the top of the saddle!
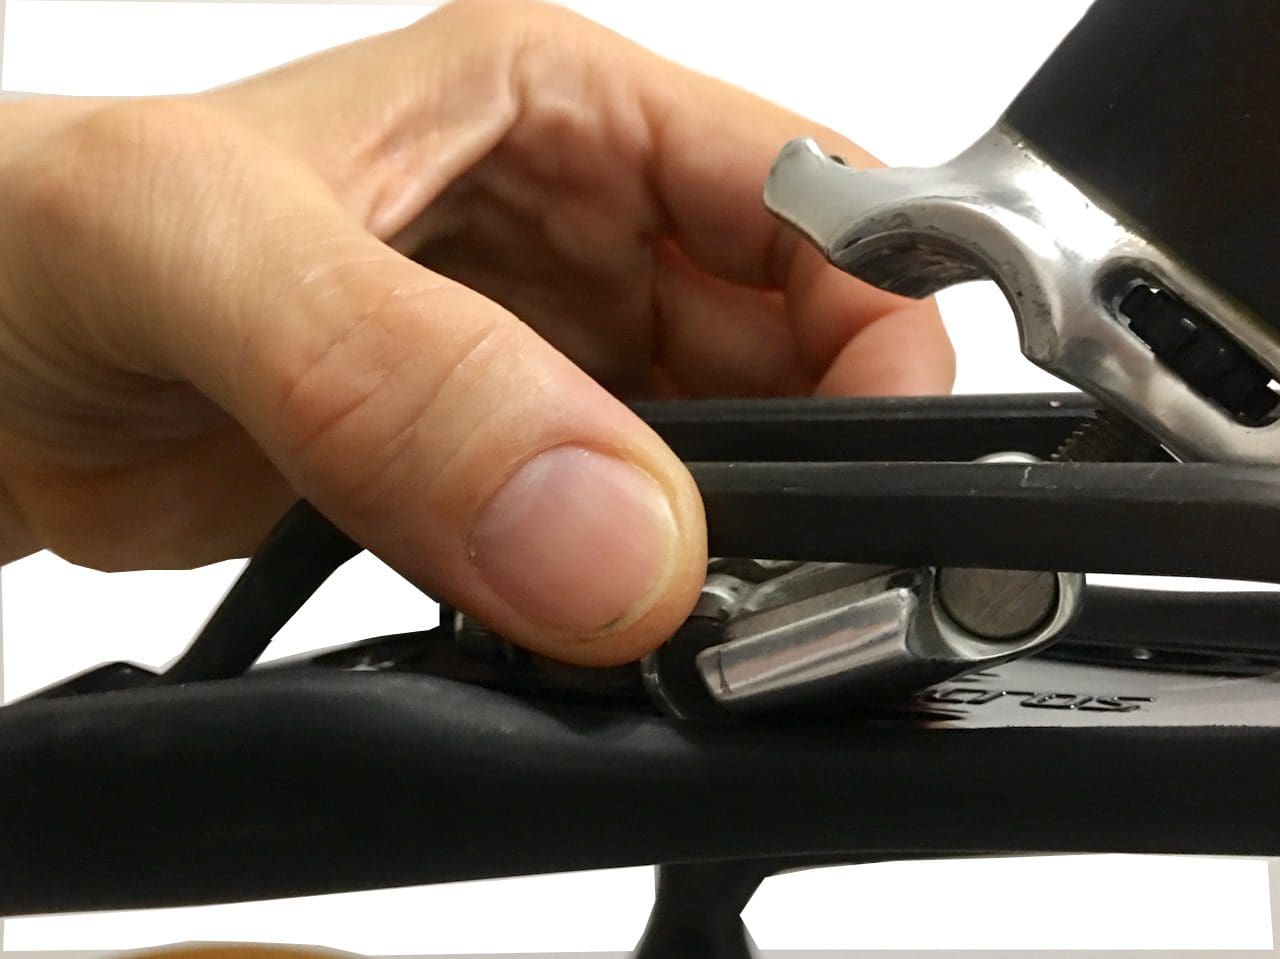
Stage 16
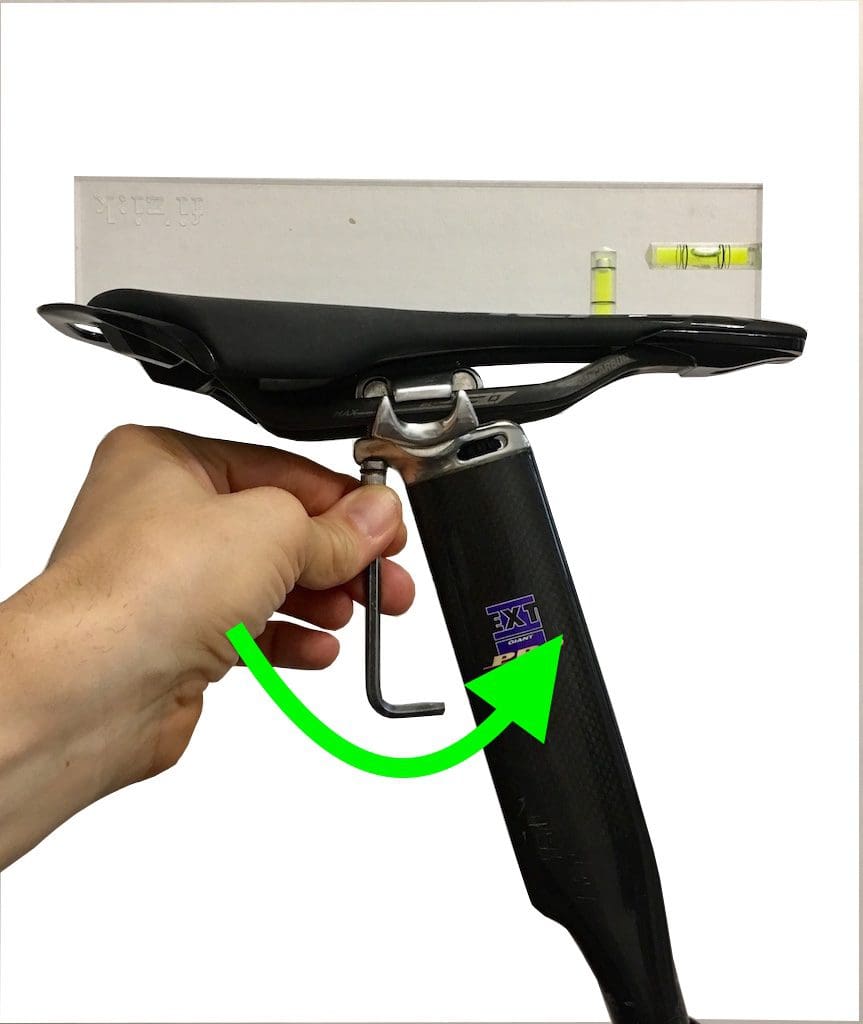
With the right height reached, we will tighten the seatpost. In case of double tightening, we start with the one that is closer to the frame.
We do the same on the upper tightening. Then we start again below and then above.
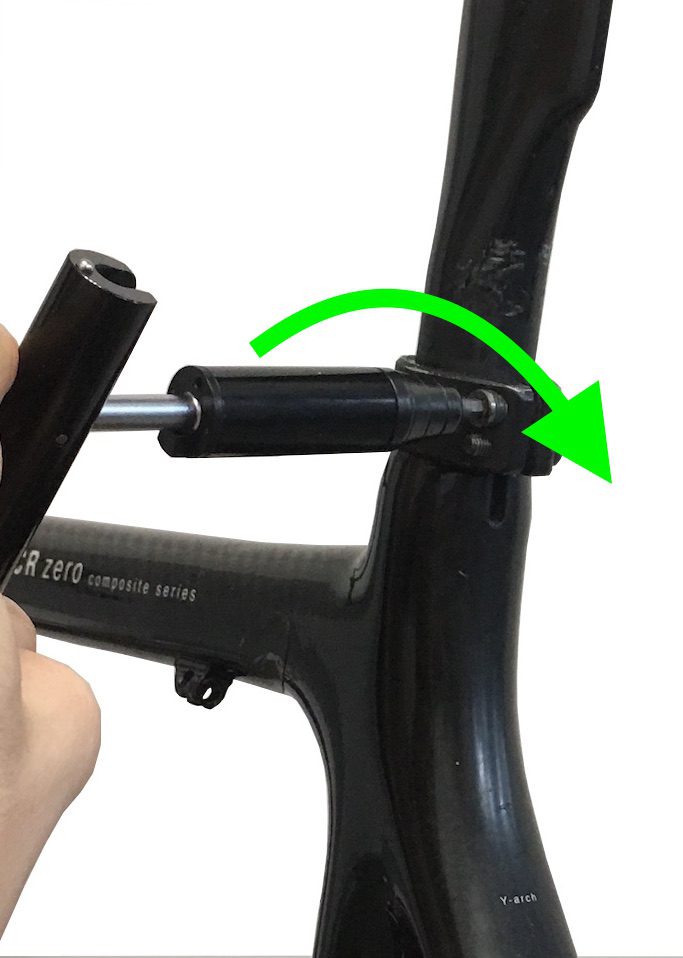
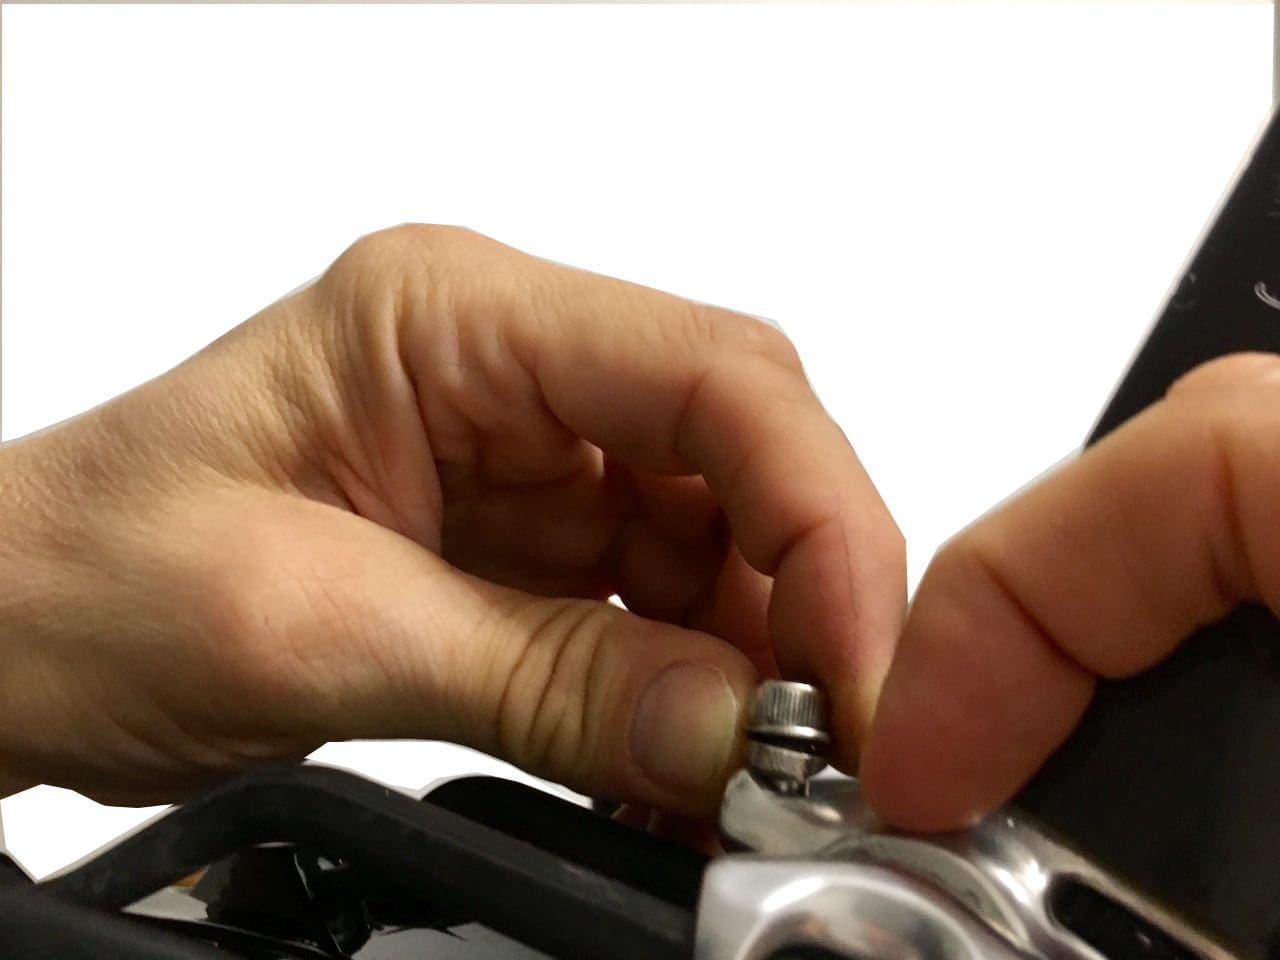
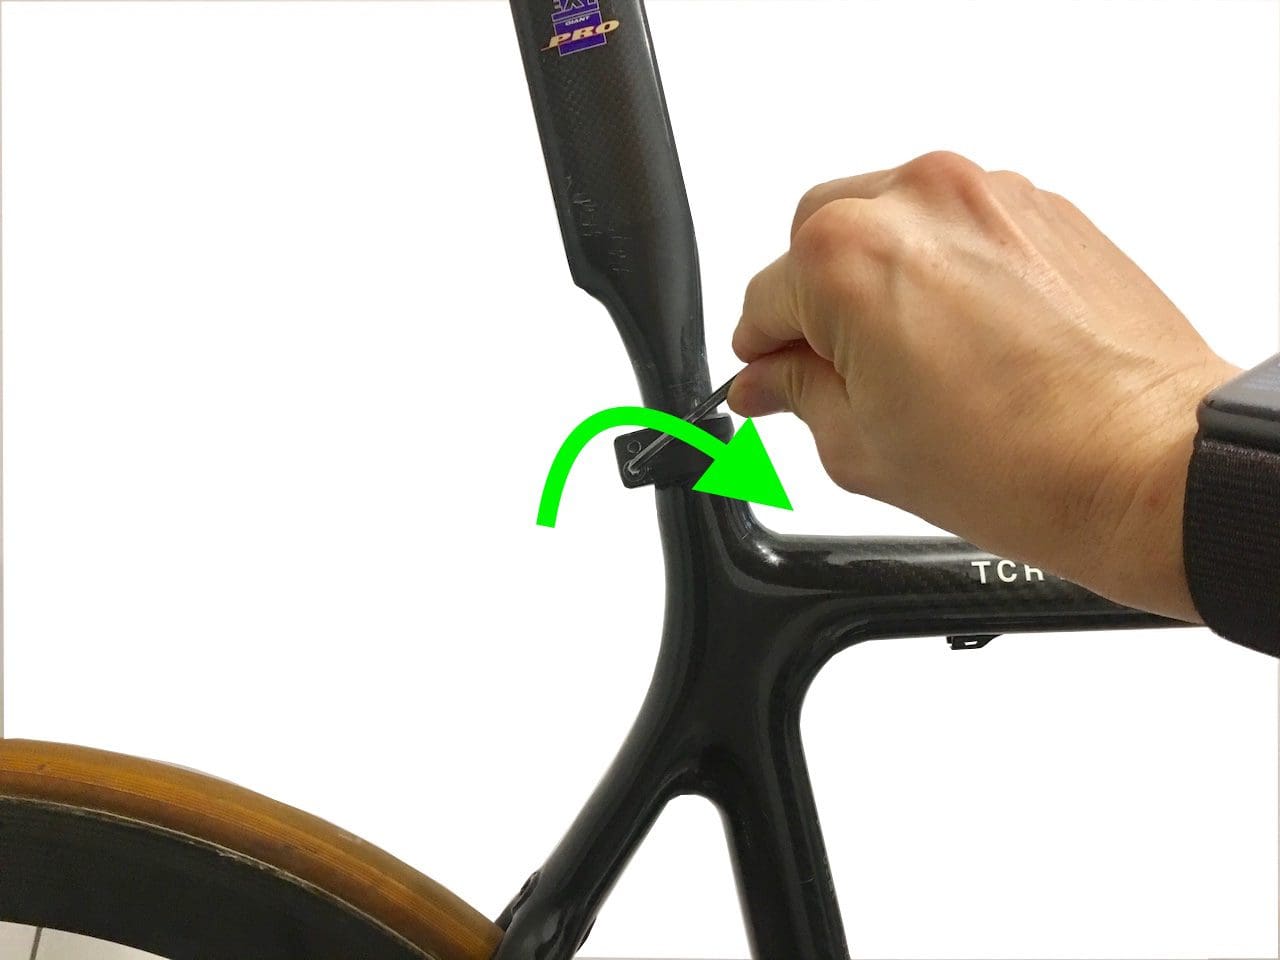
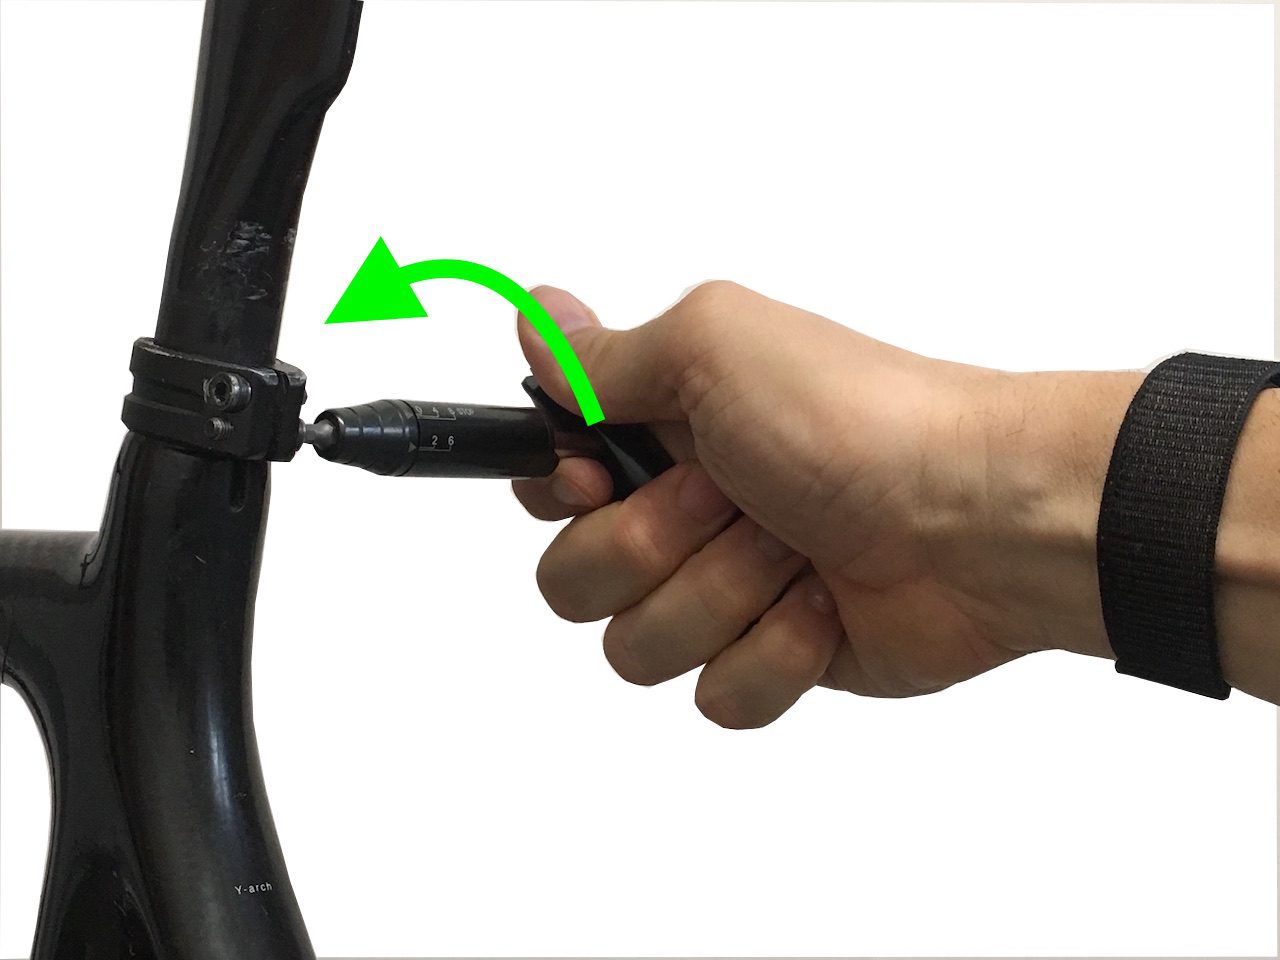
Stage 17
The rear nut is slightly loosened and by means of a marker we measure the recoil of the seat. It is then slid forward or backward.
Stage 18
When the right dimension is reached, the saddle is locked with the torque wrench. No need to touch the dial.
All that remains then is to check that the height and recoil of the saddle correspond well to your usual measurements. And of course put on a last torque wrench to ensure that the tightening is perfect!
En savoir plus sur Dimensions Vélo
Subscribe to get the latest posts sent to your email.


![VAE Origine Newton[e]](https://b2690749.smushcdn.com/2690749/wp-content/uploads/2026/03/2026-Origine-Newton-launch-clementsiegfried-originecycles-92-274x183.jpg?lossy=2&strip=1&webp=1)
Laisser un commentaire