Saddle settings fi’zi:k Argo
Partager la publication "Saddle settings fi’zi:k Argo"
Newcomer to the short saddle category, the fi’zi:k Argo imposes some positioning precautions to be appreciated.
The tools
To position your fi’zi:k Argo saddle, you will need some tools! On the one hand, there are measuring devices, namely a tape measure, a spirit level, and a Vernier caliper, that would be good. On the other hand, to disassemble your saddle and seatpost, you will need allen or Torx wrenches and a torque wrench with the appropriate sockets. Here we needed 4 and 5 mm tools.
Pictures © Frédéric Iehl
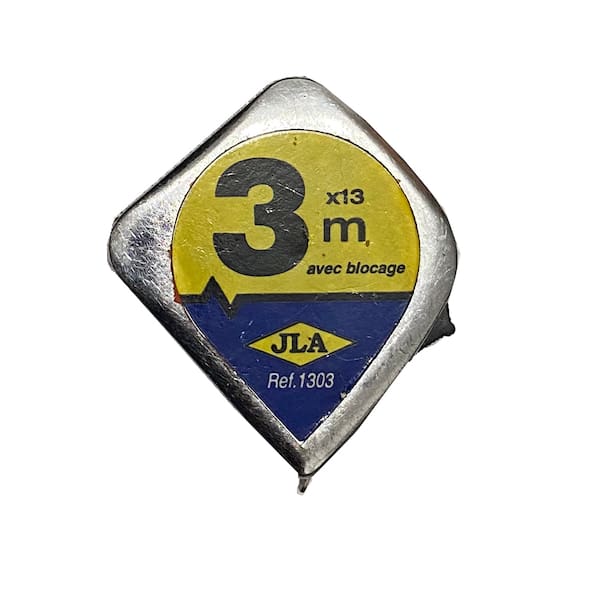
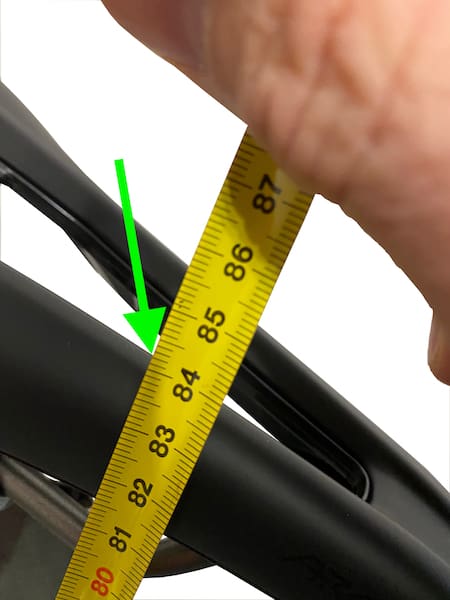
The basic tool will remain the meter! 
We can manage differently, but a Vernier caliper to read the width of the saddle is the best! 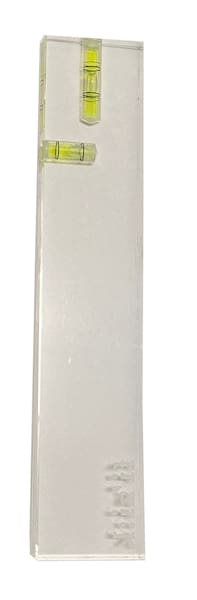
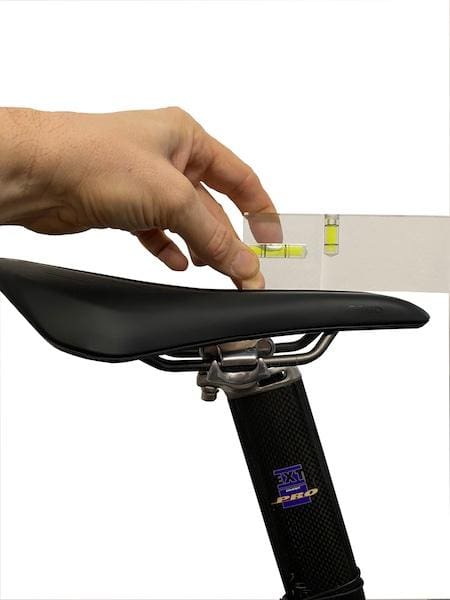
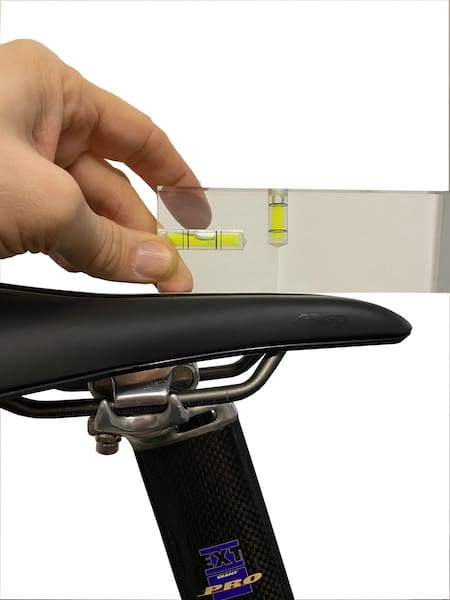
The spirit level will be essential to adjust the saddle. 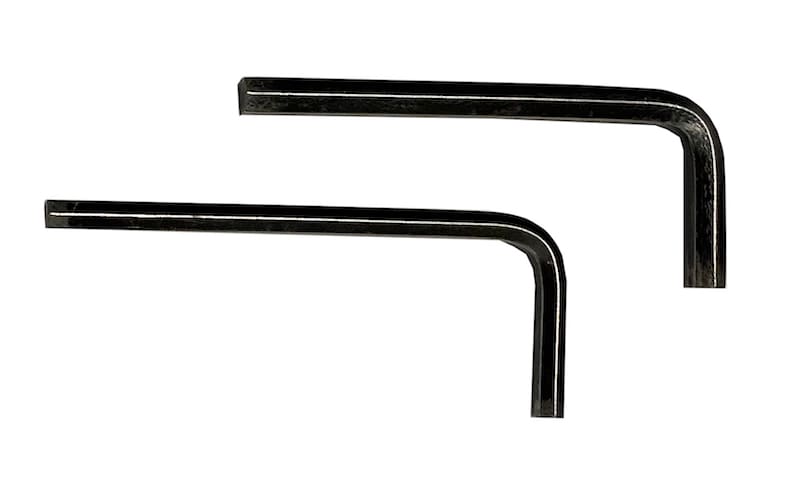
The 4 and 5 mm Allen whenches will be used to disassemble and pre-tend the saddle and seatpost. 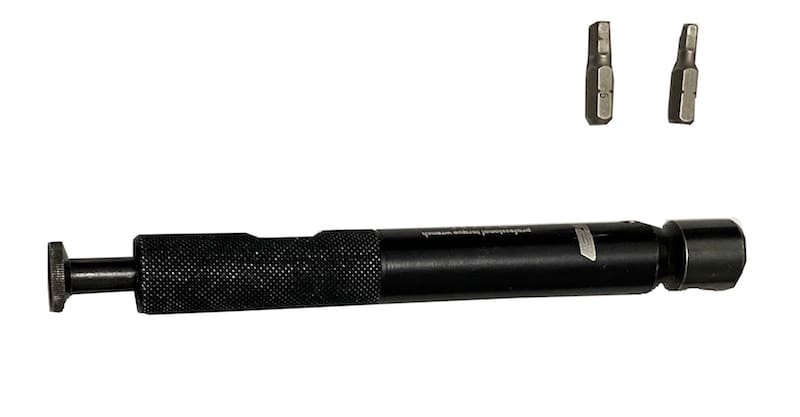
The torque wrench will be useful for locking the seat and seatpost!
Temps et difficulté
You will need between 15 and 30 minutes to ensure the placement and adjustment of this saddle. The difficulty is average, but it is often necessary to redo the manipulation to obtain the right positioning.
Stage 1
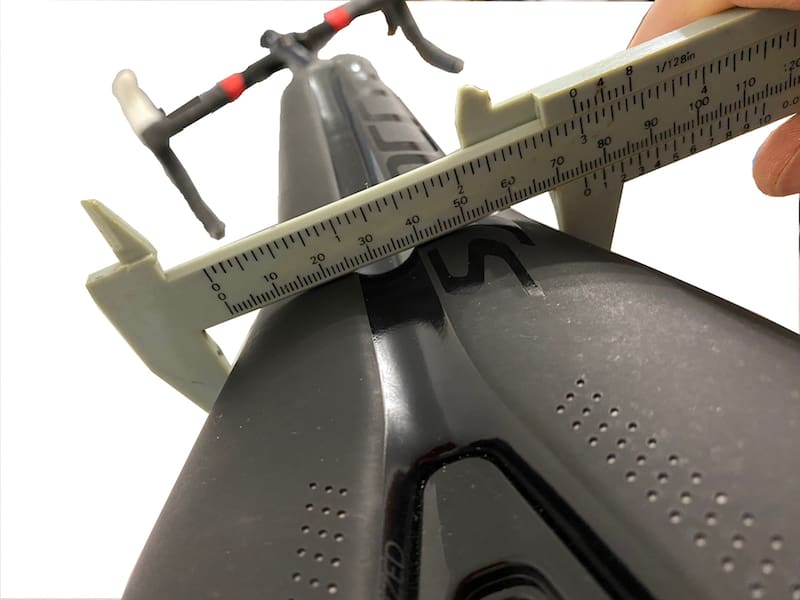
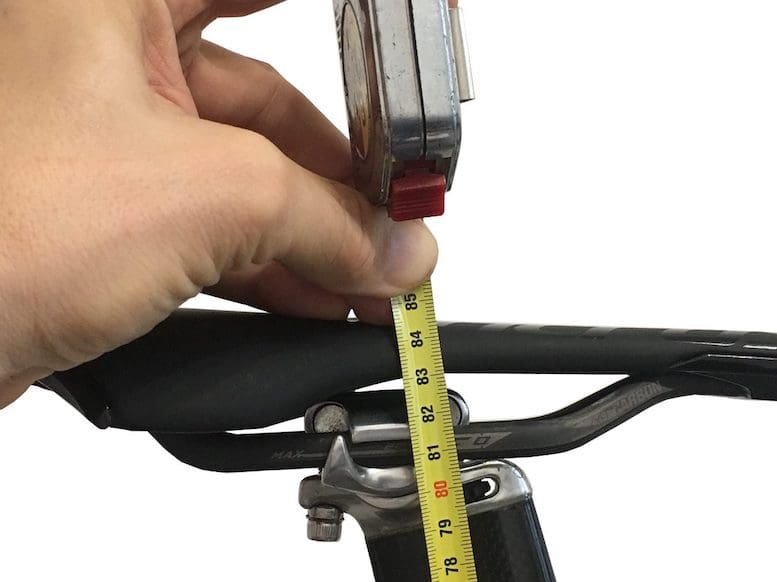
On commence par mesurer le point où la largeur de l’ancienne selle fait 75 mm.
Indeed, it is this area that will serve as a landmark to place the fi’zi:k Argo. We will determine the distance between this width of 75 mm from a fixed point, axis of the potence, or the fork pivot for example. As you stay on the same bike, there is no need to recalculate the recoil of the saddle. The measured rating will be reported on the adjustment of the fi’zi:k. Now if we change bikes and saddles, we will have to increase the distance between the vertical passing through the BB and the vertical passing through the area where the old saddle is 75 mm wide.
Stage 2
We therefore measure the distance between the axis of the fork pivot…
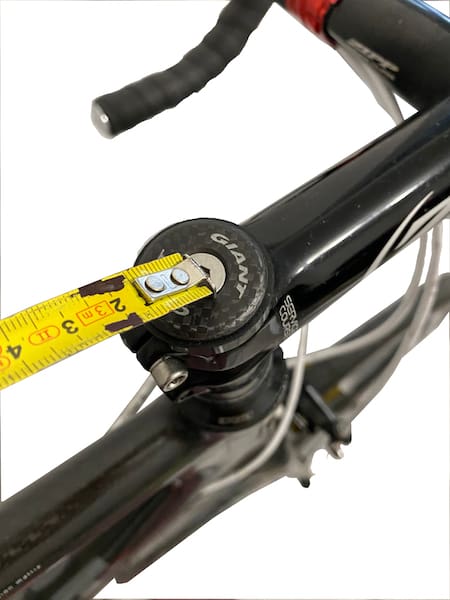
And the area where the saddle is 75 mm wide. Here it’s in the middle of the « Y ».
We will also raise the saddle height, at the level of 75 mm wide.
Stage 3

We then disassemble the saddle… For reassembly, we proceed like this.
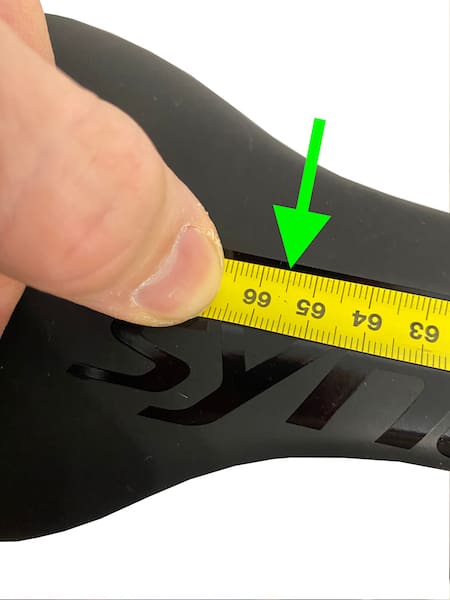
Stage 4
On the Argo, there are several markings that give the location of the 75 mm wide. We are here below…
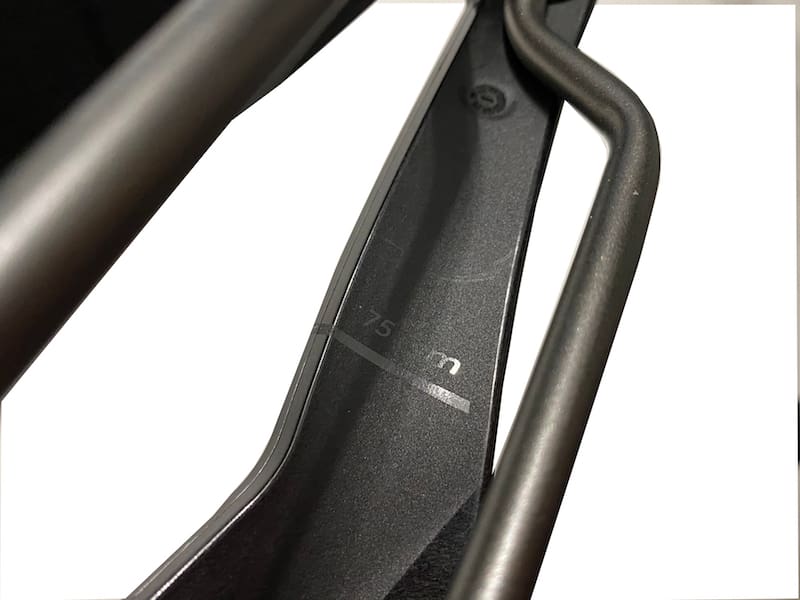
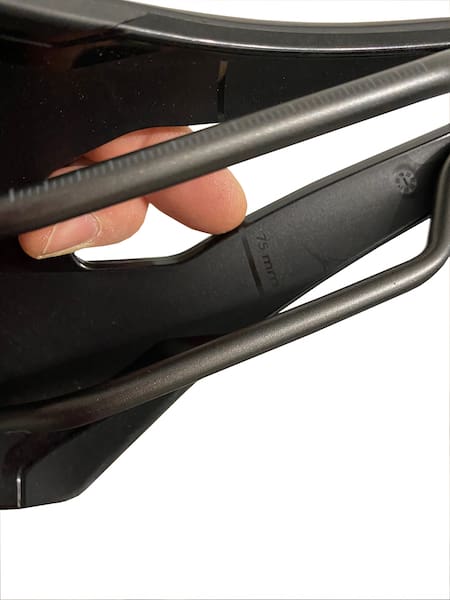
On the top of the saddle, we see this line that allows you to locate yourself precisely. There is also a marking on the rail, but it is rarely visible with the seatpost trolley.
Stage 5
The Argo climbed on the seatpost chassis, it is slid forward or backward to position the 75 mm mark at the right distance.
Stage 6
Once this is done, we move on to step 2, which contrasts with habits.
We will adjust the part that goes from the beak to the 75 mm line perfectly horizontal. This saddle is therefore not hollow strictly speaking.
Stage 7
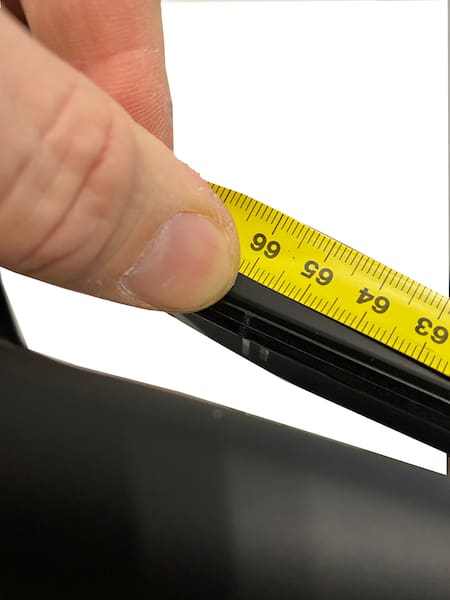
We will then compare the height to the one that was raised before disassembly. Here again, the reading is made at 75 mm wide. We adjust as needed.
Stage 8
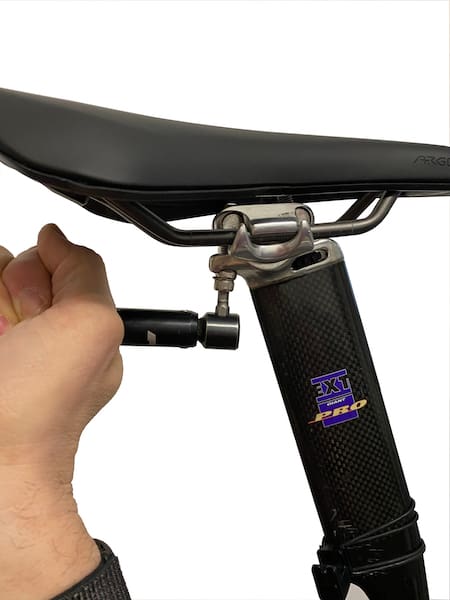
We tighten the saddle properly. We will do the same with the seatpost if necessary
Stage 9
We re-check its horizontality and each measure after tightening. We will repeat the adjustments if necessary…
Stage 10

Once the saddle is well adjusted, it has this aspect. The croissant then behaves like a small backsplash…
The fi’zi:k Argo saddles, whether it’s the Tempo or Vento version of the R1 or R3, are adjusted in this way. If you place them differently, i.e. normally, you will not be well at all…


Laisser un commentaire