Repair your GPS with Dogears GPS

Partager la publication "Repair your GPS with Dogears GPS"
Plastic is fantastic, but it is fragile sometimes. When the GPS fixation breaks, we may be tempted to discard it. Yet there is a solution: Dogears GPS!
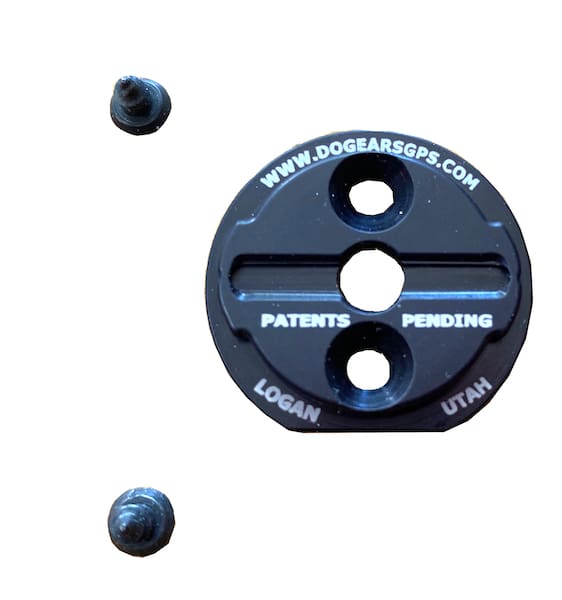
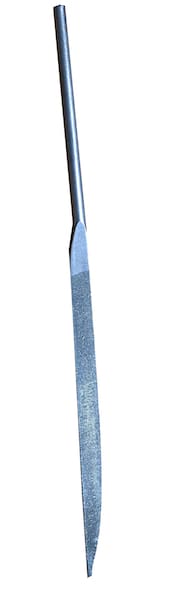
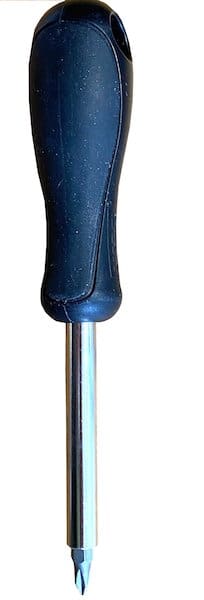
The tools
You will need a file, 90° alcohol, glue (epoxy or cyanocrylate gel) and a cruciform screwdriver. Nothing special in short and of course let’s not forget the GPS Dogears Kit
Pictures © Frédéric Iehl
Time and difficulty
In 15 minutes, excluding glue drying time, the deal will be concluded! There is nothing complicated here, you just have to be rigorous and have the right equipment at the beginning. This solution works for Garmin (officially), and Bryton, Wahoo, Stages with little adjustement…


Stage 1
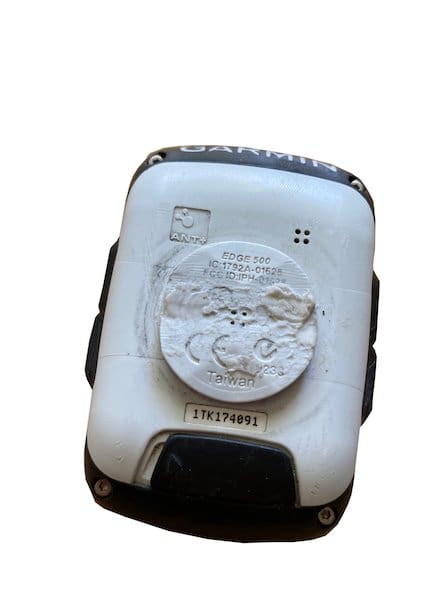
In our case, the GPS bears the marks of our plastic ear tests… But normally there is still an ear to remove.
Stage 2
With the file we remove the roughness on the sides, but also on the top in our case.

Stage 3
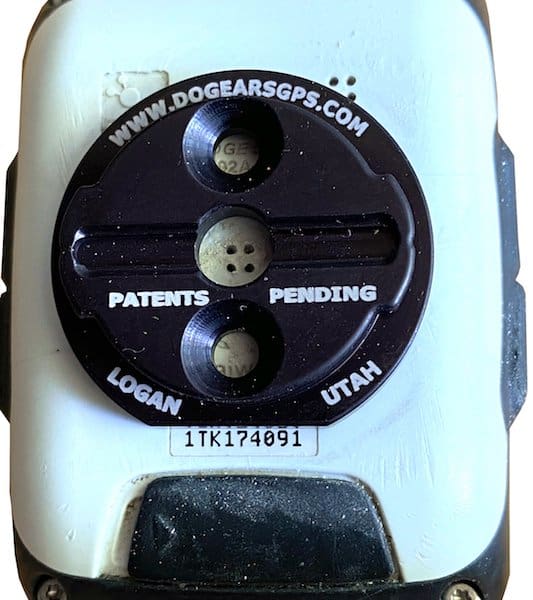
We place the Dogears on the GPS. And here we use the marking to guide it properly.
Stage 4
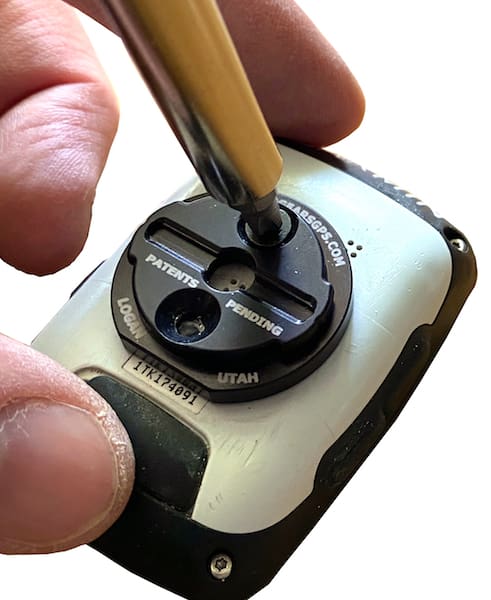
The screws are installed, being careful not to go too far into the shell, the battery and the speaker are behind.
Stage 5
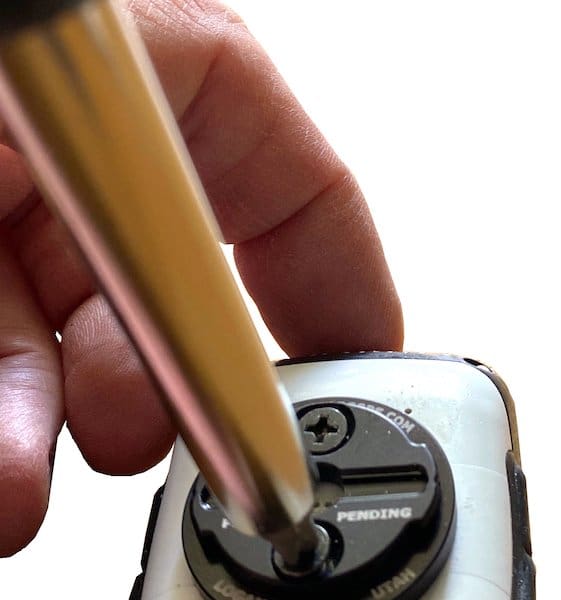
We place the second screw.
Stage 6
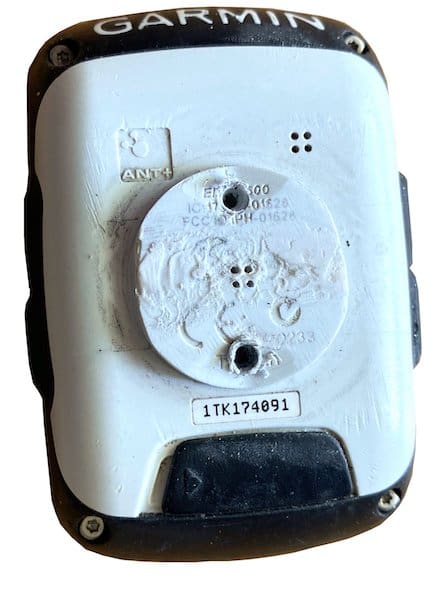
We disassemble the plate and make sure that the holes are well made. The epoxy glue is then prepared.
Stage 7

On l’applique sur la face d’appui en évitant d’en mettre sur les trous du haut-parleur…
Stage 8
Glue is also put on the edge.

We take gel glue so that it adheres and does not flow. We are also careful not to « fill » the barometer hole.
Stage 9

The plate is then replaced using marking and drilling to position it well.
Stage 10
We put the screws in place and block them. Without excess. All that remains is to wait for the glue to be taken.

Stage 11

The GPS Dogears will raise the meter a little, which is not annoying. When mounting on the support, you will just have to force more than with the original ears. That’s why you have to wait for the glue to dry…
Stage 12
And here it’s over, the GPS is operational and ready to make other outings perfectly maintained!

En savoir plus sur Dimensions Vélo
Subscribe to get the latest posts sent to your email.


Laisser un commentaire