How to change your chainring on 5-point cranks.

Partager la publication "How to change your chainring on 5-point cranks."
The chainrings wear out more or less quickly. But they may also no longer be suitable for practice, form or field of evolution. They must then be replaced…
Pictures © Frédéric Iehl
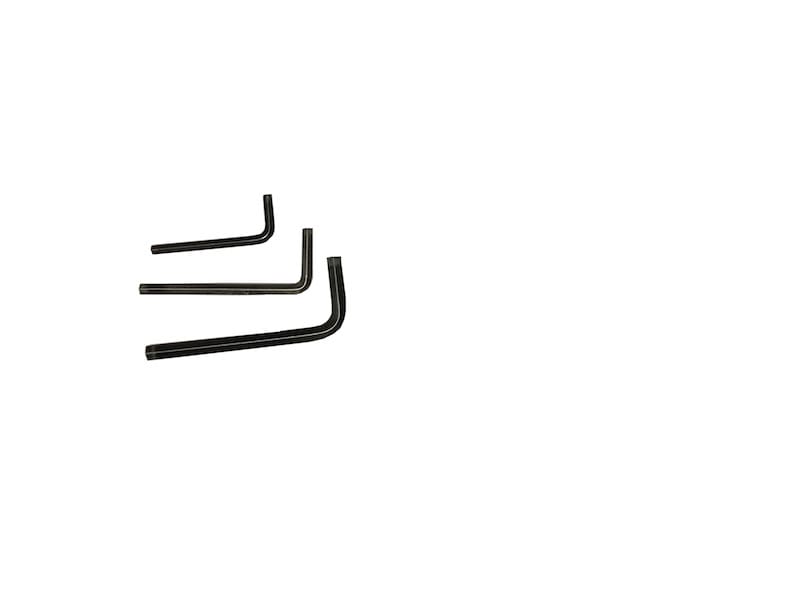
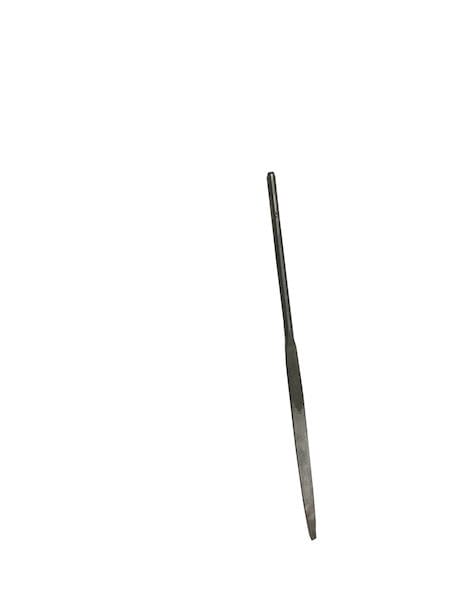
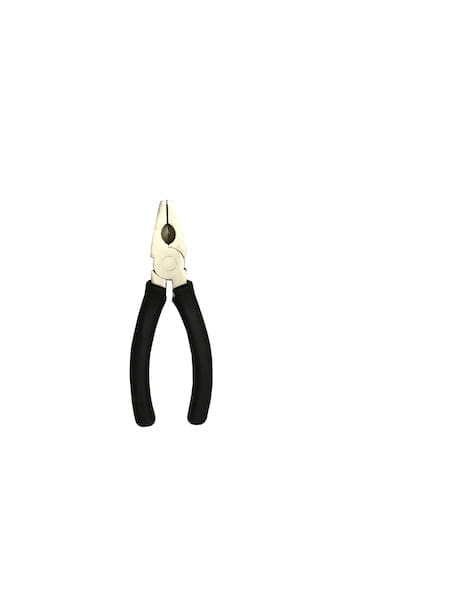
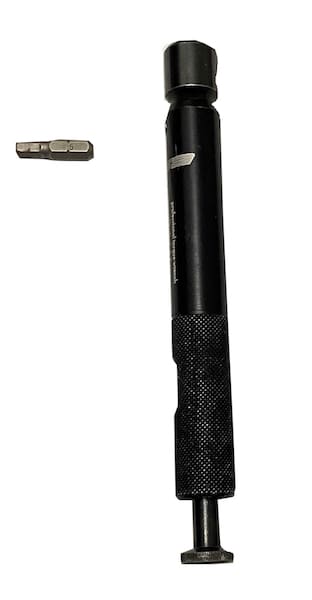
The tools
The crankset we are going to use is a little old, the fixing of the chainrings is done by means of Allen screws. But on newer cranksets there is a Torx T30 screw, instead of 5 mm Allen screws. You can also have a torque wrench to finish the tightening if you have light alloy screws or carbon cranks.

Time and difficulty
In terms of time count between 30 and 45 minutes and for the difficulty let’s say it’s quite easy overall. Provided you have a little grip and choose the option to disassemble the cranks to disassemble the trays. Doing it on the frame is possible, but it is very delicate, even complicated. There is little room to pass, you can scratch the frame with the keys, but also with the trays etc… In short, disassemble your front crankset, you will save time and maybe money!
Stage 1
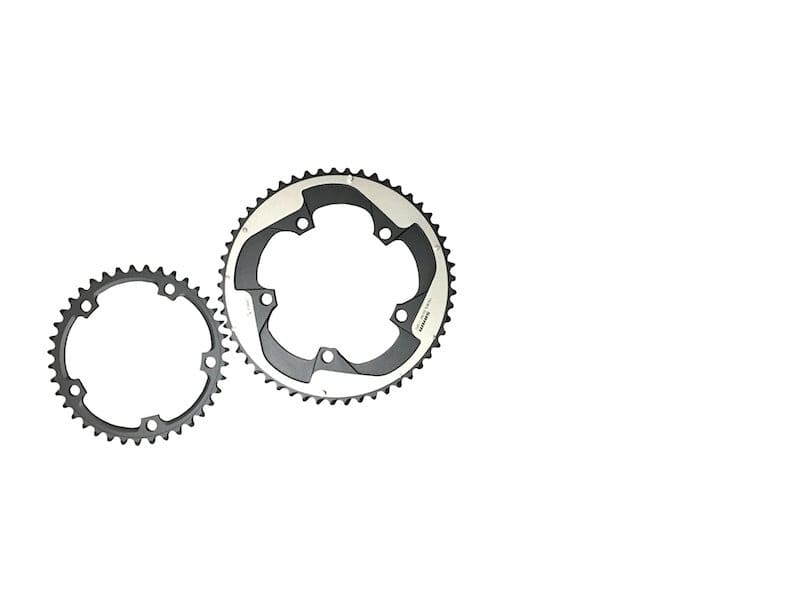
IYou need chainrings! This is obvious, but as much as possible use two chainrings of the same brand and model. Indexing will only work better.
Stage 2
On the « external » side of the chainring, the key is placed in a bolt.
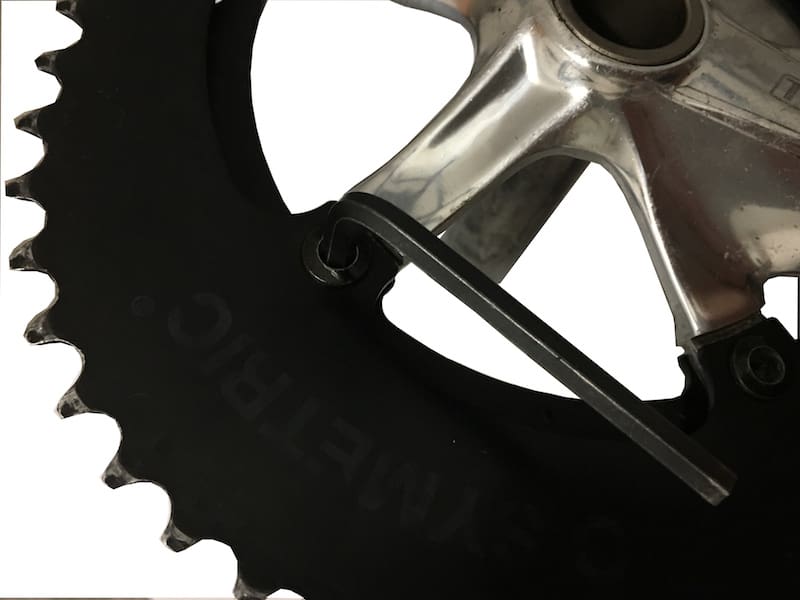
On the « internal » side of the chainring, the bolt can have an imprint for an Allen key like here, or for a specific tool. Use it! This will prevent the bolt from turning into the void and breaking…
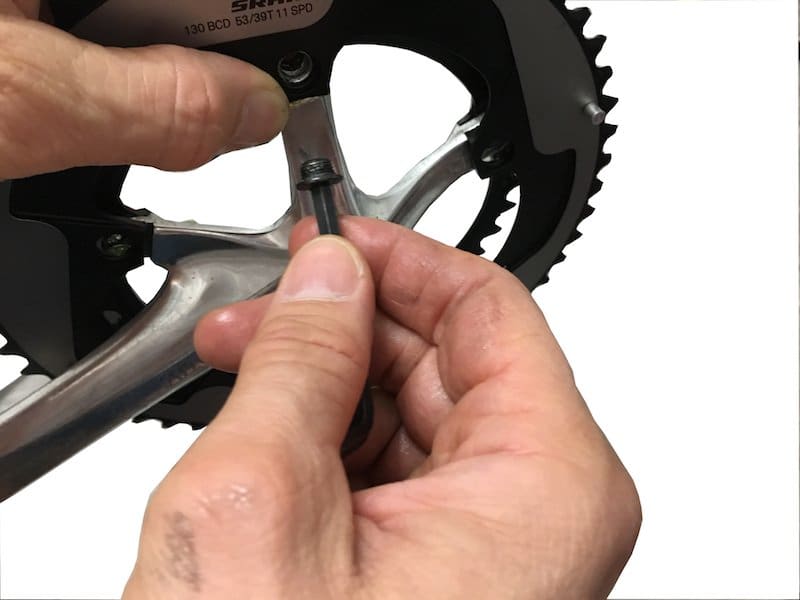
Stage 3
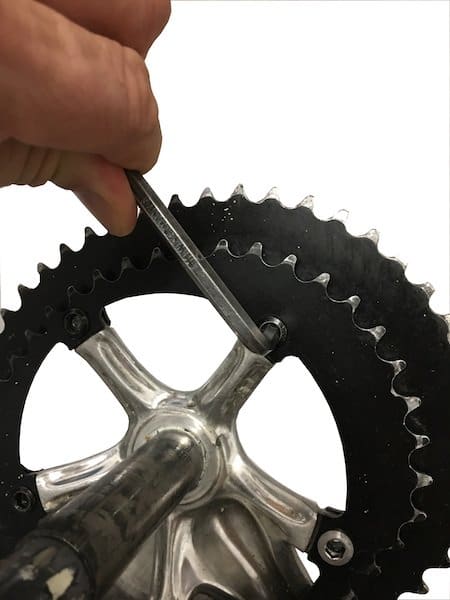
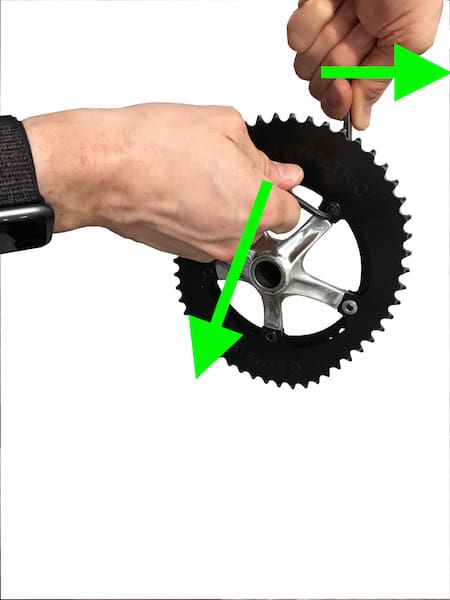
We are only unlocking the screws. We leave everything in place, so we unlock the 5 bolt behind each other. We try to turn the two keys in the opposite direction like this.
Stage 4

When everything is unlocked, you can unscrew the bolts one by one.
Stage 5
We look at the surface after cleaning it to eliminate any burrs that would prevent the chainrings from being very parallel.
Stage 6
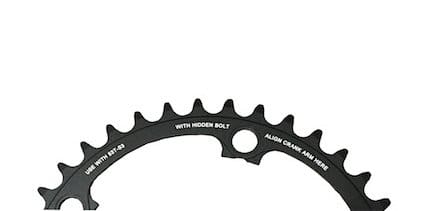
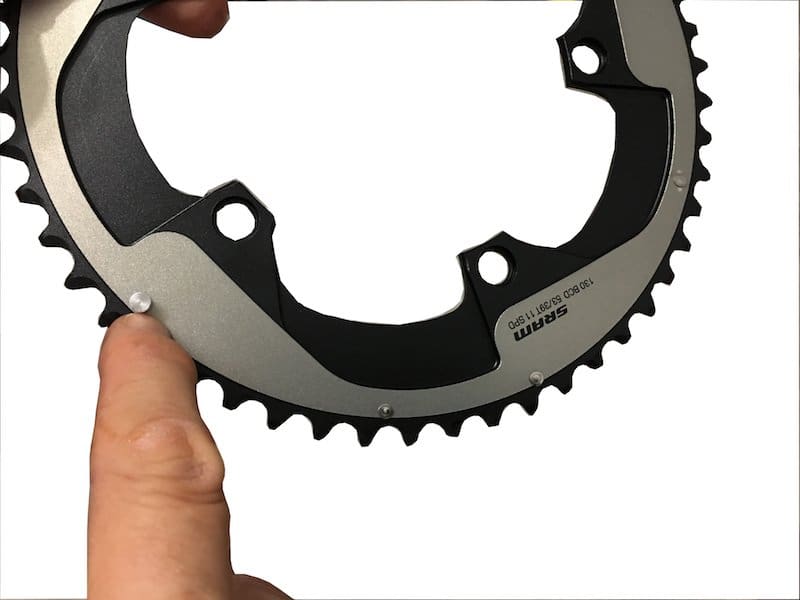
There are always indications on the chainrings. Keep in mind! Here it is indicated with which tray it should work and how to position it according to the crank used.
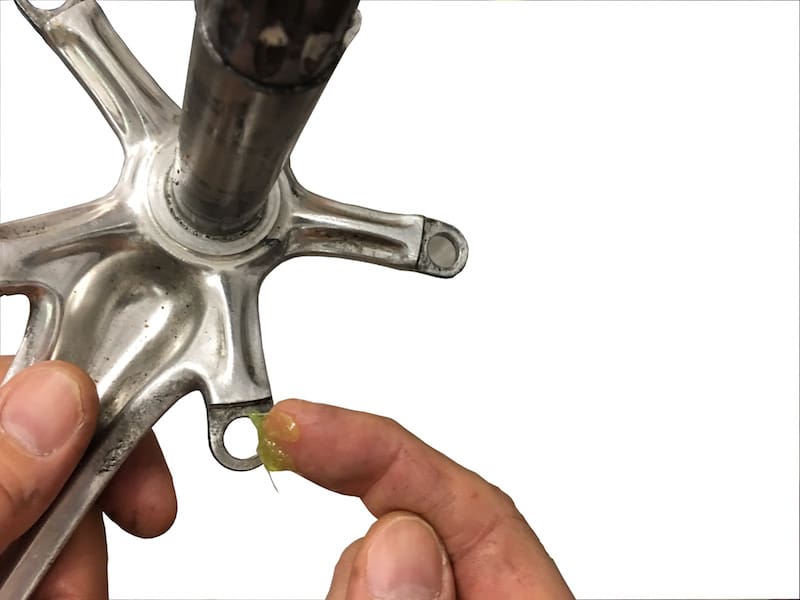
Stage 7
We put grease on the fixing of the chainrings. No matter the material of the cranks. The chainrings and cranks must be isolated to avoid cracking.
Stage 8
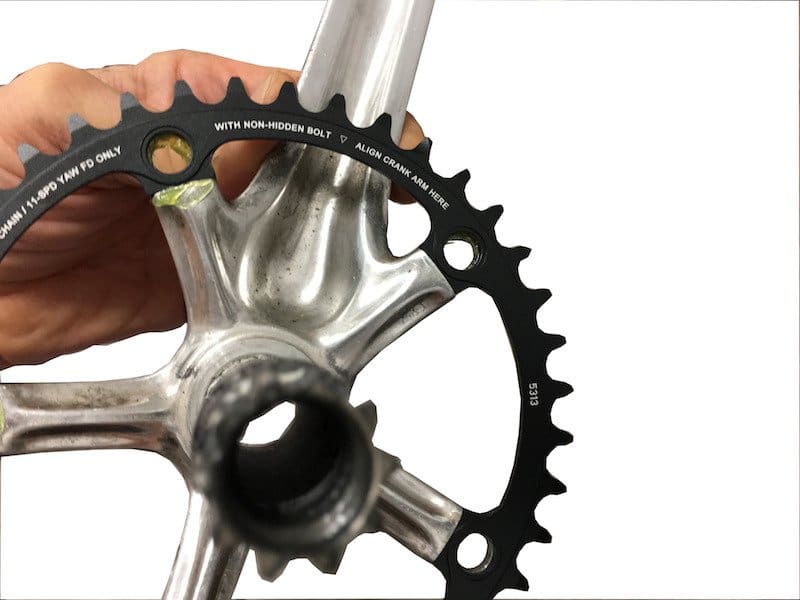
We start by setting up the small chainring. It is aligned with the crank according to the indications on the chainring.
Stage 9
The first part of the bolts are inserted into their housing after they have been greased.
Stage 10
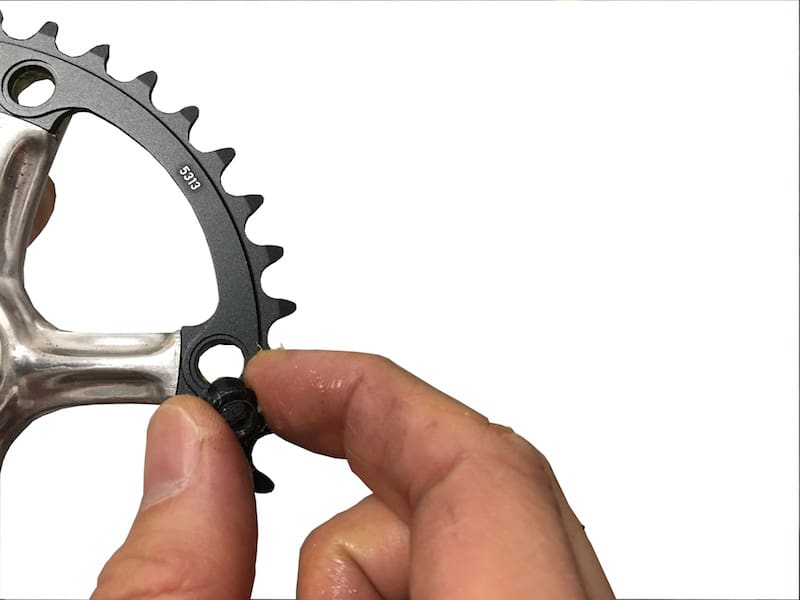
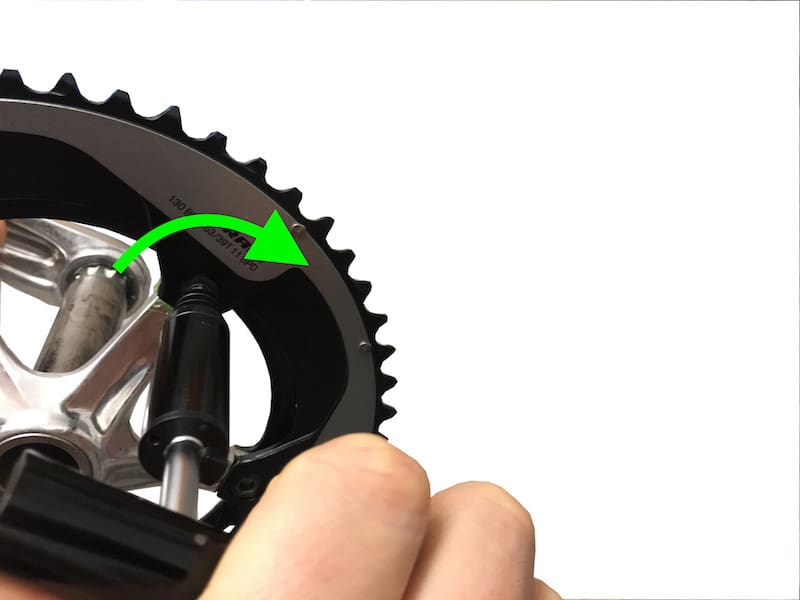
Some chjainrings are designed to work with 5 visible branches or a hidden branch. In this case, the anti-chain jump ergot can exist in two copies. It is also possible to move it.
Align the ergot with the crank to place the tray properly.
Stage 11
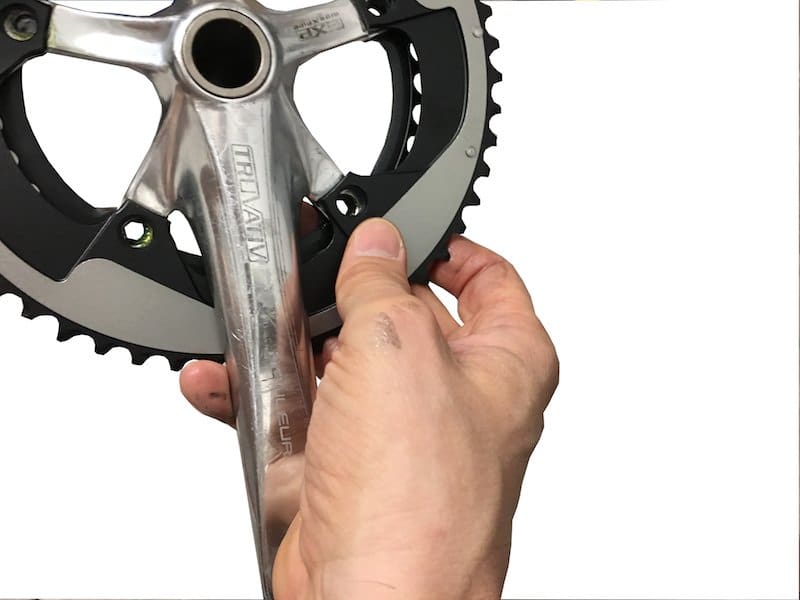
The holes in the tray are well aligned with those of the cranks. We take the opportunity to put it against the crank.
Stage 12
The second screw of the bolts is then placed. We do the five screws in a row. If one does not fit, we try to press a little on the chainring to realign it.
Stage 13
We then replace the keys on each side of the crankset and tighten the bolts one after the other…
Stage 14
We finish the tightening with the torque wrench. The bolts are fragile and carbon cranks do not like compression.
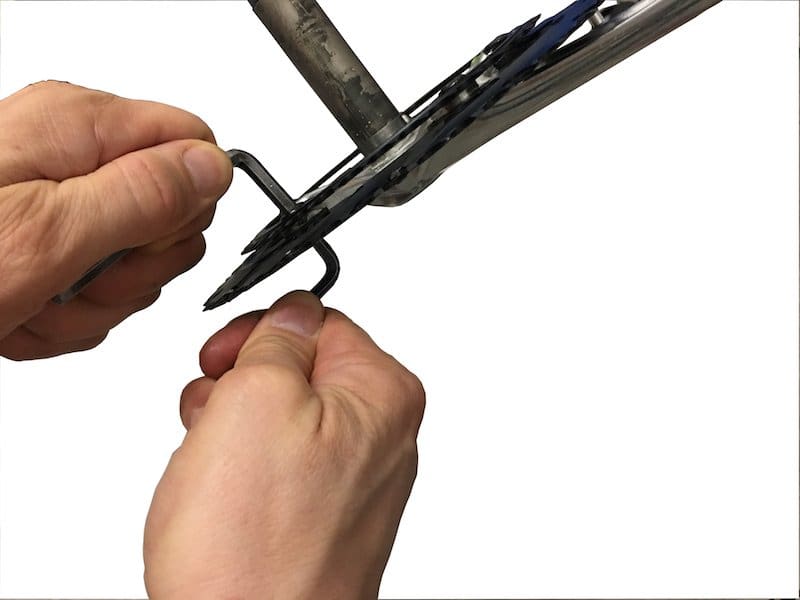
Stage 15
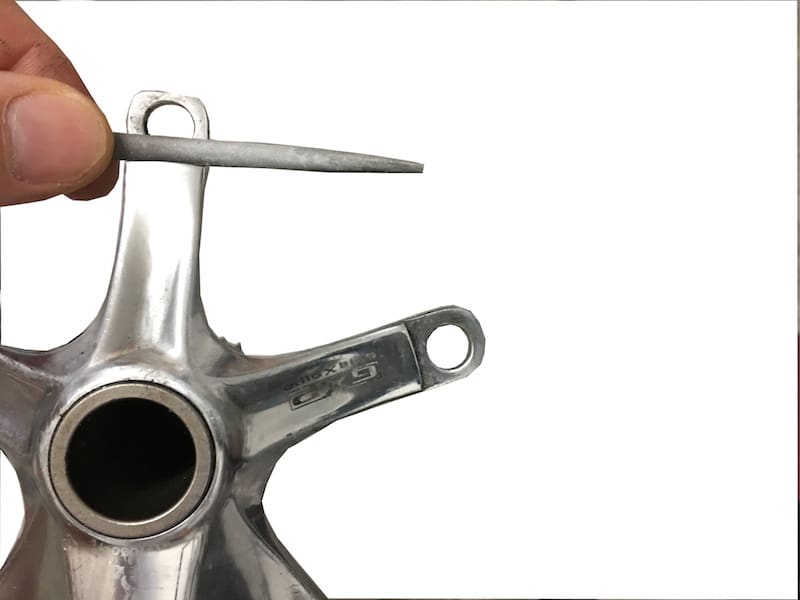
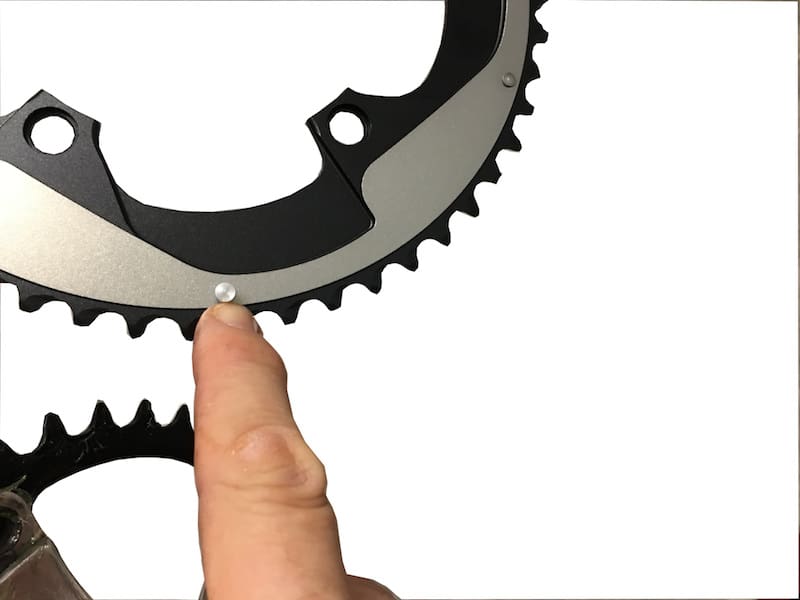
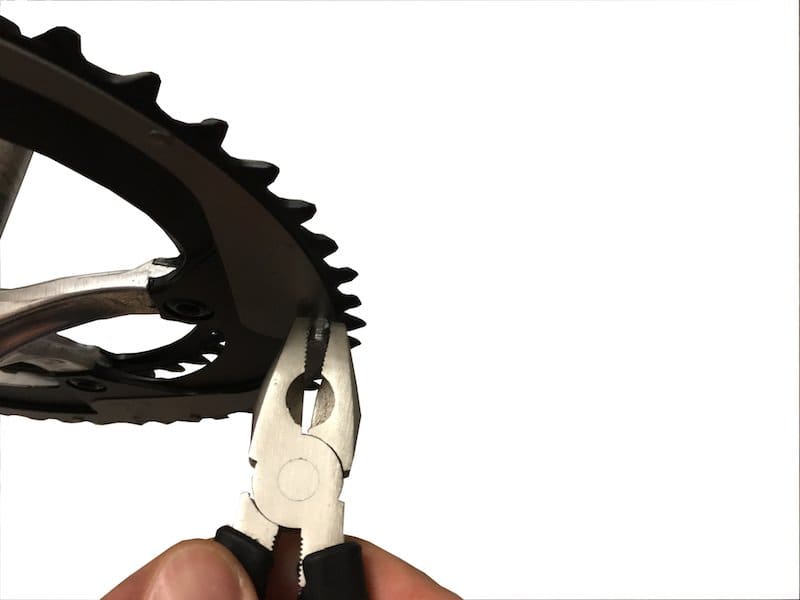
All that remains is to remove the ergot in addition. On some chainrings, it unscrews. On others, we calmly go to the clamp to serve it.

There is only one hole left, clean and without burrs!
En savoir plus sur Dimensions Vélo
Subscribe to get the latest posts sent to your email.


Laisser un commentaire